Return to Section TOC
Return to Section TOC
Return to Master TOC
Return to Master TOC
TROUBLESHOOTING AND REPAIR | ||
|
| |
|
|
|
WIRE DRIVE ASSEMBLY AND COMPONENT REPLACEMENT (continued)
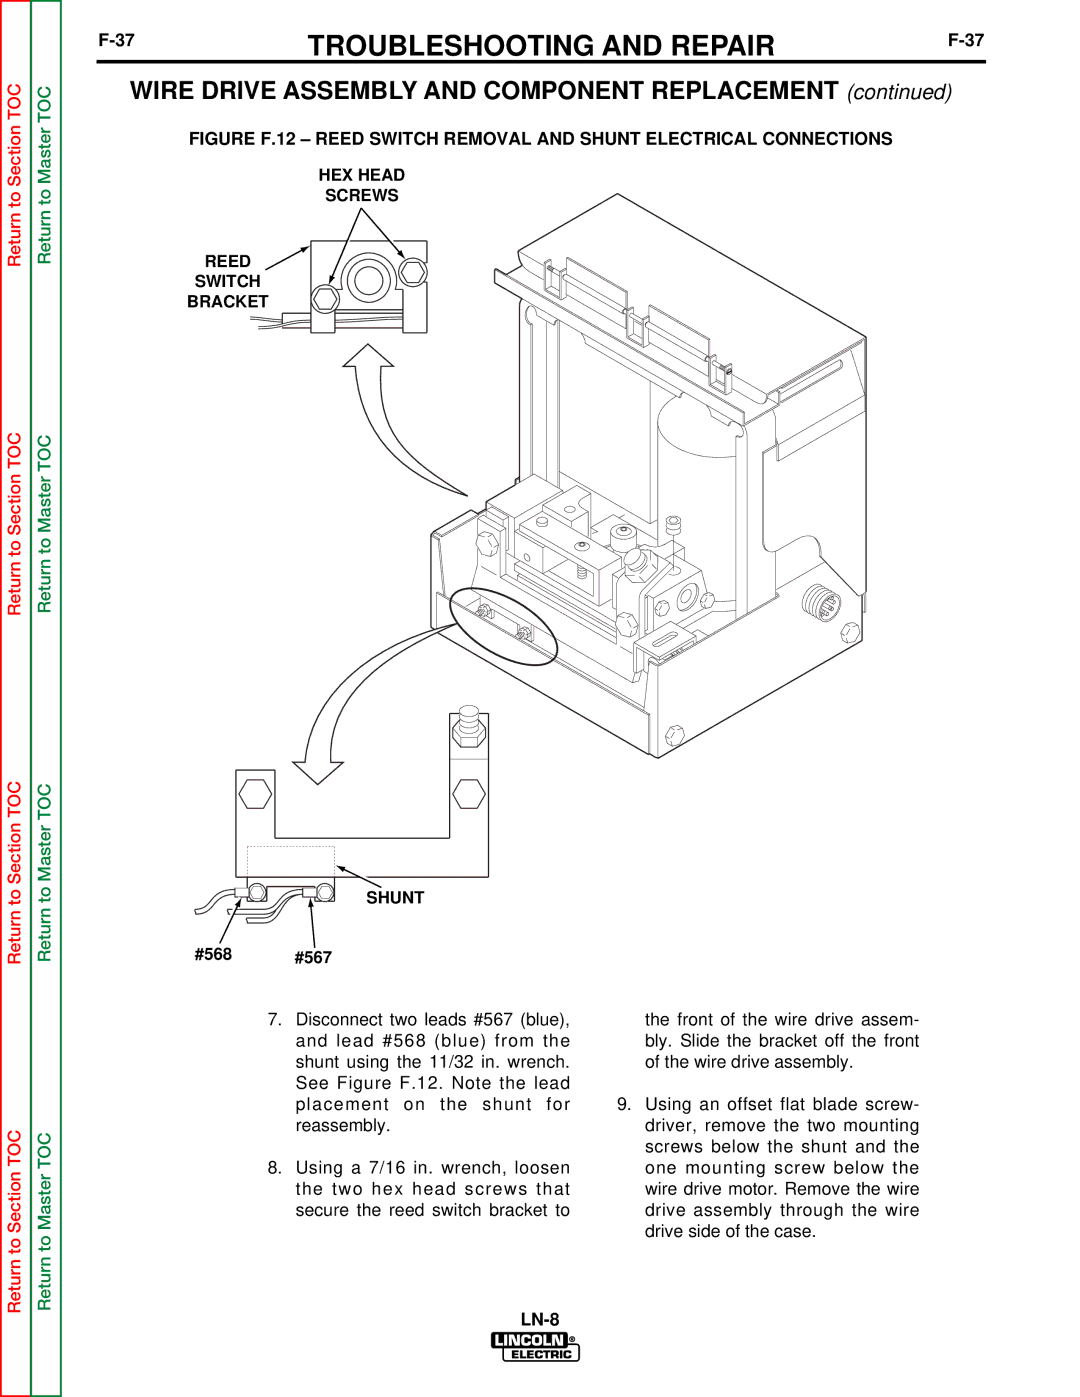
FIGURE F.12 – REED SWITCH REMOVAL AND SHUNT ELECTRICAL CONNECTIONS
HEX HEAD
SCREWS
REED
SWITCH
BRACKET
Return to Section TOC
Return to Section TOC
Return to Master TOC
Return to Master TOC
| SHUNT |
#568 | #567 |
7.Disconnect two leads #567 (blue), and lead #568 (blue) from the shunt using the 11/32 in. wrench. See Figure F.12. Note the lead placement on the shunt for reassembly.
8.Using a 7/16 in. wrench, loosen the two hex head screws that secure the reed switch bracket to
the front of the wire drive assem- bly. Slide the bracket off the front of the wire drive assembly.
9.Using an offset flat blade screw- driver, remove the two mounting screws below the shunt and the one mounting screw below the wire drive motor. Remove the wire drive assembly through the wire drive side of the case.