Section 2 | Installation |
|
|
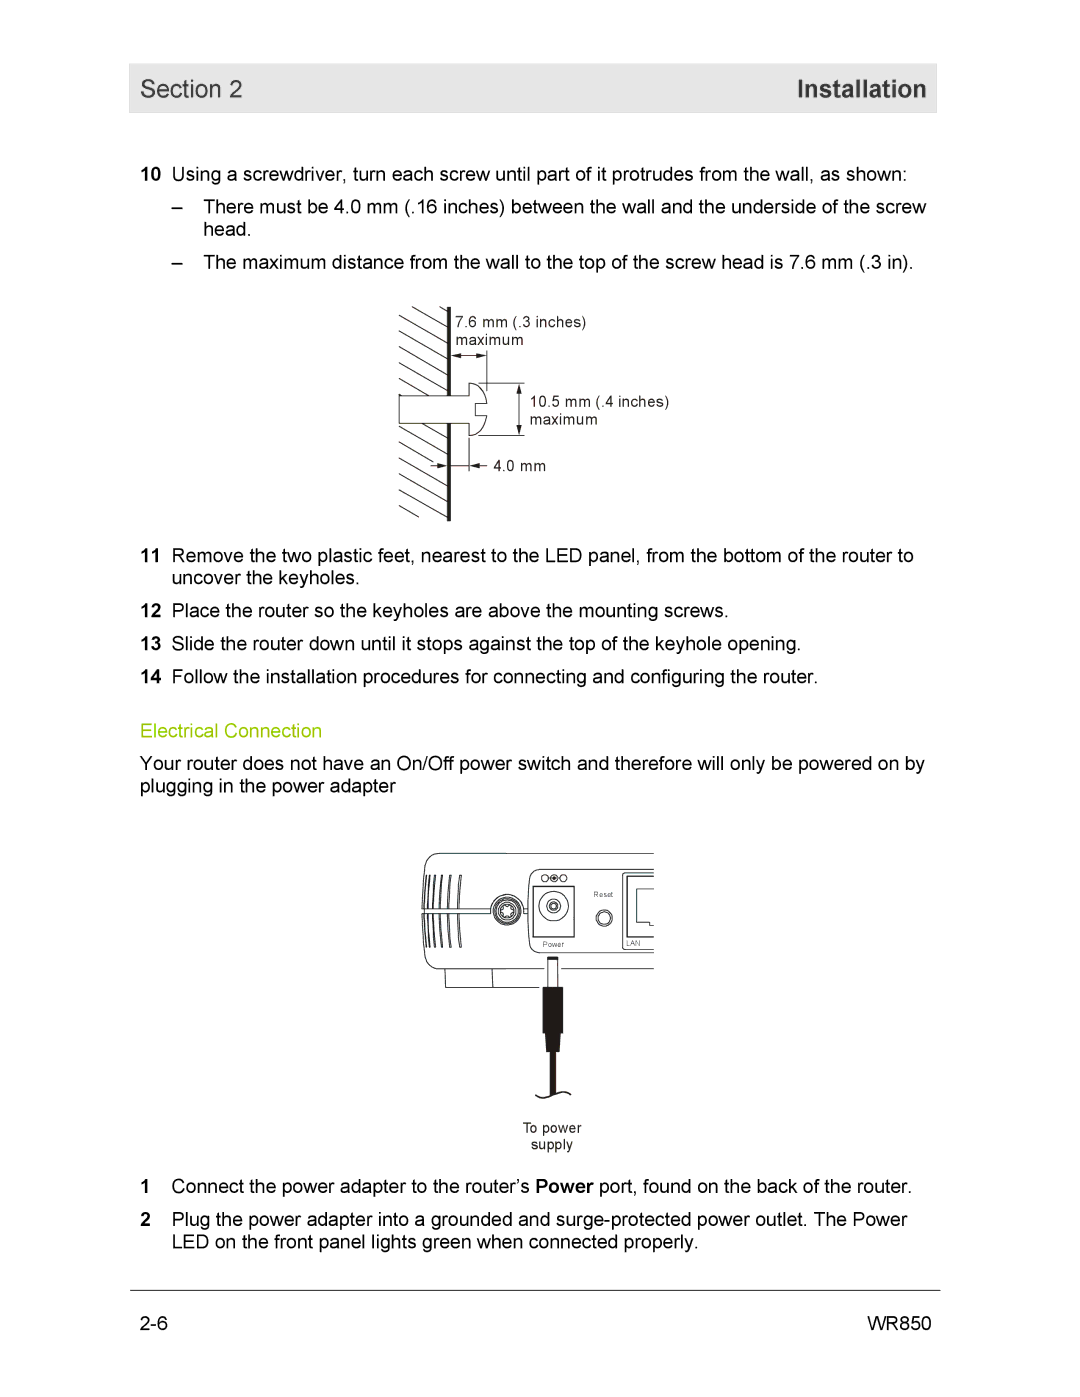
10Using a screwdriver, turn each screw until part of it protrudes from the wall, as shown:
–There must be 4.0 mm (.16 inches) between the wall and the underside of the screw head.
–The maximum distance from the wall to the top of the screw head is 7.6 mm (.3 in).
7.6mm (.3 inches) maximum
10.5mm (.4 inches) maximum
![]()
![]()
![]() 4.0 mm
4.0 mm
11Remove the two plastic feet, nearest to the LED panel, from the bottom of the router to uncover the keyholes.
12Place the router so the keyholes are above the mounting screws.
13Slide the router down until it stops against the top of the keyhole opening.
14Follow the installation procedures for connecting and configuring the router.
Electrical Connection
Your router does not have an On/Off power switch and therefore will only be powered on by plugging in the power adapter
Reset
Power
LAN
To power
supply
1Connect the power adapter to the router’s Power port, found on the back of the router.
2Plug the power adapter into a grounded and
WR850 |