Preparation
Static setup N
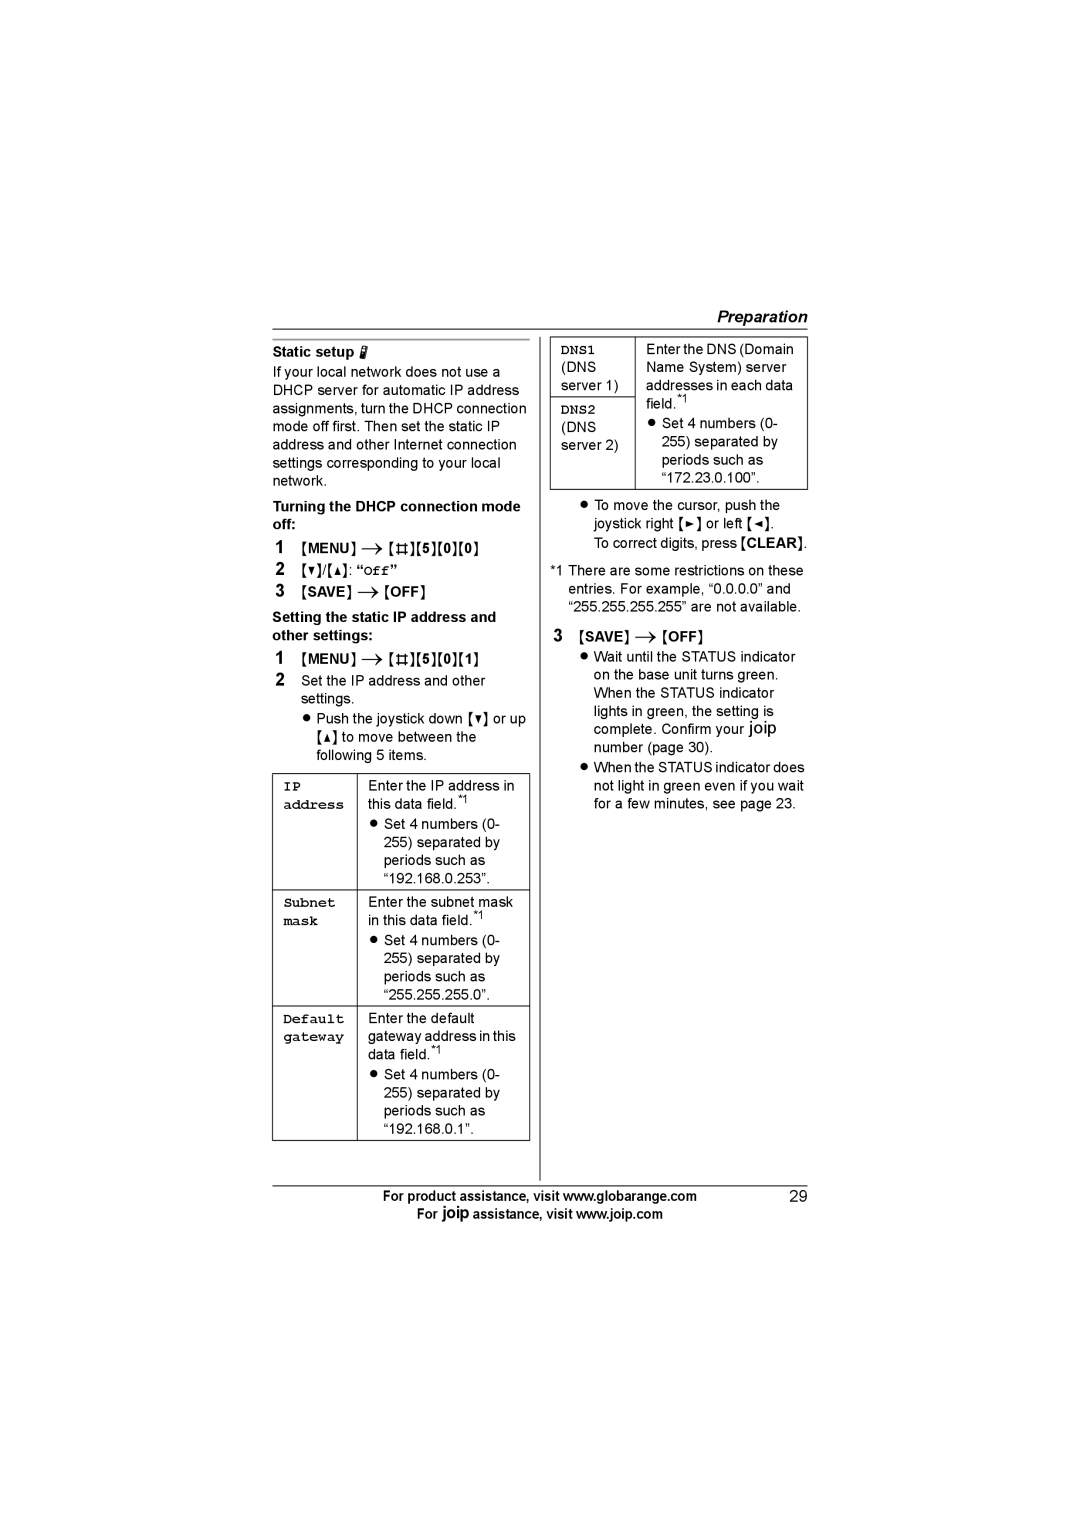
If your local network does not use a DHCP server for automatic IP address assignments, turn the DHCP connection mode off first. Then set the static IP address and other Internet connection settings corresponding to your local network.
Turning the DHCP connection mode off:
1{MENU} i{#}{5}{0}{0}
2{V}/{^}: “Off”
3{SAVE} i{OFF}
Setting the static IP address and other settings:
1{MENU} i{#}{5}{0}{1}
2Set the IP address and other settings.
L Push the joystick down {V} or up {^} to move between the following 5 items.
IP | Enter the IP address in |
address | this data field.*1 |
| L Set 4 numbers (0- |
| 255) separated by |
| periods such as |
| “192.168.0.253”. |
Subnet | Enter the subnet mask |
mask | in this data field.*1 |
| L Set 4 numbers (0- |
| 255) separated by |
| periods such as |
| “255.255.255.0”. |
Default | Enter the default |
gateway | gateway address in this |
| data field.*1 |
| L Set 4 numbers (0- |
| 255) separated by |
| periods such as |
| “192.168.0.1”. |
DNS1 | Enter the DNS (Domain | |
(DNS | Name System) server | |
server 1) | addresses in each data | |
| field.*1 | |
DNS2 | ||
L Set 4 numbers (0- | ||
(DNS | ||
server 2) | 255) separated by | |
| periods such as | |
| “172.23.0.100”. |
L To move the cursor, push the joystick right {>} or left {<}.
To correct digits, press {CLEAR}.
*1 There are some restrictions on these entries. For example, “0.0.0.0” and “255.255.255.255” are not available.
3{SAVE} i{OFF}
L Wait until the STATUS indicator on the base unit turns green. When the STATUS indicator lights in green, the setting is complete. Confirm your A number (page 30).
L When the STATUS indicator does not light in green even if you wait for a few minutes, see page 23.
For product assistance, visit www.globarange.com | 29 |
For Aassistance, visit www.joip.com |
|
