Preparation
Setting Date/Time (Clock Set)
∫Initial setting
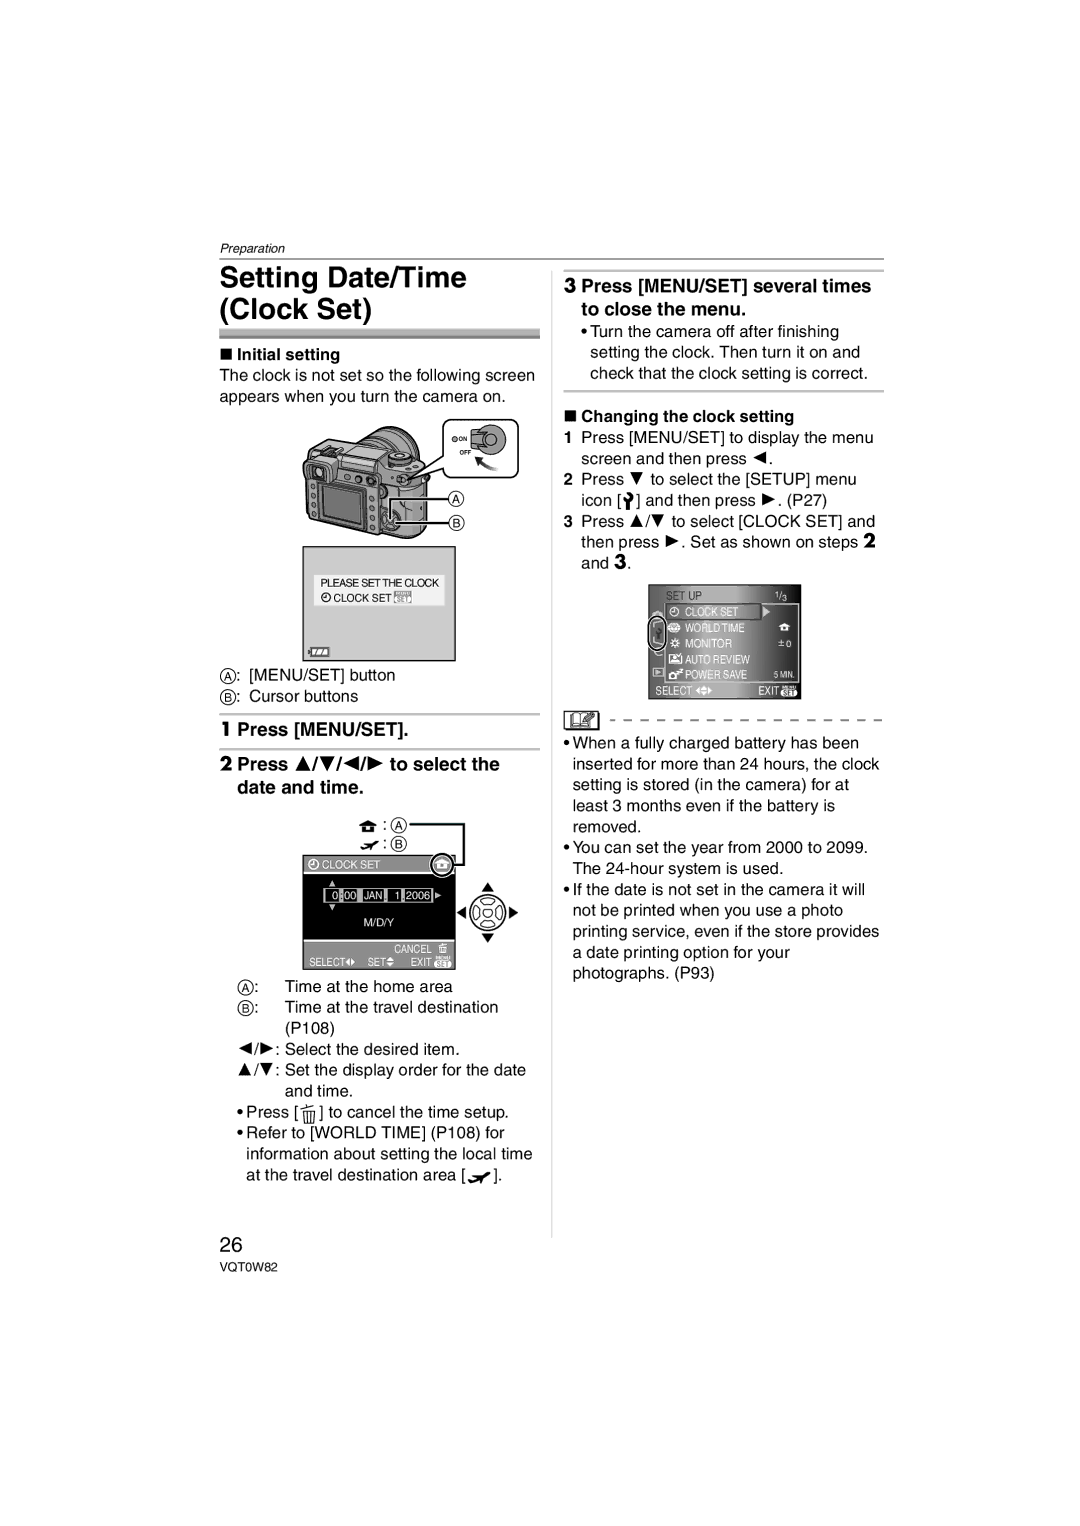
The clock is not set so the following screen appears when you turn the camera on.
![]() ON
ON
OFF
A
B
PLEASE SET THE CLOCK
MENU
CLOCK SET SET
A: [MENU/SET] button
B: Cursor buttons
1 Press [MENU/SET].
2Press 3/4/2/1 to select the date and time.
![]() : A
: A ![]() : B
: B
![]() CLOCK SET
CLOCK SET
00 : 00 JAN .11 . 2006 ![]()
M/D/Y
CANCEL ![]()
SELECT![]() SET
SET![]() EXIT MENU
EXIT MENU
A: Time at the home area
B: Time at the travel destination (P108)
2/1: Select the desired item.
3/4: Set the display order for the date and time.
•Press [![]() ] to cancel the time setup.
] to cancel the time setup.
•Refer to [WORLD TIME] (P108) for information about setting the local time at the travel destination area [![]() ].
].
26
3 Press [MENU/SET] several times to close the menu.
•Turn the camera off after finishing setting the clock. Then turn it on and check that the clock setting is correct.
∫Changing the clock setting
1Press [MENU/SET] to display the menu screen and then press 2.
2Press 4 to select the [SETUP] menu icon [![]() ] and then press 1. (P27)
] and then press 1. (P27)
3Press 3/4 to select [CLOCK SET] and then press 1. Set as shown on steps 2 and 3.
SET UP | 1/3 |
CLOCK SET |
|
WORLD TIME |
|
MONITOR | n0 |
AUTO REVIEW |
|
POWER SAVE | 5 MIN. |
SELECT | EXIT MENU |
•When a fully charged battery has been inserted for more than 24 hours, the clock setting is stored (in the camera) for at least 3 months even if the battery is removed.
•You can set the year from 2000 to 2099. The
•If the date is not set in the camera it will not be printed when you use a photo printing service, even if the store provides a date printing option for your photographs. (P93)
VQT0W82