Advanced
[AUTO] | for auto setting (auto | ||
|
|
| white balance) |
|
|
|
|
[ | ] |
| for recording outdoors on |
(Daylight) | a bright day | ||
|
|
|
|
[ | ] |
| for recording outdoors on |
(Cloudy) | a cloudy day | ||
|
|
|
|
[ | ] | for recording outdoors in | |
(Shade) | the shade | ||
|
|
|
|
[ | ] |
| for recording under |
(Halogen) | halogen lighting | ||
|
|
|
|
[ | ] |
| for recording with the |
(Flash) | flash only | ||
|
|
|
|
[ | ] |
|
|
(White set 1) | for using the preset white | ||
|
|
| balance |
[ | ] |
| |
(White set 2) |
| ||
|
|
|
|
[ |
| ] | for using the preset color |
| |||
| (Color |
| |
temperature | temperature setting | ||
setting) |
| ||
|
|
|
|
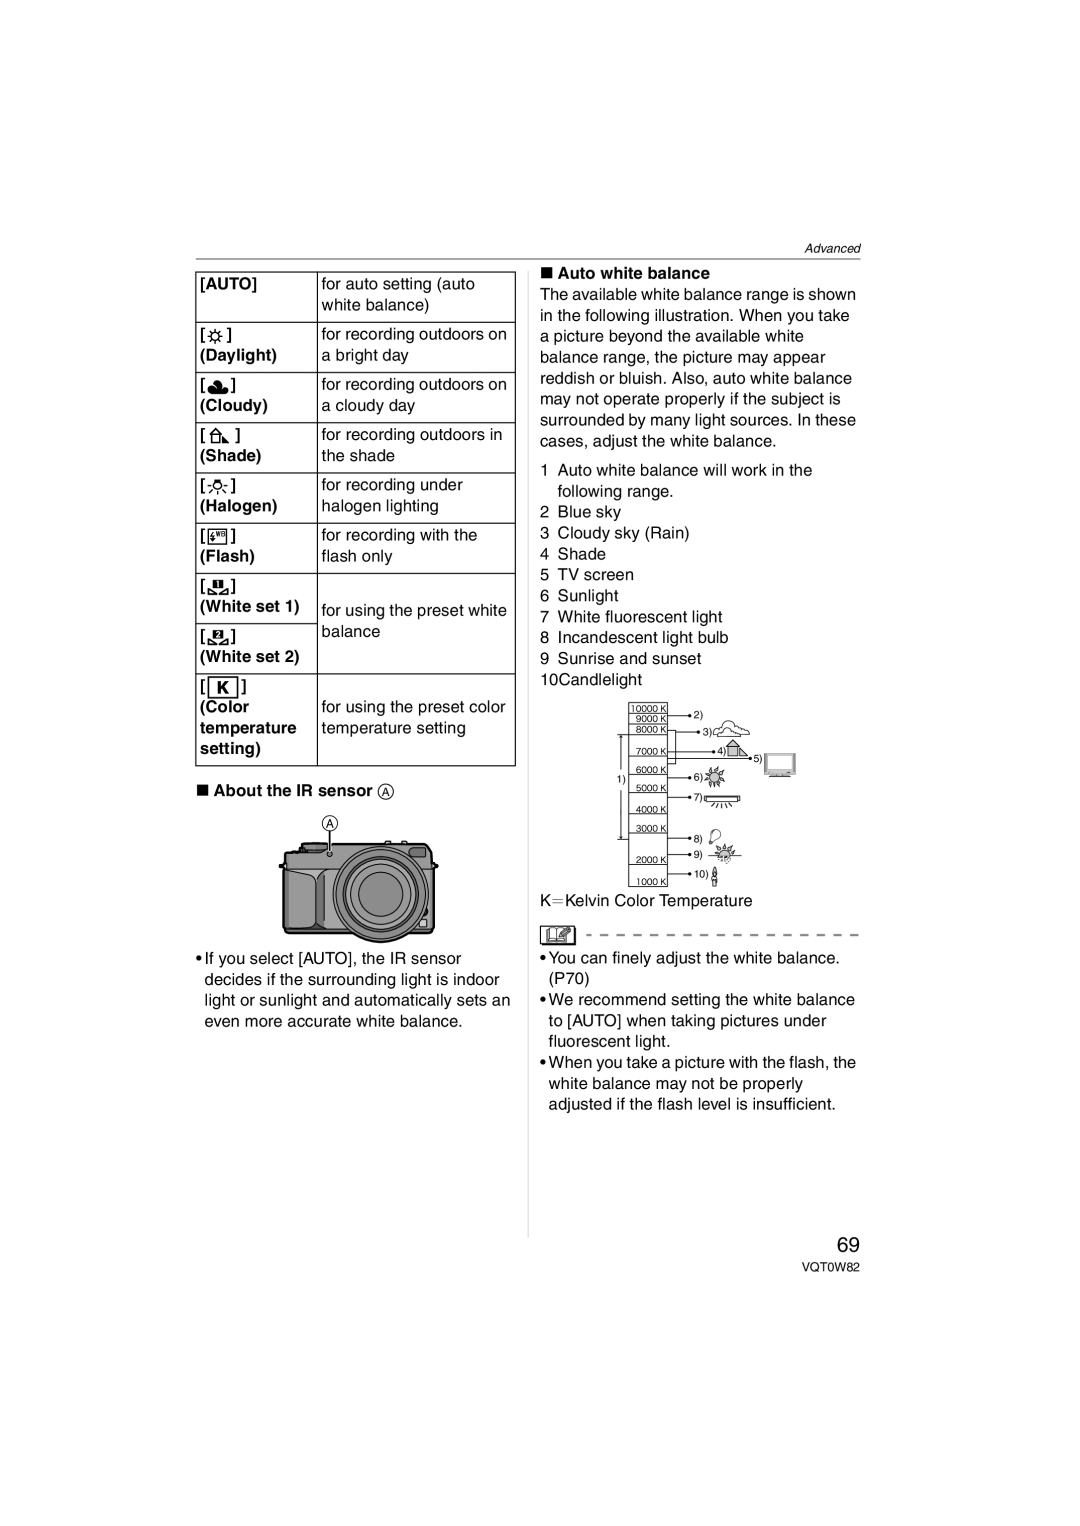
∫About the IR sensor A
A
•If you select [AUTO], the IR sensor decides if the surrounding light is indoor light or sunlight and automatically sets an even more accurate white balance.
∫Auto white balance
The available white balance range is shown in the following illustration. When you take a picture beyond the available white balance range, the picture may appear reddish or bluish. Also, auto white balance may not operate properly if the subject is surrounded by many light sources. In these cases, adjust the white balance.
1Auto white balance will work in the following range.
2Blue sky
3Cloudy sky (Rain)
4Shade
5TV screen
6Sunlight
7White fluorescent light
8Incandescent light bulb
9Sunrise and sunset
10Candlelight
| 2) |
| 3) |
| 4) |
| 5) |
1) | 6) |
| 7) |
| 8) |
| 9) |
| 10) |
KlKelvin Color Temperature
•You can finely adjust the white balance. (P70)
•We recommend setting the white balance to [AUTO] when taking pictures under fluorescent light.
•When you take a picture with the flash, the white balance may not be properly adjusted if the flash level is insufficient.
69
VQT0W82
