Setting Up the Printer
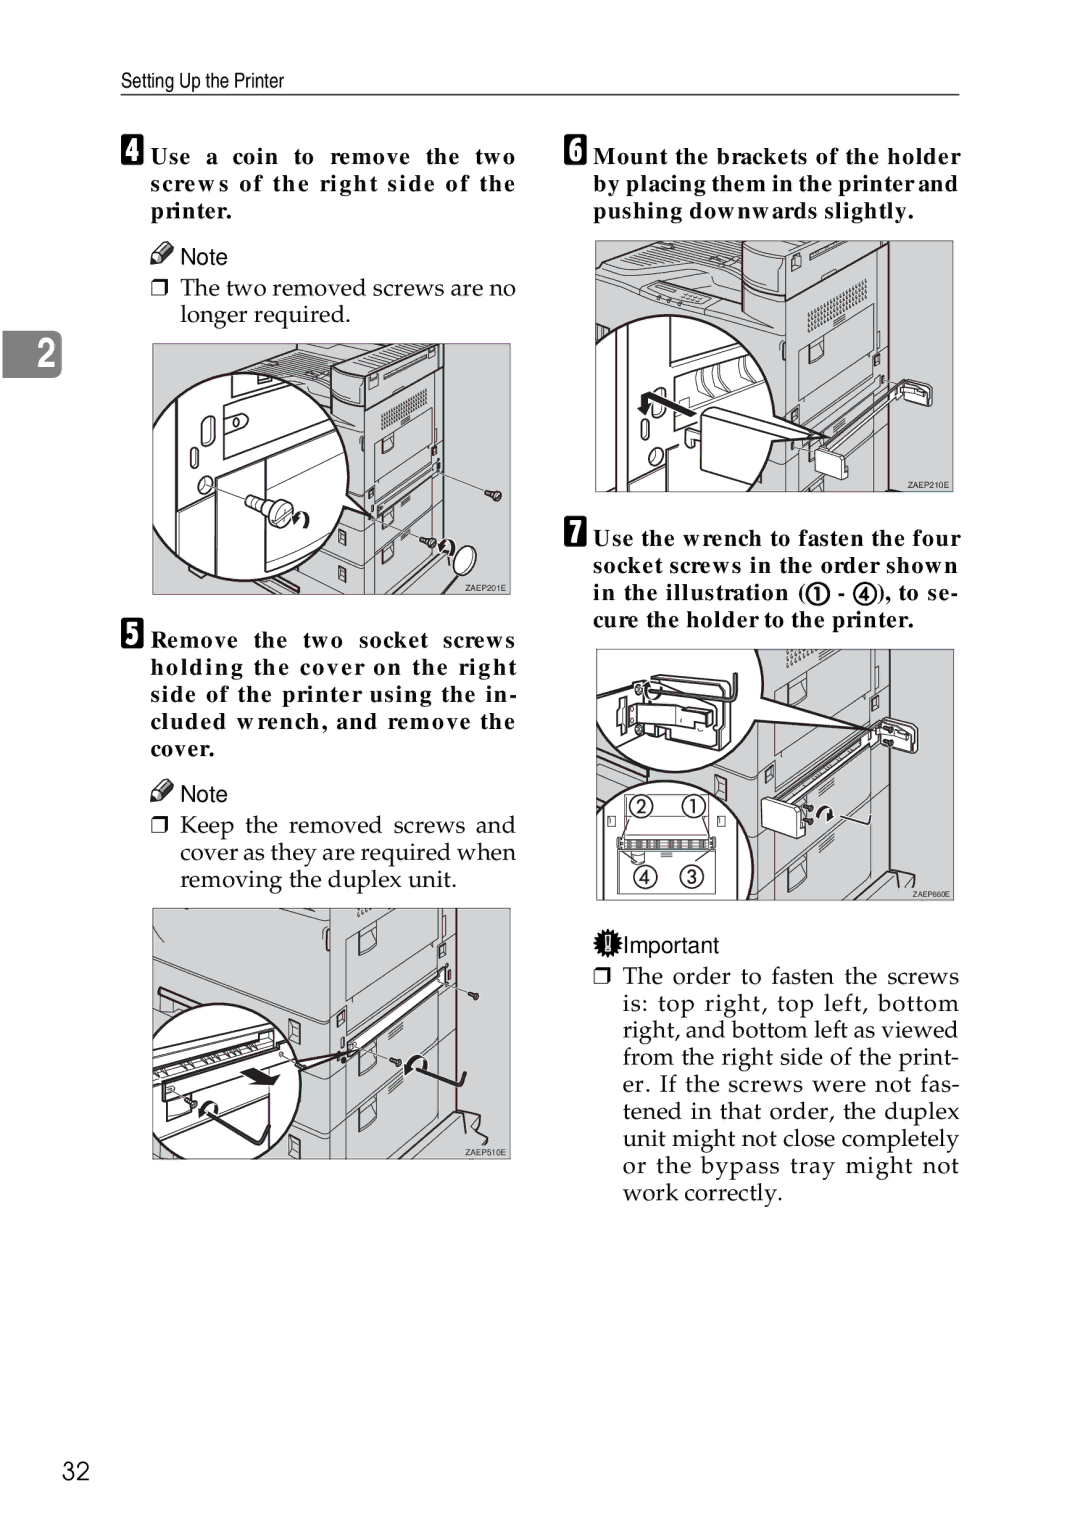
D Use a coin to remove the two screws of the right side of the printer.
![]()
![]() Note
Note
❒The two removed screws are no longer required.
2 |
ZAEP201E |
E Remove the two socket screws holding the cover on the right side of the printer using the in- cluded wrench, and remove the cover.
![]()
![]() Note
Note
❒Keep the removed screws and cover as they are required when removing the duplex unit.
ZAEP510E |
F Mount the brackets of the holder by placing them in the printer and pushing downwards slightly.
ZAEP210E |
G Use the wrench to fasten the four socket screws in the order shown in the illustration (A - D), to se- cure the holder to the printer.
ZAEP660E |
![]() Important
Important
❒The order to fasten the screws is: top right, top left, bottom right, and bottom left as viewed from the right side of the print- er. If the screws were not fas- tened in that order, the duplex unit might not close completely or the bypass tray might not work correctly.
32