ENGLISH
ESPAÑOL
Basic Recording | Grabación básica |
Making your First Recording
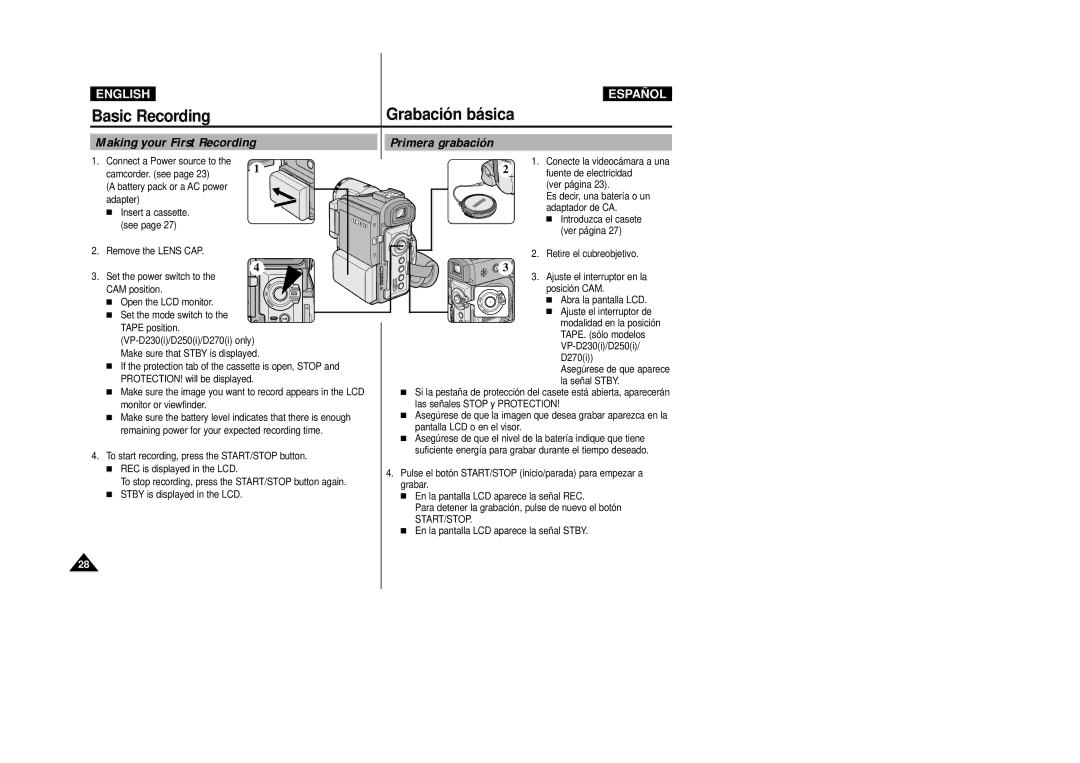
1. Connect a Power source to the
camcorder. (see page 23) 1 (A battery pack or a AC power adapter)
■ Insert a cassette. (see page 27)
2. Remove the LENS CAP.
4 ![]()
3. Set the power switch to the |
|
CAM position. |
|
■ Open the LCD monitor. |
|
■ Set the mode switch to the | FADE |
TAPE position. | S.SHOW |
| |
| |
Make sure that STBY is displayed. |
|
■If the protection tab of the cassette is open, STOP and PROTECTION! will be displayed.
■Make sure the image you want to record appears in the LCD monitor or viewfinder.
■Make sure the battery level indicates that there is enough remaining power for your expected recording time.
4.To start recording, press the START/STOP button.
■REC is displayed in the LCD.
To stop recording, press the START/STOP button again.
■STBY is displayed in the LCD.
Primera grabación
1. Conecte la videocámara a una
2 | fuente de electricidad |
| |
| (ver página 23). |
| Es decir, una batería o un |
| adaptador de CA. |
| ■ Introduzca el casete |
| (ver página 27) |
| 2. Retire el cubreobjetivo. |
3 | 3. Ajuste el interruptor en la |
| |
| posición CAM. |
| ■ Abra la pantalla LCD. |
| ■ Ajuste el interruptor de |
| modalidad en la posición |
| TAPE. (sólo modelos |
| |
| D270(i)) |
| Asegúrese de que aparece |
| la señal STBY. |
■Si la pestaña de protección del casete está abierta, aparecerán las señales STOP y PROTECTION!
■Asegúrese de que la imagen que desea grabar aparezca en la pantalla LCD o en el visor.
■Asegúrese de que el nivel de la batería indique que tiene suficiente energía para grabar durante el tiempo deseado.
4.Pulse el botón START/STOP (inicio/parada) para empezar a grabar.
■En la pantalla LCD aparece la señal REC.
Para detener la grabación, pulse de nuevo el botón
START/STOP.
■En la pantalla LCD aparece la señal STBY.
28
