Installation
Installation
Installation site
20 cm above |
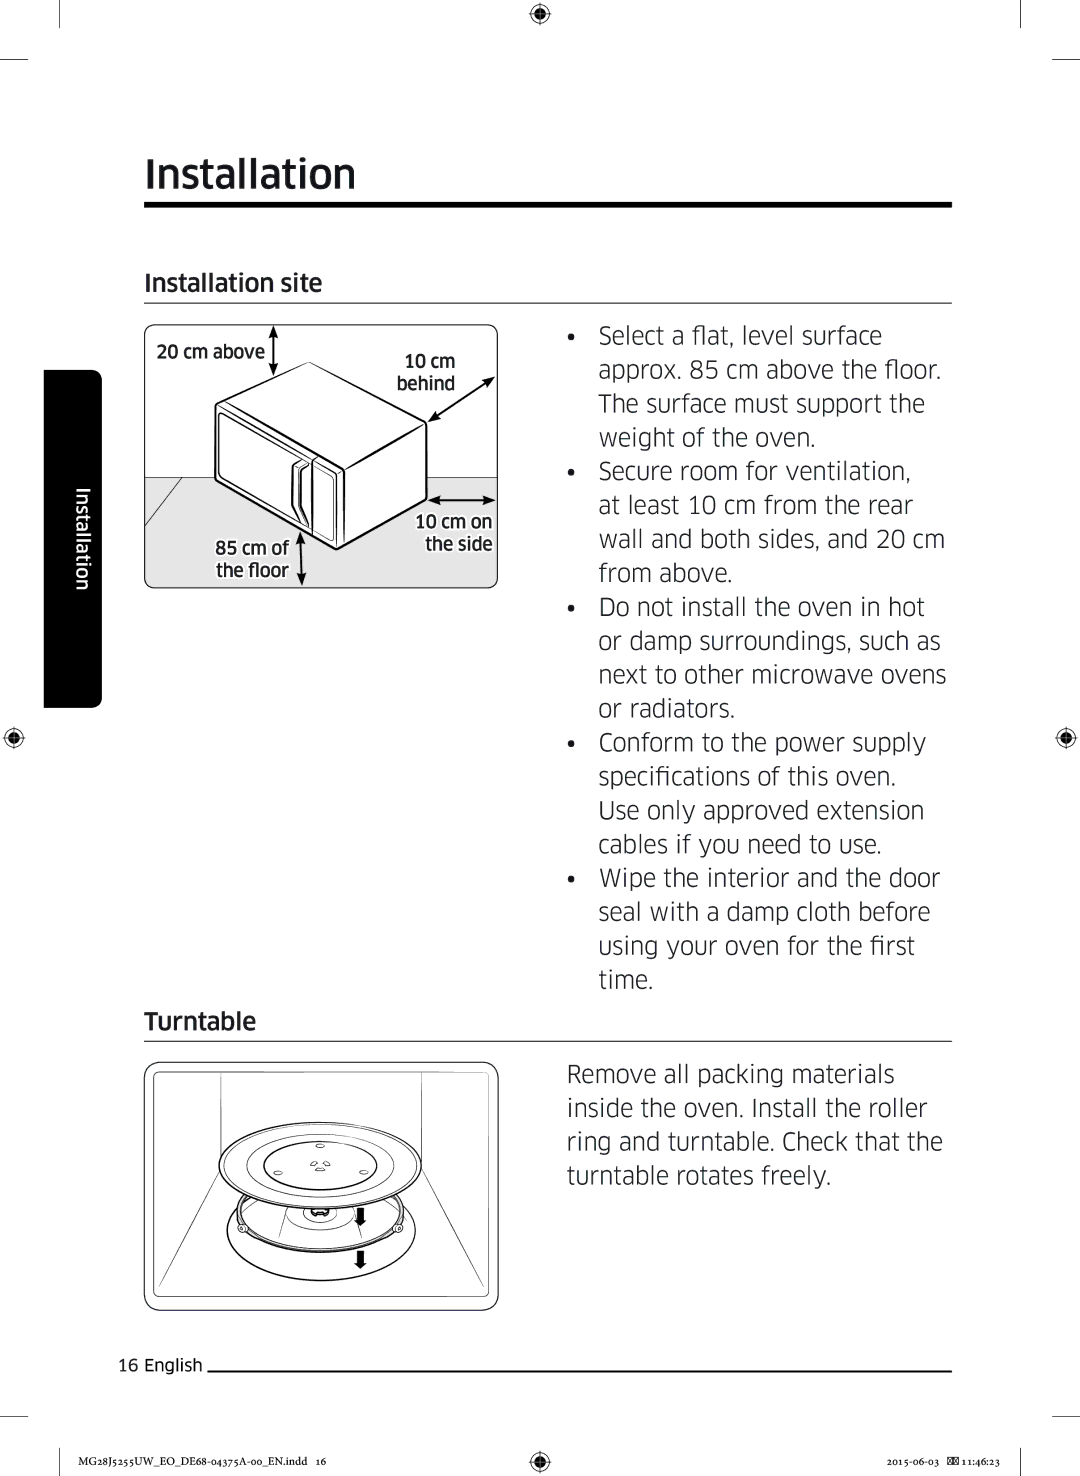
| 10 cm | • Select a flat, level surface | ||||
| |||||||
| approx. 85 cm above the floor. | ||||||
|
|
| |||||
|
|
| behind | ||||
|
|
| The surface must support the | ||||
|
|
|
|
|
|
| |
|
|
|
|
|
|
| weight of the oven. |
|
|
|
|
|
|
| • Secure room for ventilation, |
|
|
|
|
|
|
| |
|
|
|
|
|
|
| at least 10 cm from the rear |
|
|
| 10 cm on | ||||
|
|
| wall and both sides, and 20 cm | ||||
85 cm of | the side | ||||||
the floor |
|
|
|
| from above. | ||
|
|
|
|
|
|
| • Do not install the oven in hot |
|
|
|
|
|
|
| or damp surroundings, such as |
|
|
|
|
|
|
| next to other microwave ovens |
|
|
|
|
|
|
| or radiators. |
|
|
|
|
|
|
| • Conform to the power supply |
|
|
|
|
|
|
| specifications of this oven. |
|
|
|
|
|
|
| Use only approved extension |
|
|
|
|
|
|
| cables if you need to use. |
|
|
|
|
|
|
| • Wipe the interior and the door |
|
|
|
|
|
|
| seal with a damp cloth before |
|
|
|
|
|
|
| using your oven for the first |
|
|
|
|
|
|
| time. |
Turntable |
|
|
|
|
| ||
|
|
|
|
|
|
|
|
|
|
|
|
|
|
| Remove all packing materials |
|
|
|
|
|
|
| inside the oven. Install the roller |
|
|
|
|
|
|
| ring and turntable. Check that the |
|
|
|
|
|
|
| turntable rotates freely. |
