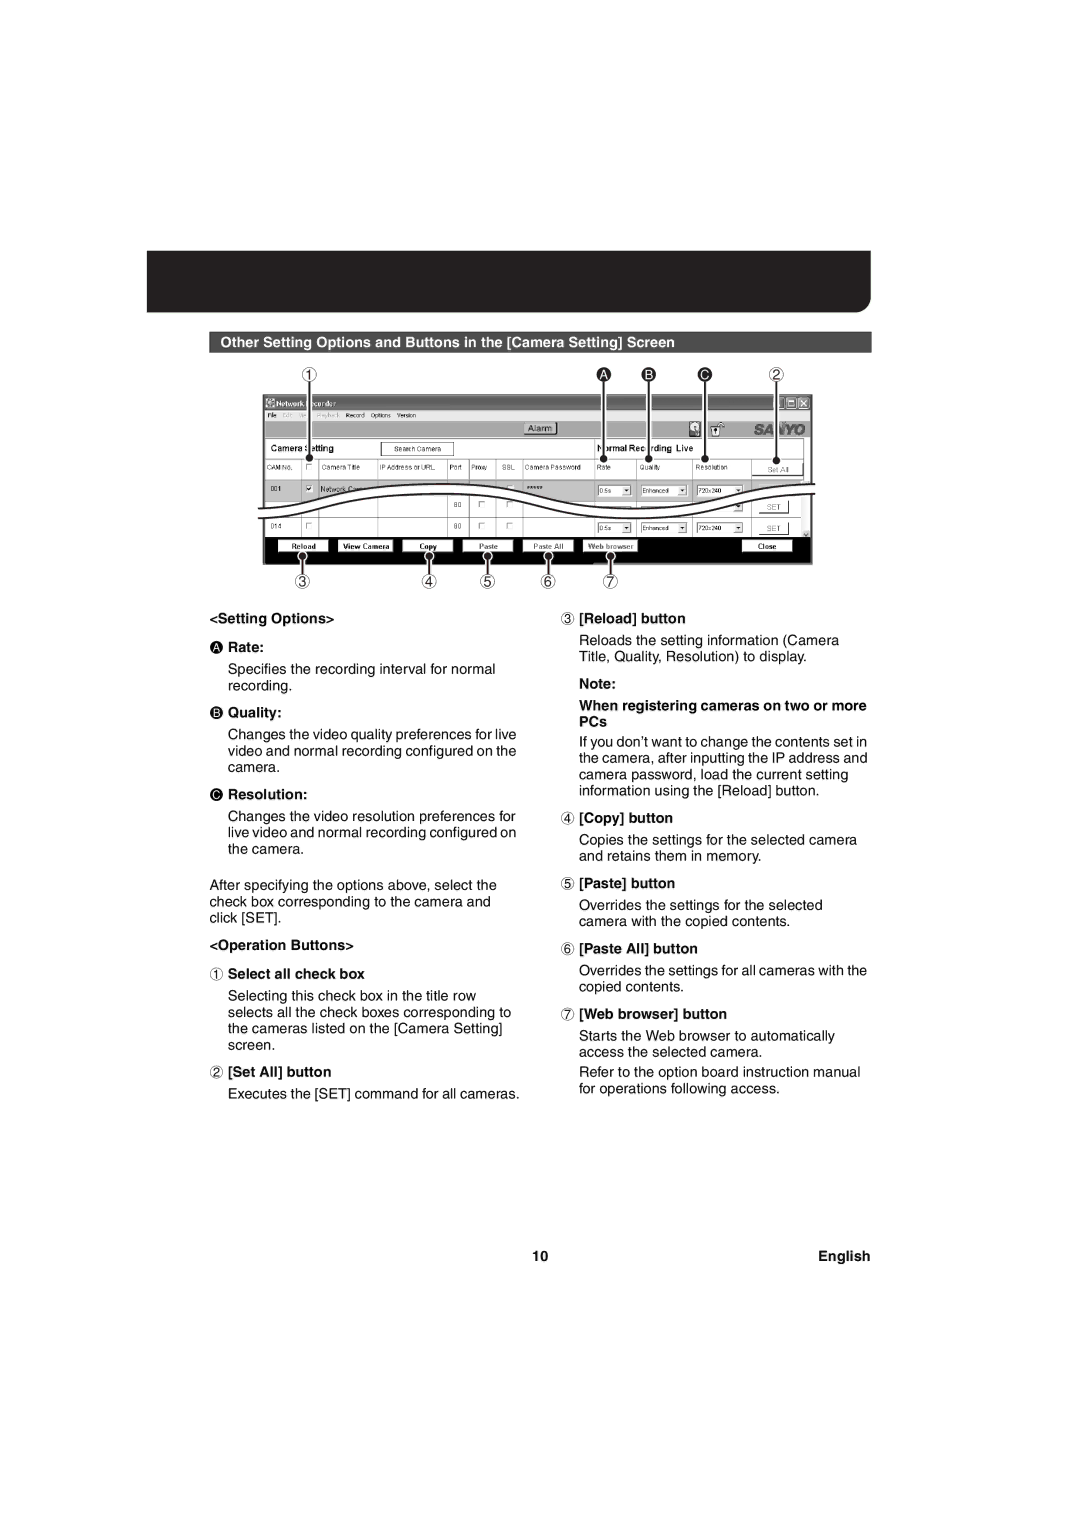
Other Setting Options and Buttons in the [Camera Setting] Screen
1
3 | 4 | 5 |
<Setting Options>
ARate:
Specifies the recording interval for normal recording.
BQuality:
Changes the video quality preferences for live video and normal recording configured on the camera.
CResolution:
Changes the video resolution preferences for live video and normal recording configured on the camera.
After specifying the options above, select the check box corresponding to the camera and click [SET].
<Operation Buttons>
1Select all check box
Selecting this check box in the title row selects all the check boxes corresponding to the cameras listed on the [Camera Setting] screen.
2[Set All] button
Executes the [SET] command for all cameras.
A B C 2
67
3[Reload] button
Reloads the setting information (Camera Title, Quality, Resolution) to display.
Note:
When registering cameras on two or more PCs
If you don’t want to change the contents set in the camera, after inputting the IP address and camera password, load the current setting information using the [Reload] button.
4[Copy] button
Copies the settings for the selected camera and retains them in memory.
5[Paste] button
Overrides the settings for the selected camera with the copied contents.
6[Paste All] button
Overrides the settings for all cameras with the copied contents.
7[Web browser] button
Starts the Web browser to automatically access the selected camera.
Refer to the option board instruction manual for operations following access.
10 | English |