Checking the Input Signal
This function allows you to check the current input signal information.
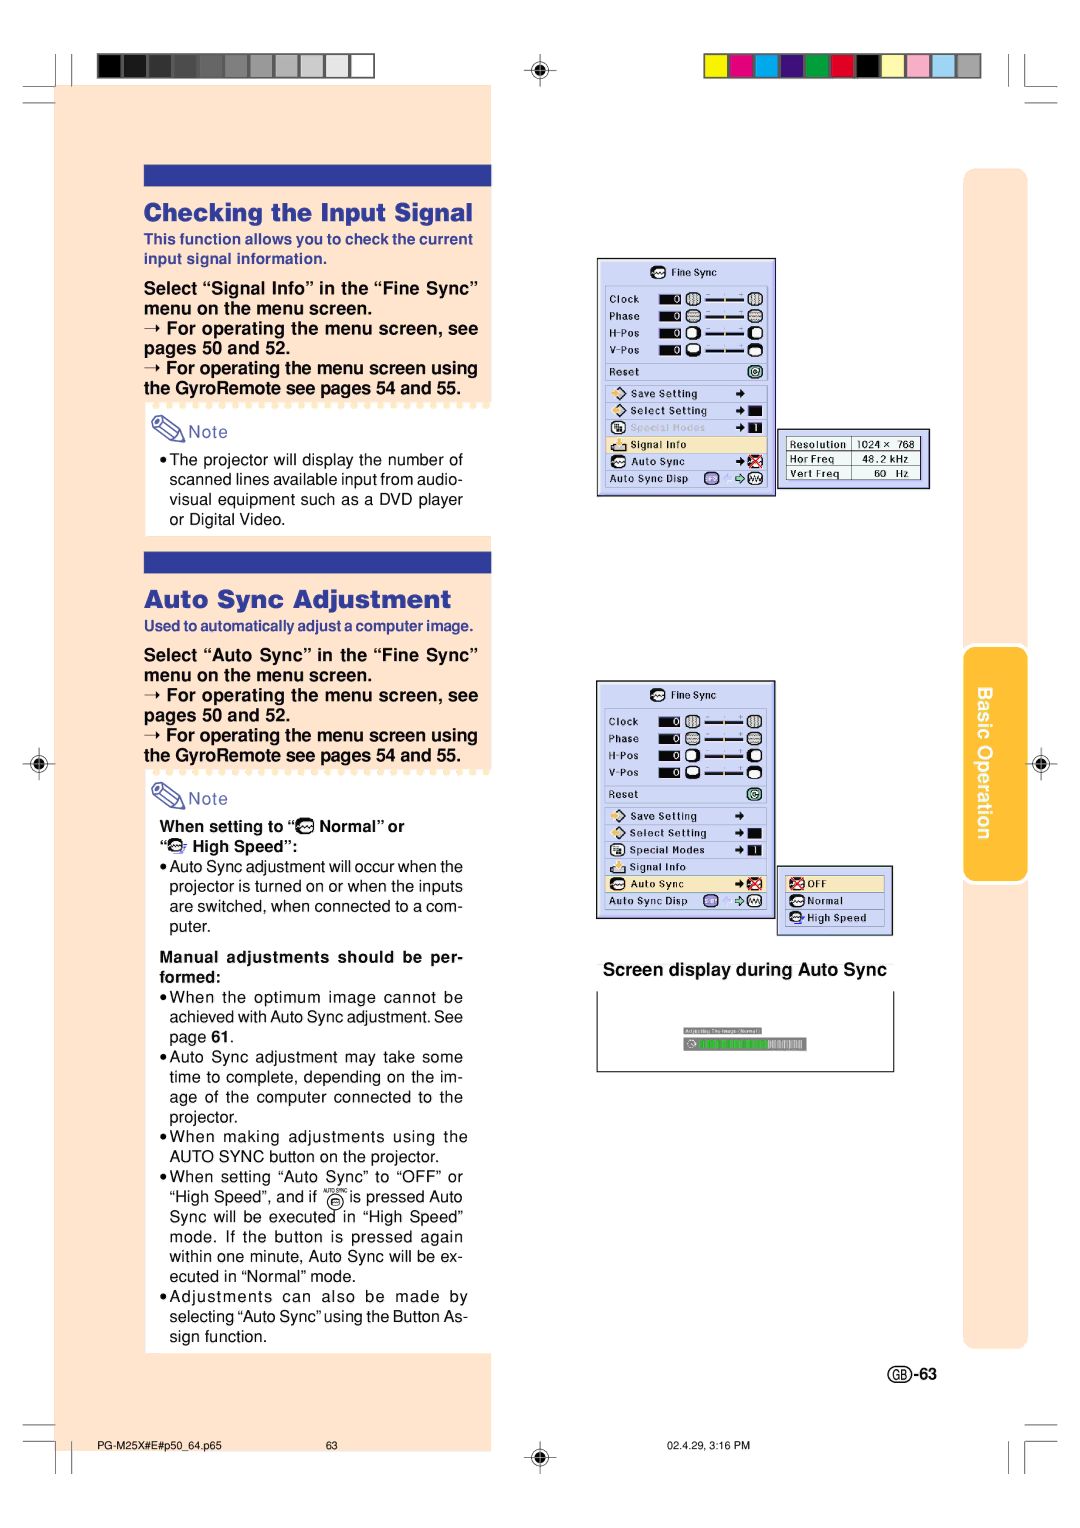
Select “Signal Info” in the “Fine Sync” menu on the menu screen.
➝For operating the menu screen, see pages 50 and 52.
➝For operating the menu screen using the GyroRemote see pages 54 and 55.
![]() Note
Note
•The projector will display the number of scanned lines available input from audio- visual equipment such as a DVD player or Digital Video.
Auto Sync Adjustment
Used to automatically adjust a computer image.
Select “Auto Sync” in the “Fine Sync” menu on the menu screen.
➝For operating the menu screen, see pages 50 and 52.
➝For operating the menu screen using the GyroRemote see pages 54 and 55.
![]() Note
Note
When setting to “ Normal” or “
 High Speed”:
•Auto Sync adjustment will occur when the projector is turned on or when the inputs are switched, when connected to a com- puter.
Manual adjustments should be per- formed:
•When the optimum image cannot be achieved with Auto Sync adjustment. See page 61.
•Auto Sync adjustment may take some time to complete, depending on the im- age of the computer connected to the projector.
•When making adjustments using the AUTO SYNC button on the projector.
•When setting “Auto Sync” to “OFF” or
“High Speed”, and if ![]()
![]() is pressed Auto Sync will be executed in “High Speed” mode. If the button is pressed again within one minute, Auto Sync will be ex- ecuted in “Normal” mode.
is pressed Auto Sync will be executed in “High Speed” mode. If the button is pressed again within one minute, Auto Sync will be ex- ecuted in “Normal” mode.
•Adjustments can also be made by selecting “Auto Sync” using the Button As- sign function.
Basic Operation
Screen display during Auto Sync
![]() -63
-63
63 | 02.4.29, 3:16 PM |