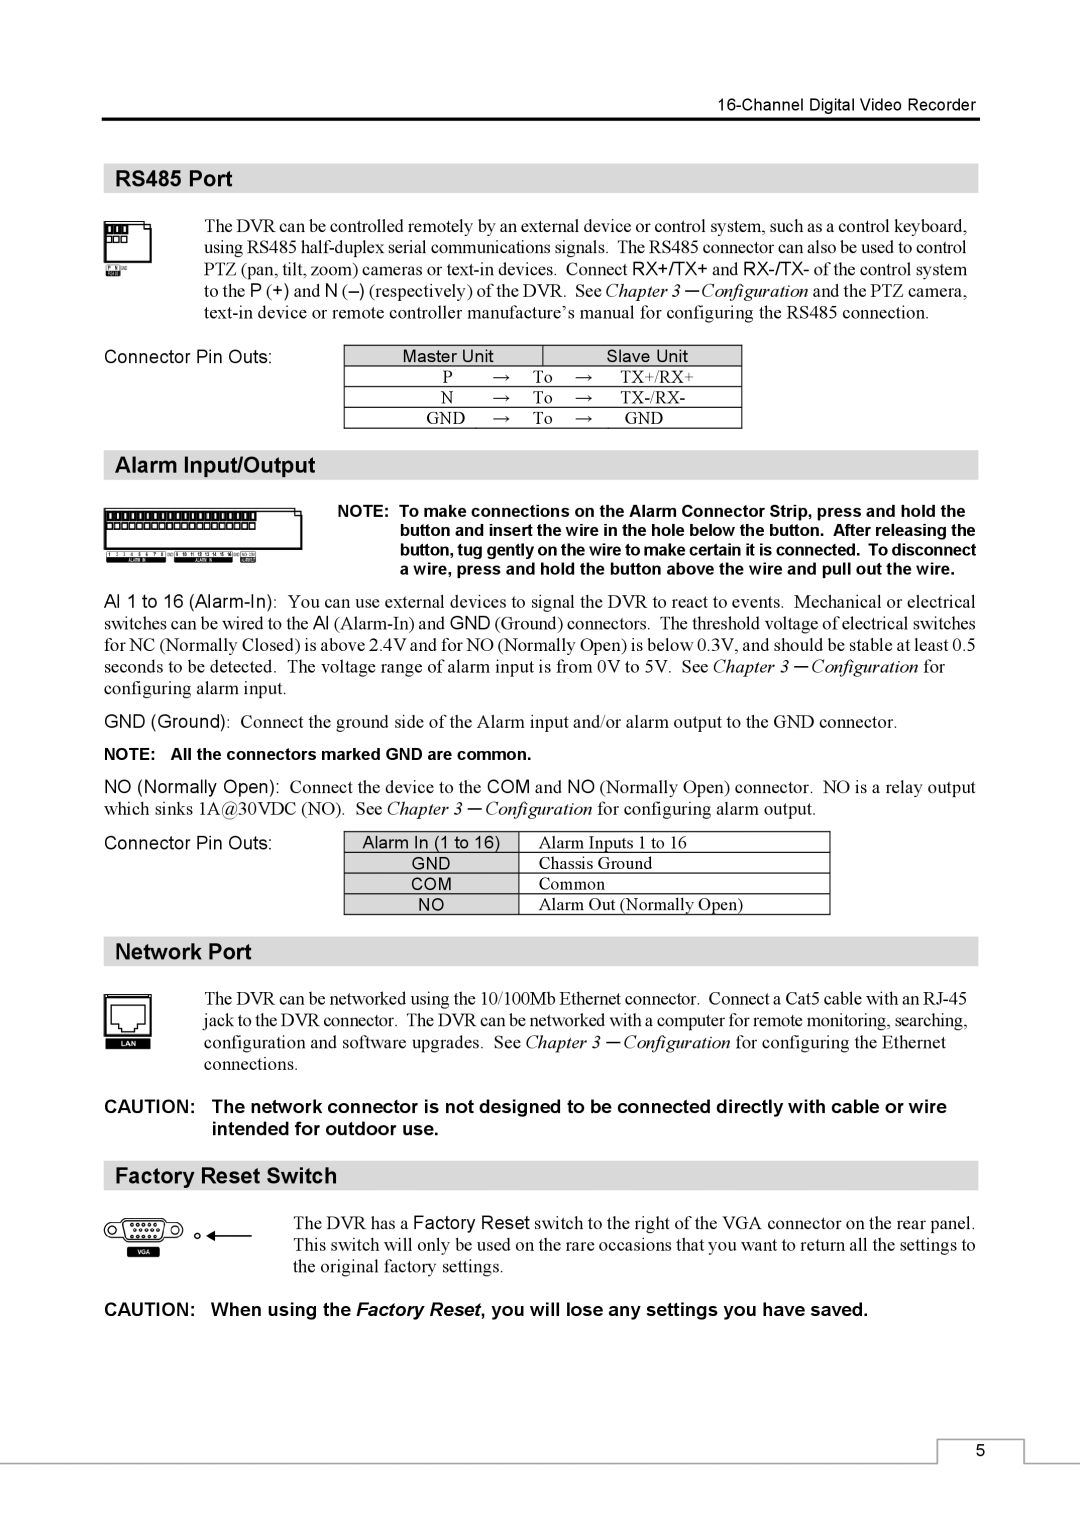
RS485 Port
The DVR can be controlled remotely by an external device or control system, such as a control keyboard, using RS485
Connector Pin Outs: | Master Unit |
|
|
| Slave Unit | |
| P | → | To | → | TX+/RX+ | |
| N | → | To | → | ||
| GND | → | To | → | GND | |
Alarm Input/Output
NOTE: To make connections on the Alarm Connector Strip, press and hold the button and insert the wire in the hole below the button. After releasing the button, tug gently on the wire to make certain it is connected. To disconnect a wire, press and hold the button above the wire and pull out the wire.
AI 1 to 16
GND (Ground): Connect the ground side of the Alarm input and/or alarm output to the GND connector.
NOTE: All the connectors marked GND are common.
NO (Normally Open): Connect the device to the COM and NO (Normally Open) connector. NO is a relay output which sinks 1A@30VDC (NO). See Chapter 3 ─ Configuration for configuring alarm output.
Connector Pin Outs:
Alarm In (1 to 16) | Alarm Inputs 1 to 16 |
GND | Chassis Ground |
COM | Common |
NO | Alarm Out (Normally Open) |
Network Port
The DVR can be networked using the 10/100Mb Ethernet connector. Connect a Cat5 cable with an
CAUTION: The network connector is not designed to be connected directly with cable or wire intended for outdoor use.
Factory Reset Switch
The DVR has a Factory Reset switch to the right of the VGA connector on the rear panel. This switch will only be used on the rare occasions that you want to return all the settings to the original factory settings.
CAUTION: When using the Factory Reset, you will lose any settings you have saved.
5