Operation Instruction
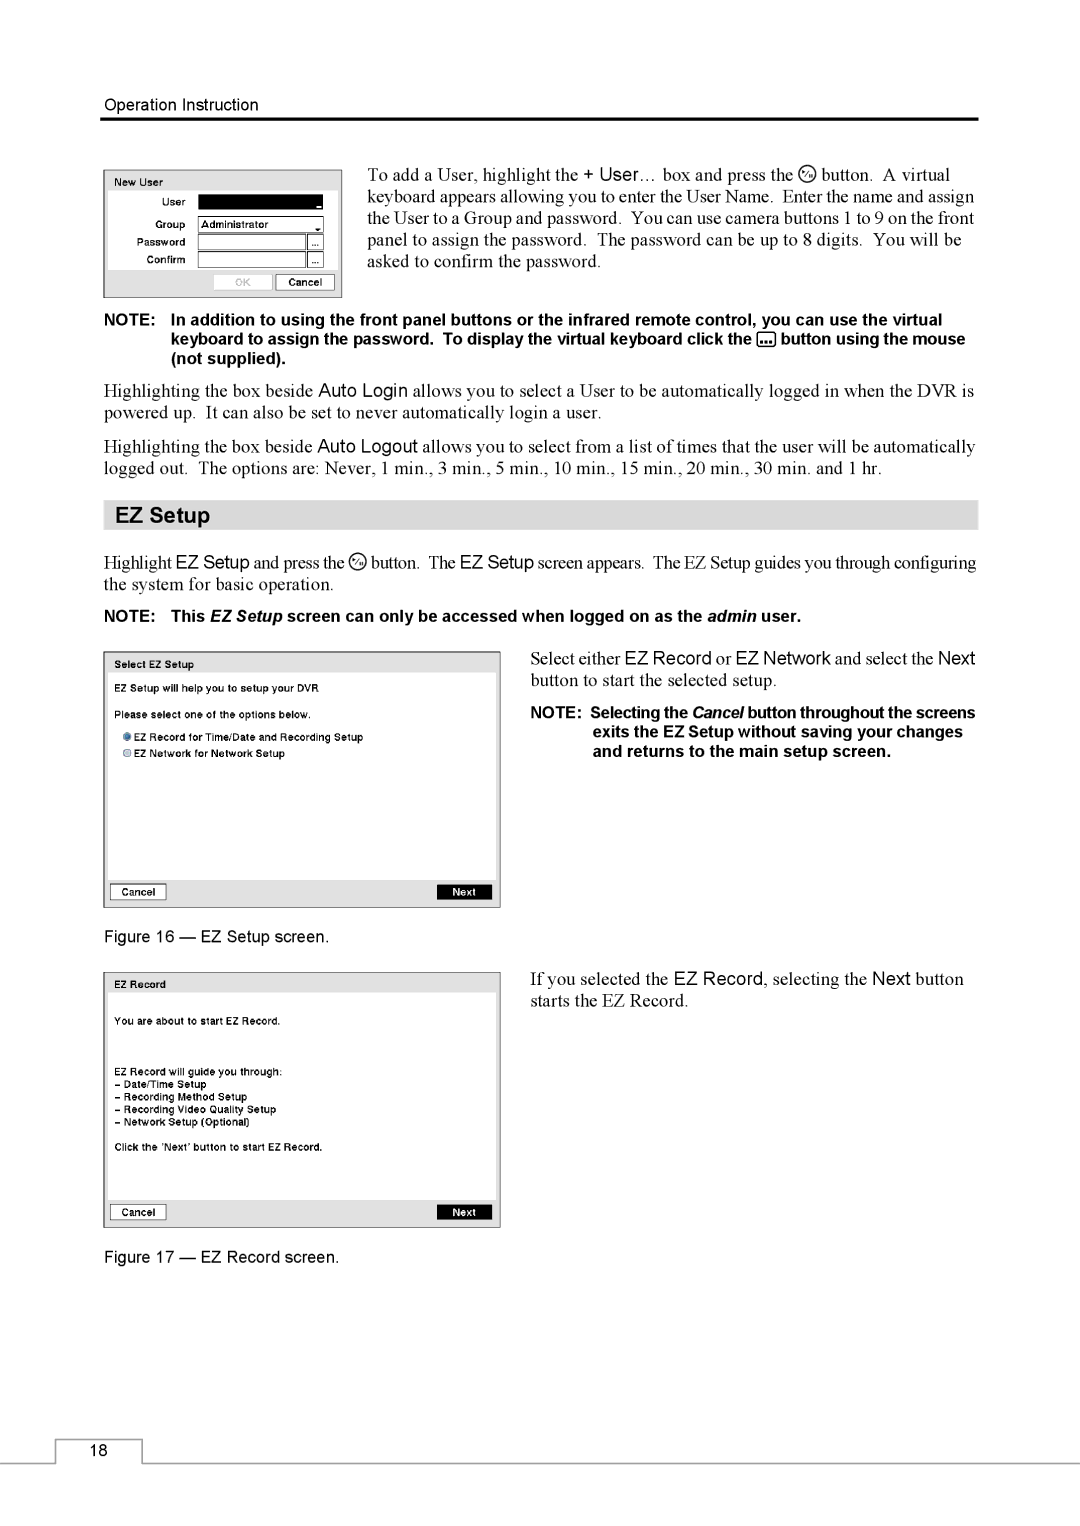
To add a User, highlight the + User… box and press the ![]() button. A virtual keyboard appears allowing you to enter the User Name. Enter the name and assign the User to a Group and password. You can use camera buttons 1 to 9 on the front panel to assign the password. The password can be up to 8 digits. You will be asked to confirm the password.
button. A virtual keyboard appears allowing you to enter the User Name. Enter the name and assign the User to a Group and password. You can use camera buttons 1 to 9 on the front panel to assign the password. The password can be up to 8 digits. You will be asked to confirm the password.
NOTE: In addition to using the front panel buttons or the infrared remote control, you can use the virtual keyboard to assign the password. To display the virtual keyboard click the ![]() button using the mouse (not supplied).
button using the mouse (not supplied).
Highlighting the box beside Auto Login allows you to select a User to be automatically logged in when the DVR is powered up. It can also be set to never automatically login a user.
Highlighting the box beside Auto Logout allows you to select from a list of times that the user will be automatically logged out. The options are: Never, 1 min., 3 min., 5 min., 10 min., 15 min., 20 min., 30 min. and 1 hr.
EZ Setup
Highlight EZ Setup and press the ![]() button. The EZ Setup screen appears. The EZ Setup guides you through configuring the system for basic operation.
button. The EZ Setup screen appears. The EZ Setup guides you through configuring the system for basic operation.
NOTE: This EZ Setup screen can only be accessed when logged on as the admin user.
Select either EZ Record or EZ Network and select the Next button to start the selected setup.
NOTE: Selecting the Cancel button throughout the screens exits the EZ Setup without saving your changes and returns to the main setup screen.
Figure 16 — EZ Setup screen.
If you selected the EZ Record, selecting the Next button starts the EZ Record.
Figure 17 — EZ Record screen.
18