Operation Instruction
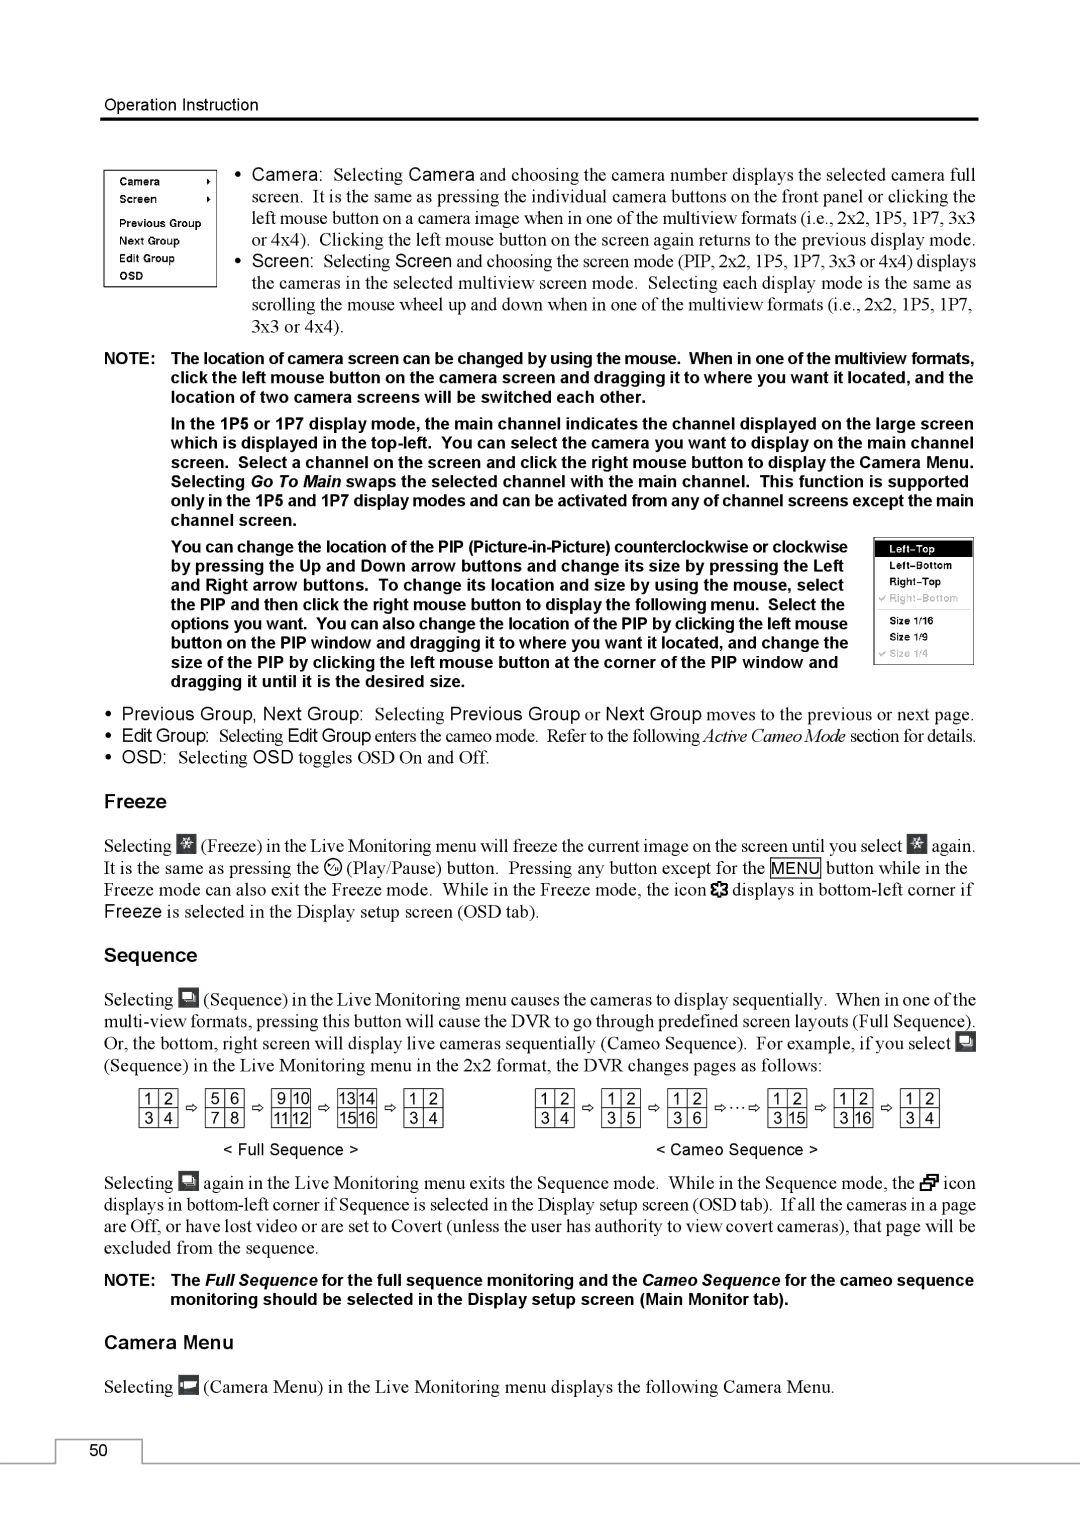
Camera: Selecting Camera and choosing the camera number displays the selected camera full screen. It is the same as pressing the individual camera buttons on the front panel or clicking the left mouse button on a camera image when in one of the multiview formats (i.e., 2x2, 1P5, 1P7, 3x3 or 4x4). Clicking the left mouse button on the screen again returns to the previous display mode.
Screen: Selecting Screen and choosing the screen mode (PIP, 2x2, 1P5, 1P7, 3x3 or 4x4) displays the cameras in the selected multiview screen mode. Selecting each display mode is the same as scrolling the mouse wheel up and down when in one of the multiview formats (i.e., 2x2, 1P5, 1P7, 3x3 or 4x4).
NOTE: The location of camera screen can be changed by using the mouse. When in one of the multiview formats, click the left mouse button on the camera screen and dragging it to where you want it located, and the location of two camera screens will be switched each other.
In the 1P5 or 1P7 display mode, the main channel indicates the channel displayed on the large screen which is displayed in the
You can change the location of the PIP
Previous Group, Next Group: Selecting Previous Group or Next Group moves to the previous or next page.
Edit Group: Selecting Edit Group enters the cameo mode. Refer to the following Active Cameo Mode section for details.
OSD: Selecting OSD toggles OSD On and Off.
Freeze
Selecting ![]() (Freeze) in the Live Monitoring menu will freeze the current image on the screen until you select
(Freeze) in the Live Monitoring menu will freeze the current image on the screen until you select ![]() again. It is the same as pressing the
again. It is the same as pressing the ![]() (Play/Pause) button. Pressing any button except for the MENU button while in the Freeze mode can also exit the Freeze mode. While in the Freeze mode, the icon
(Play/Pause) button. Pressing any button except for the MENU button while in the Freeze mode can also exit the Freeze mode. While in the Freeze mode, the icon ![]() displays in
displays in
Sequence
Selecting ![]() (Sequence) in the Live Monitoring menu causes the cameras to display sequentially. When in one of the
(Sequence) in the Live Monitoring menu causes the cameras to display sequentially. When in one of the ![]() (Sequence) in the Live Monitoring menu in the 2x2 format, the DVR changes pages as follows:
(Sequence) in the Live Monitoring menu in the 2x2 format, the DVR changes pages as follows:
< Full Sequence > | < Cameo Sequence > |
Selecting ![]() again in the Live Monitoring menu exits the Sequence mode. While in the Sequence mode, the
again in the Live Monitoring menu exits the Sequence mode. While in the Sequence mode, the ![]() icon displays in
icon displays in
NOTE: The Full Sequence for the full sequence monitoring and the Cameo Sequence for the cameo sequence monitoring should be selected in the Display setup screen (Main Monitor tab).
Camera Menu
Selecting ![]() (Camera Menu) in the Live Monitoring menu displays the following Camera Menu.
(Camera Menu) in the Live Monitoring menu displays the following Camera Menu.
50