Operation Instruction
When the DVR is in the Time & Event mode, the DVR will follow the Time settings and the ![]() icon displays at the
icon displays at the ![]() icon displays.
icon displays.
Highlight the box under the Channels heading and press the ![]() button to select which cameras will be recorded. (Simple Mode Only)
button to select which cameras will be recorded. (Simple Mode Only)
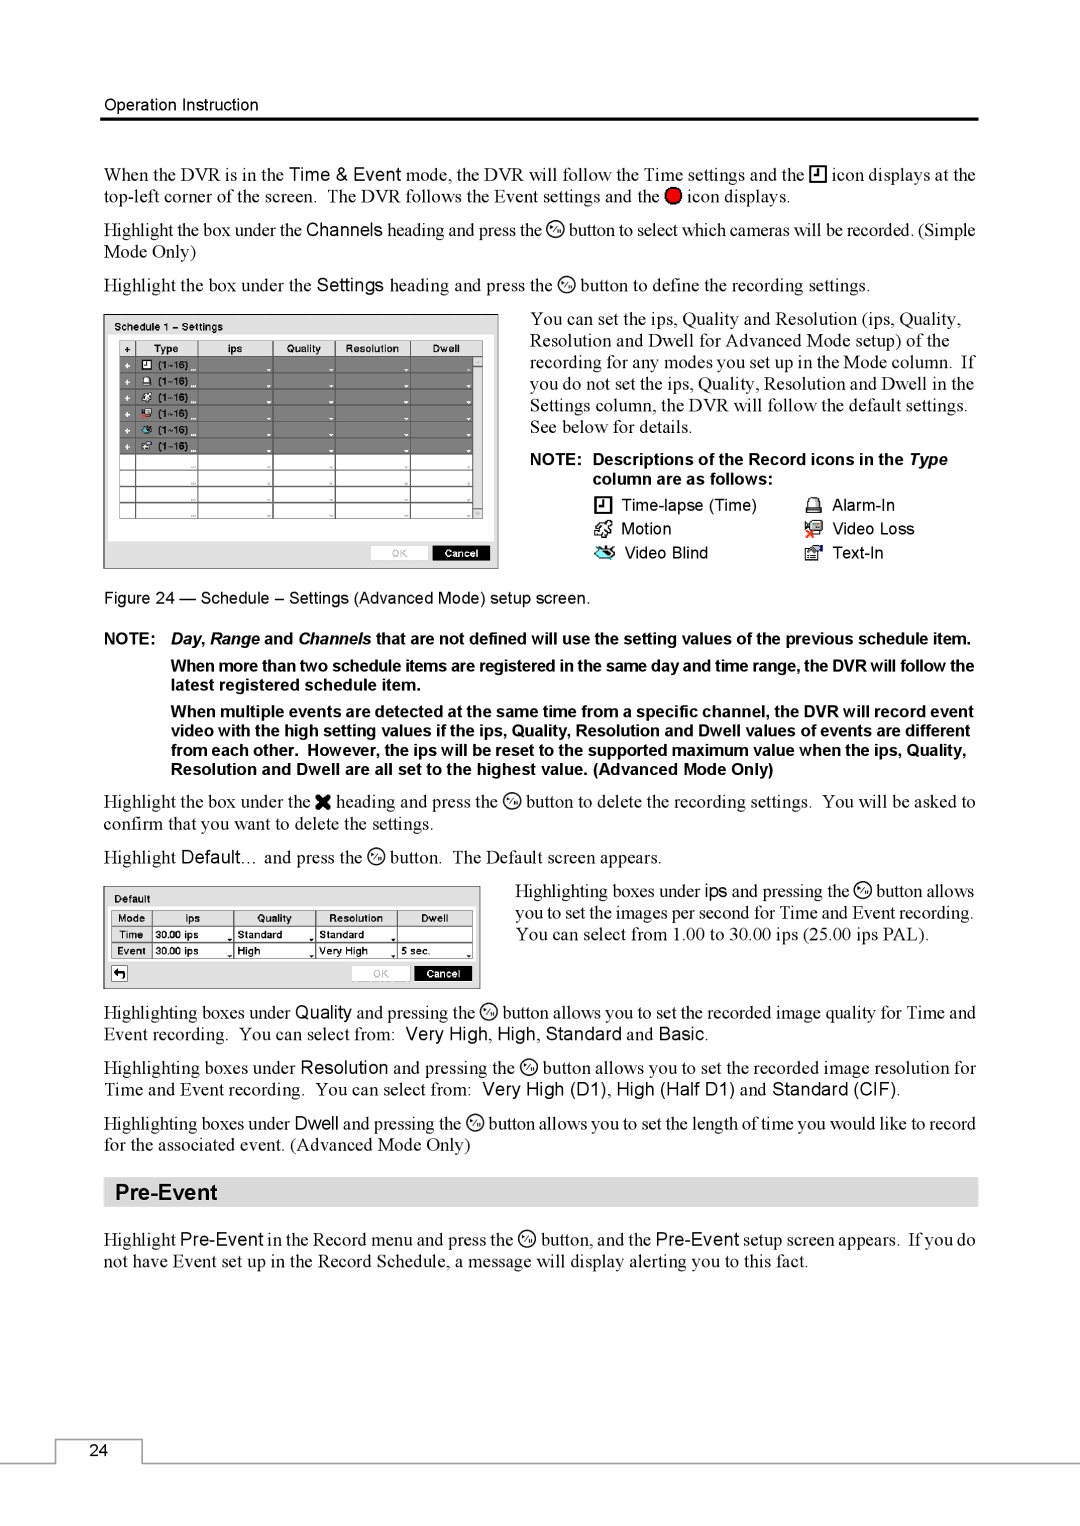
Highlight the box under the Settings heading and press the ![]() button to define the recording settings.
button to define the recording settings.
You can set the ips, Quality and Resolution (ips, Quality, Resolution and Dwell for Advanced Mode setup) of the recording for any modes you set up in the Mode column. If you do not set the ips, Quality, Resolution and Dwell in the Settings column, the DVR will follow the default settings. See below for details.
NOTE: Descriptions of the Record icons in the Type column are as follows:
Motion | Video Loss |
Video Blind |
Figure 24 — Schedule – Settings (Advanced Mode) setup screen.
NOTE: Day, Range and Channels that are not defined will use the setting values of the previous schedule item.
When more than two schedule items are registered in the same day and time range, the DVR will follow the latest registered schedule item.
When multiple events are detected at the same time from a specific channel, the DVR will record event video with the high setting values if the ips, Quality, Resolution and Dwell values of events are different from each other. However, the ips will be reset to the supported maximum value when the ips, Quality, Resolution and Dwell are all set to the highest value. (Advanced Mode Only)
Highlight the box under the ![]() heading and press the
heading and press the ![]() button to delete the recording settings. You will be asked to confirm that you want to delete the settings.
button to delete the recording settings. You will be asked to confirm that you want to delete the settings.
Highlight Default… and press the ![]() button. The Default screen appears.
button. The Default screen appears.
Highlighting boxes under ips and pressing the ![]() button allows you to set the images per second for Time and Event recording. You can select from 1.00 to 30.00 ips (25.00 ips PAL).
button allows you to set the images per second for Time and Event recording. You can select from 1.00 to 30.00 ips (25.00 ips PAL).
Highlighting boxes under Quality and pressing the ![]() button allows you to set the recorded image quality for Time and Event recording. You can select from: Very High, High, Standard and Basic.
button allows you to set the recorded image quality for Time and Event recording. You can select from: Very High, High, Standard and Basic.
Highlighting boxes under Resolution and pressing the ![]() button allows you to set the recorded image resolution for Time and Event recording. You can select from: Very High (D1), High (Half D1) and Standard (CIF).
button allows you to set the recorded image resolution for Time and Event recording. You can select from: Very High (D1), High (Half D1) and Standard (CIF).
Highlighting boxes under Dwell and pressing the ![]() button allows you to set the length of time you would like to record for the associated event. (Advanced Mode Only)
button allows you to set the length of time you would like to record for the associated event. (Advanced Mode Only)
Pre-Event
Highlight ![]() button, and the
button, and the
24