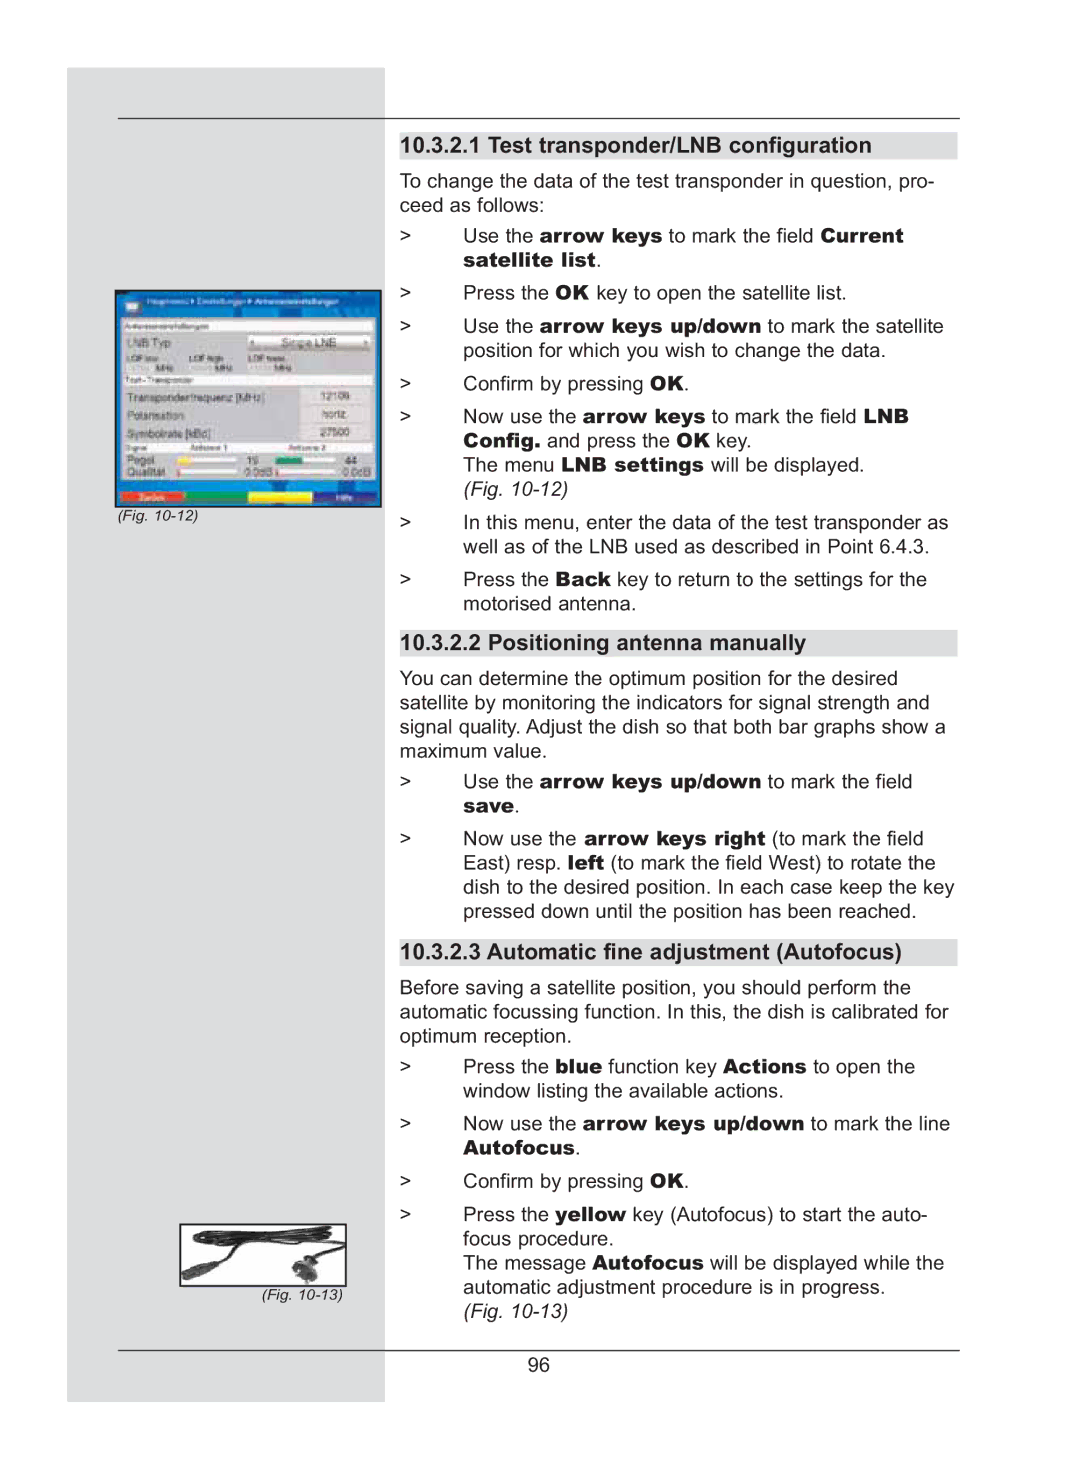
10.3.2.1 Test transponder/LNB configuration
To change the data of the test transponder in question, pro- ceed as follows:
| > | Use the arrow keys to mark the field Current |
|
| satellite list. |
| > | Press the OK key to open the satellite list. |
| ||
| > | Use the arrow keys up/down to mark the satellite |
|
| position for which you wish to change the data. |
| > | Confirm by pressing OK. |
| > | Now use the arrow keys to mark the field LNB |
|
| Config. and press the OK key. |
|
| The menu LNB settings will be displayed. |
|
| (Fig. |
|
|
|
(Fig. | > | In this menu, enter the data of the test transponder as |
| ||
|
| well as of the LNB used as described in Point 6.4.3. |
| > | Press the Back key to return to the settings for the |
|
| motorised antenna. |
10.3.2.2 Positioning antenna manually
You can determine the optimum position for the desired satellite by monitoring the indicators for signal strength and signal quality. Adjust the dish so that both bar graphs show a maximum value.
> Use the arrow keys up/down to mark the field save.
> Now use the arrow keys right (to mark the field East) resp. left (to mark the field West) to rotate the dish to the desired position. In each case keep the key pressed down until the position has been reached.
10.3.2.3 Automatic fine adjustment (Autofocus)
Before saving a satellite position, you should perform the automatic focussing function. In this, the dish is calibrated for optimum reception.
> | Press the blue function key Actions to open the | ||
|
| window listing the available actions. | |
> | Now use the arrow keys up/down to mark the line | ||
|
| Autofocus. | |
> | Confirm by pressing OK. | ||
> | Press the yellow key (Autofocus) to start the auto- | ||
|
| focus procedure. | |
|
| The message Autofocus will be displayed while the | |
|
| automatic adjustment procedure is in progress. | |
(Fig. | |||
(Fig. | |||
|
| ||
96