MFP Ports Configuration
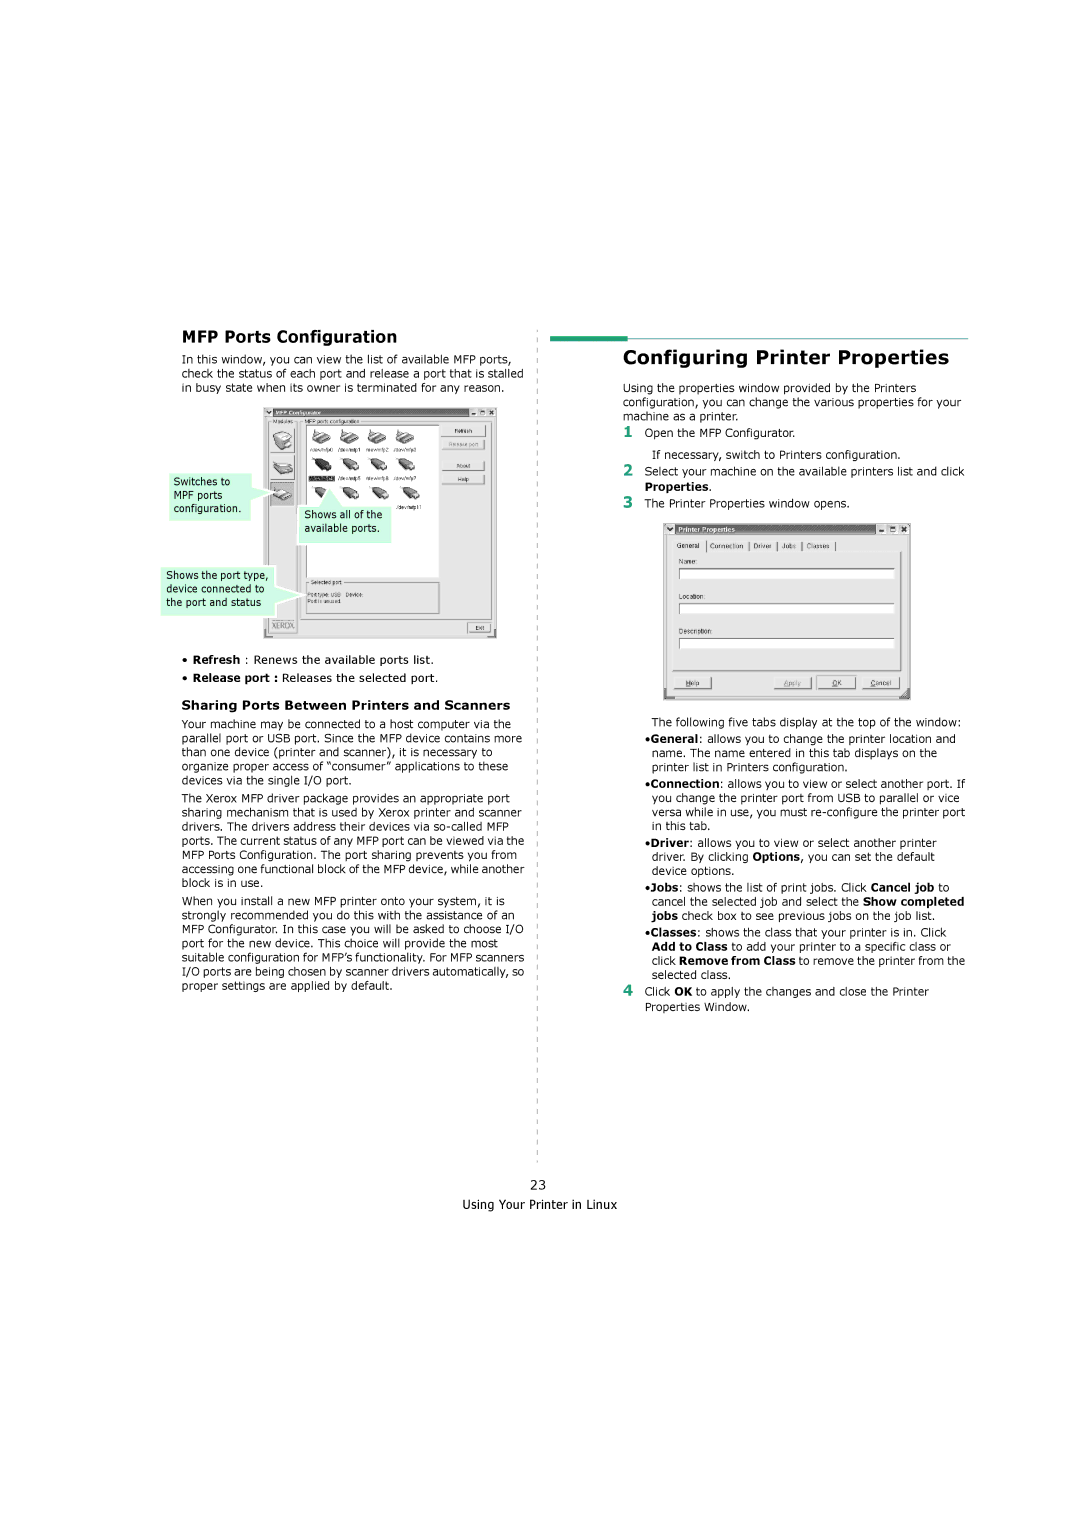
In this window, you can view the list of available MFP ports, check the status of each port and release a port that is stalled in busy state when its owner is terminated for any reason.
Switches to |
|
MPF ports |
|
configuration. | Shows all of the |
| |
| available ports. |
Shows the port type, |
|
device connected to |
|
the port and status |
|
•Refresh : Renews the available ports list.
•Release port : Releases the selected port.
Sharing Ports Between Printers and Scanners
Your machine may be connected to a host computer via the parallel port or USB port. Since the MFP device contains more than one device (printer and scanner), it is necessary to organize proper access of “consumer” applications to these devices via the single I/O port.
The Xerox MFP driver package provides an appropriate port sharing mechanism that is used by Xerox printer and scanner drivers. The drivers address their devices via
When you install a new MFP printer onto your system, it is strongly recommended you do this with the assistance of an MFP Configurator. In this case you will be asked to choose I/O port for the new device. This choice will provide the most suitable configuration for MFP’s functionality. For MFP scanners I/O ports are being chosen by scanner drivers automatically, so proper settings are applied by default.
23
Using Your Printer in Linux
Configuring Printer Properties
Using the properties window provided by the Printers configuration, you can change the various properties for your machine as a printer.
1Open the MFP Configurator.
If necessary, switch to Printers configuration.
2Select your machine on the available printers list and click Properties.
3The Printer Properties window opens.
The following five tabs display at the top of the window:
•General: allows you to change the printer location and name. The name entered in this tab displays on the printer list in Printers configuration.
•Connection: allows you to view or select another port. If you change the printer port from USB to parallel or vice versa while in use, you must
•Driver: allows you to view or select another printer driver. By clicking Options, you can set the default device options.
•Jobs: shows the list of print jobs. Click Cancel job to cancel the selected job and select the Show completed jobs check box to see previous jobs on the job list.
•Classes: shows the class that your printer is in. Click Add to Class to add your printer to a specific class or click Remove from Class to remove the printer from the selected class.
4Click OK to apply the changes and close the Printer Properties Window.
