AUTO SETUP
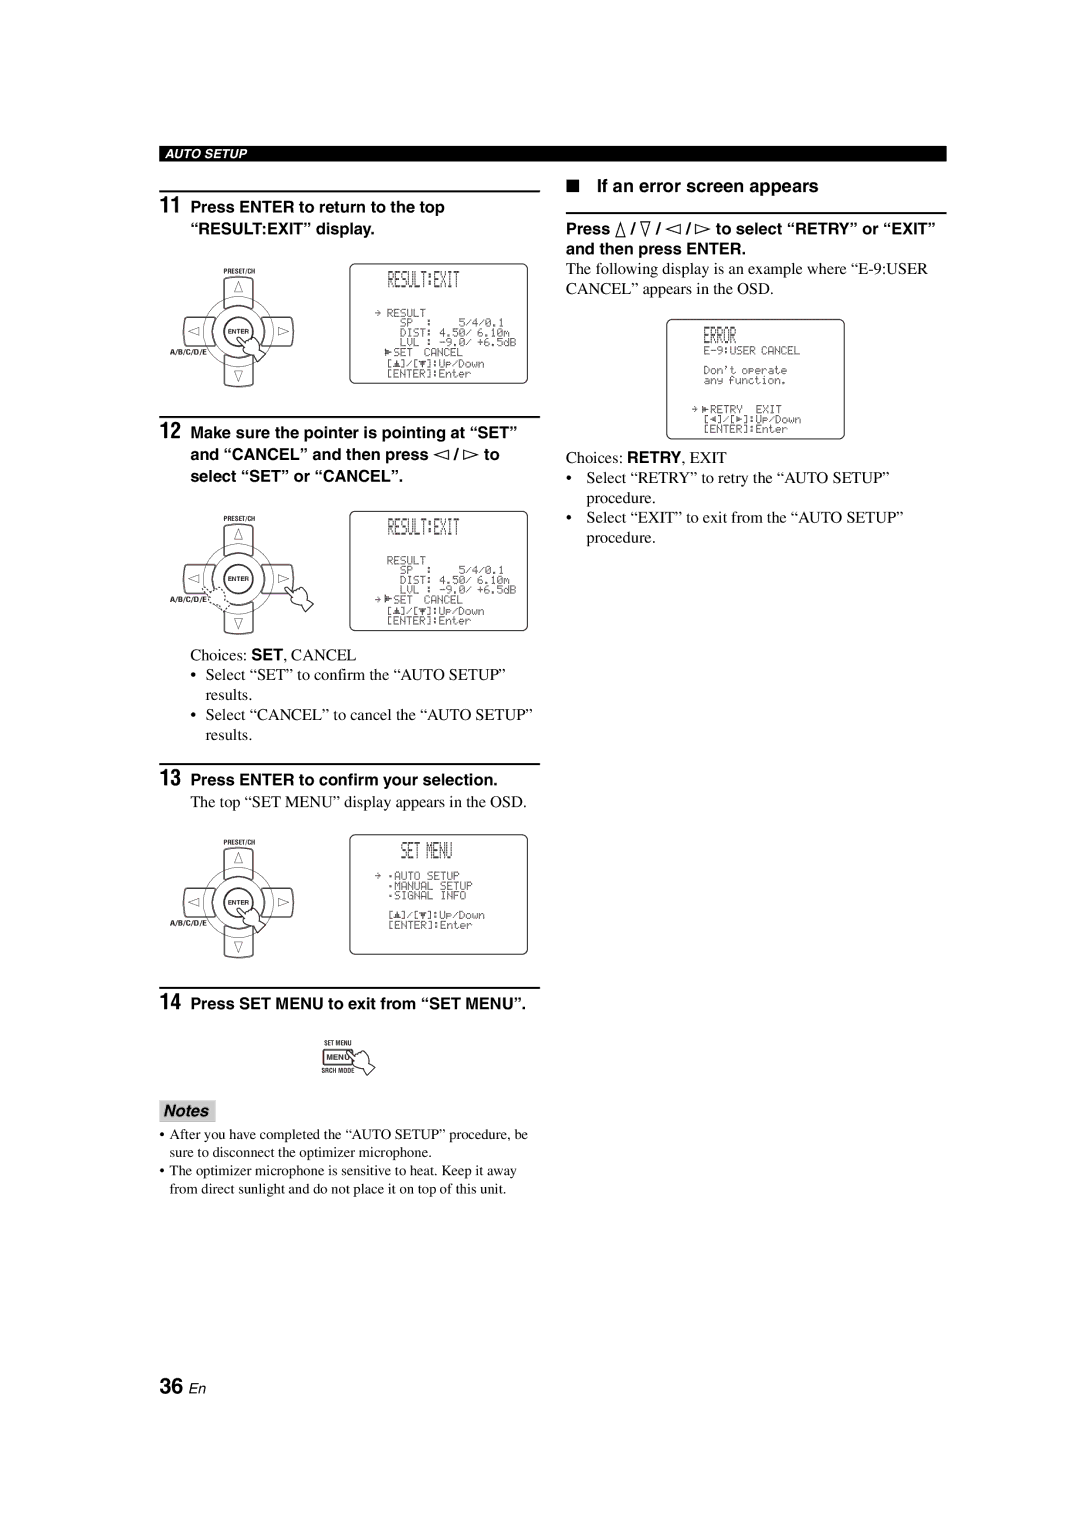
11Press ENTER to return to the top “RESULT:EXIT” display.
PRESET/CH |
| RESULT:EXIT | ||
|
| |||
| . RESULT |
| ||
ENTER | . | SP | : | 5/4/0.1 |
. | DIST: 4.50/ 6.10m | |||
| . | LVL : | ||
A/B/C/D/E |
| [SET | CANCEL | |
|
| p | p |
|
12Make sure the pointer is pointing at “SET” and “CANCEL” and then press l / h to select “SET” or “CANCEL”.
PRESET/CH |
| RESULT:EXIT | ||
|
| |||
| . | RESULT |
| |
ENTER | SP | : | 5/4/0.1 | |
. | DIST: 4.50/ 6.10m | |||
| . | LVL : | ||
A/B/C/D/E | . | [ |
|
|
|
| p | p |
|
Choices: SET, CANCEL
•Select “SET” to confirm the “AUTO SETUP” results.
•Select “CANCEL” to cancel the “AUTO SETUP” results.
13Press ENTER to confirm your selection.
The top “SET MENU” display appears in the OSD.
PRESET/CH
SET MENU
. ;AUTO ;MANUAL
. ;SIGNAL
ENTER
p | p |
A/B/C/D/E
■If an error screen appears
Press k / n / l / h to select “RETRY” or “EXIT” and then press ENTER.
The following display is an example where
ERROR
.Don't operate any function.
.[ EXIT
p]/[[]:Up/Down
Choices: RETRY, EXIT
•Select “RETRY” to retry the “AUTO SETUP” procedure.
•Select “EXIT” to exit from the “AUTO SETUP” procedure.
14Press SET MENU to exit from “SET MENU”.
SET MENU
MENU
SRCH MODE
Notes
•After you have completed the “AUTO SETUP” procedure, be sure to disconnect the optimizer microphone.
•The optimizer microphone is sensitive to heat. Keep it away from direct sunlight and do not place it on top of this unit.