Preparing the NIC and the Computer
Preparing the NIC and the Computer
Observe the precautions listed in “Safety Precautions” on page 9. If the computer complies with PCI 2.2, Remote
1Verify that cable requirements are met.
The SC port provides a 100 Mbps connection automatically, depending on the speed of the connected hub or switch.
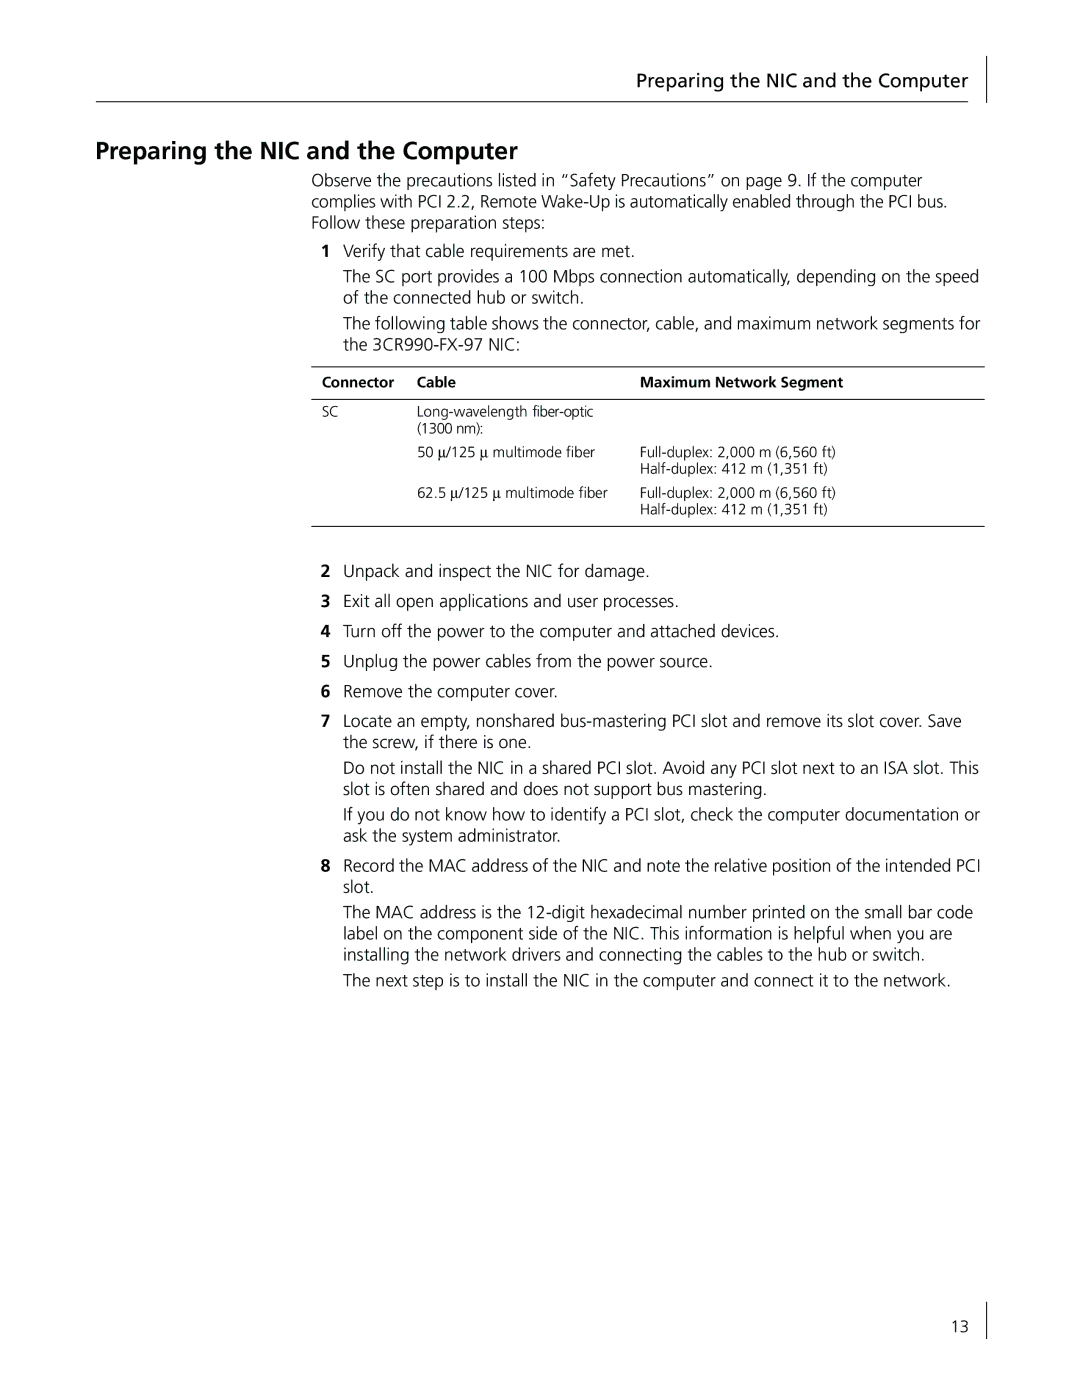
The following table shows the connector, cable, and maximum network segments for the
Connector | Cable | Maximum Network Segment |
|
|
|
SC |
| |
| (1300 nm): |
|
| 50 ∝/125 ∝ multimode fiber | |
|
| |
| 62.5 ∝/125 ∝ multimode fiber | |
|
| |
|
|
|
2Unpack and inspect the NIC for damage.
3Exit all open applications and user processes.
4Turn off the power to the computer and attached devices.
5Unplug the power cables from the power source.
6Remove the computer cover.
7Locate an empty, nonshared
Do not install the NIC in a shared PCI slot. Avoid any PCI slot next to an ISA slot. This slot is often shared and does not support bus mastering.
If you do not know how to identify a PCI slot, check the computer documentation or ask the system administrator.
8Record the MAC address of the NIC and note the relative position of the intended PCI slot.
The MAC address is the
The next step is to install the NIC in the computer and connect it to the network.
13
