gis
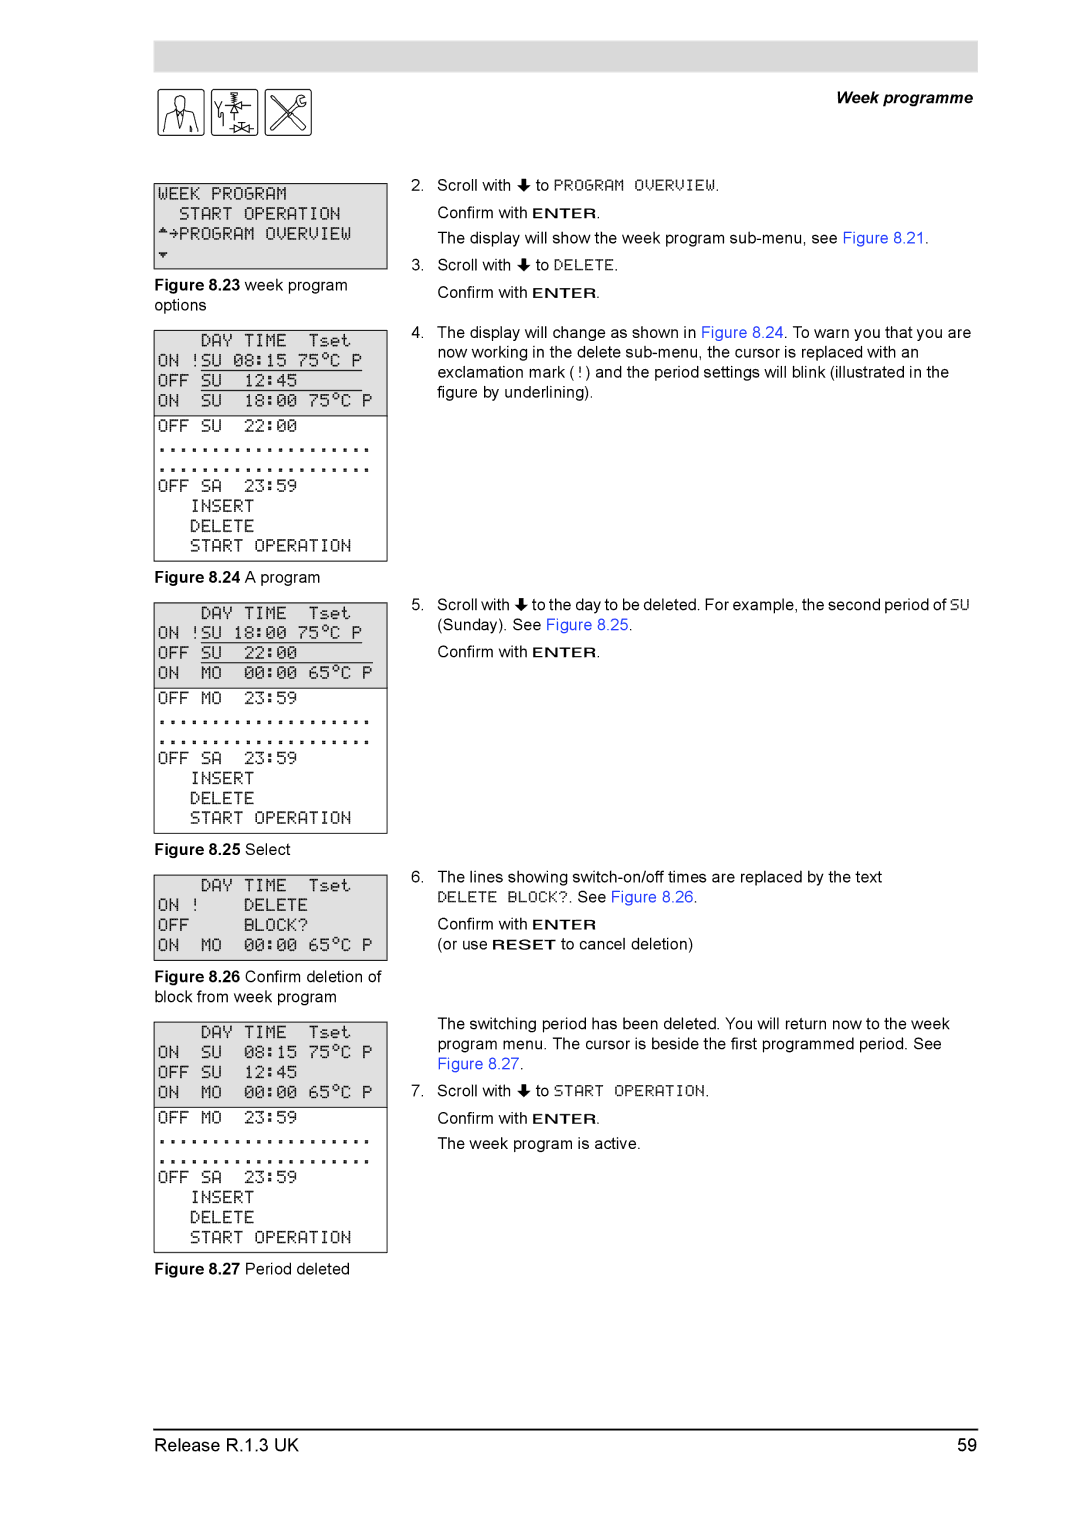
WEEK PROGRAM START OPERATION
^»PROGRAM OVERVIEW
È
Figure 8.23 week program options
DAY TIME Tset ON !SU 08:15 75ÉC P OFF SU 12:45
ON SU 18:00 75ÉC P
OFF SU 22:00
....................
....................
OFF SA 23:59
INSERT
DELETE
START OPERATION
Figure 8.24 A program
DAY TIME Tset ON !SU 18:00 75ÉC P OFF SU 22:00
ON MO 00:00 65ÉC P
OFF MO 23:59
....................
....................
OFF SA 23:59
INSERT
DELETE
START OPERATION
Figure 8.25 Select
DAY TIME Tset
ON ! DELETE
OFF BLOCK?
ON MO 00:00 65ÉC P
Figure 8.26 Confirm deletion of block from week program
DAY TIME Tset
ON SU 08:15 75ÉC P OFF SU 12:45
ON MO 00:00 65ÉC P
OFF MO 23:59
....................
....................
OFF SA 23:59
INSERT
DELETE
START OPERATION
Figure 8.27 Period deleted
Week programme
2.Scroll with Lto PROGRAM OVERVIEW. Confirm with E.
The display will show the week program
3.Scroll with Lto DELETE. Confirm with E.
4.The display will change as shown in Figure 8.24. To warn you that you are now working in the delete
5.Scroll with Lto the day to be deleted. For example, the second period of SU (Sunday). See Figure 8.25.
Confirm with E.
6.The lines showing
Confirm with E
(or use Rto cancel deletion)
The switching period has been deleted. You will return now to the week program menu. The cursor is beside the first programmed period. See Figure 8.27.
7.Scroll with Lto START OPERATION. Confirm with E.
The week program is active.
Release R.1.3 UK | 59 |