|
| LOCAL MANAGEMENT |
|
| |
Flash Image Version: 01.00.01 | ||
| SNMP TRAPS |
|
Trap Destination | Trap Community Name | Enable Traps |
xxx.xxx.xxx.xxx | public | [YES] |
xxx.xxx.xxx.xxx | public | [YES] |
xxx.xxx.xxx.xxx | public | [YES] |
xxx.xxx.xxx.xxx | public | [YES] |
xxx.xxx.xxx.xxx | public | [NO] |
xxx.xxx.xxx.xxx | public | [NO] |
xxx.xxx.xxx.xxx | public | [NO] |
xxx.xxx.xxx.xxx | public | [NO] |
SAVE |
| RETURN |
|
|
|
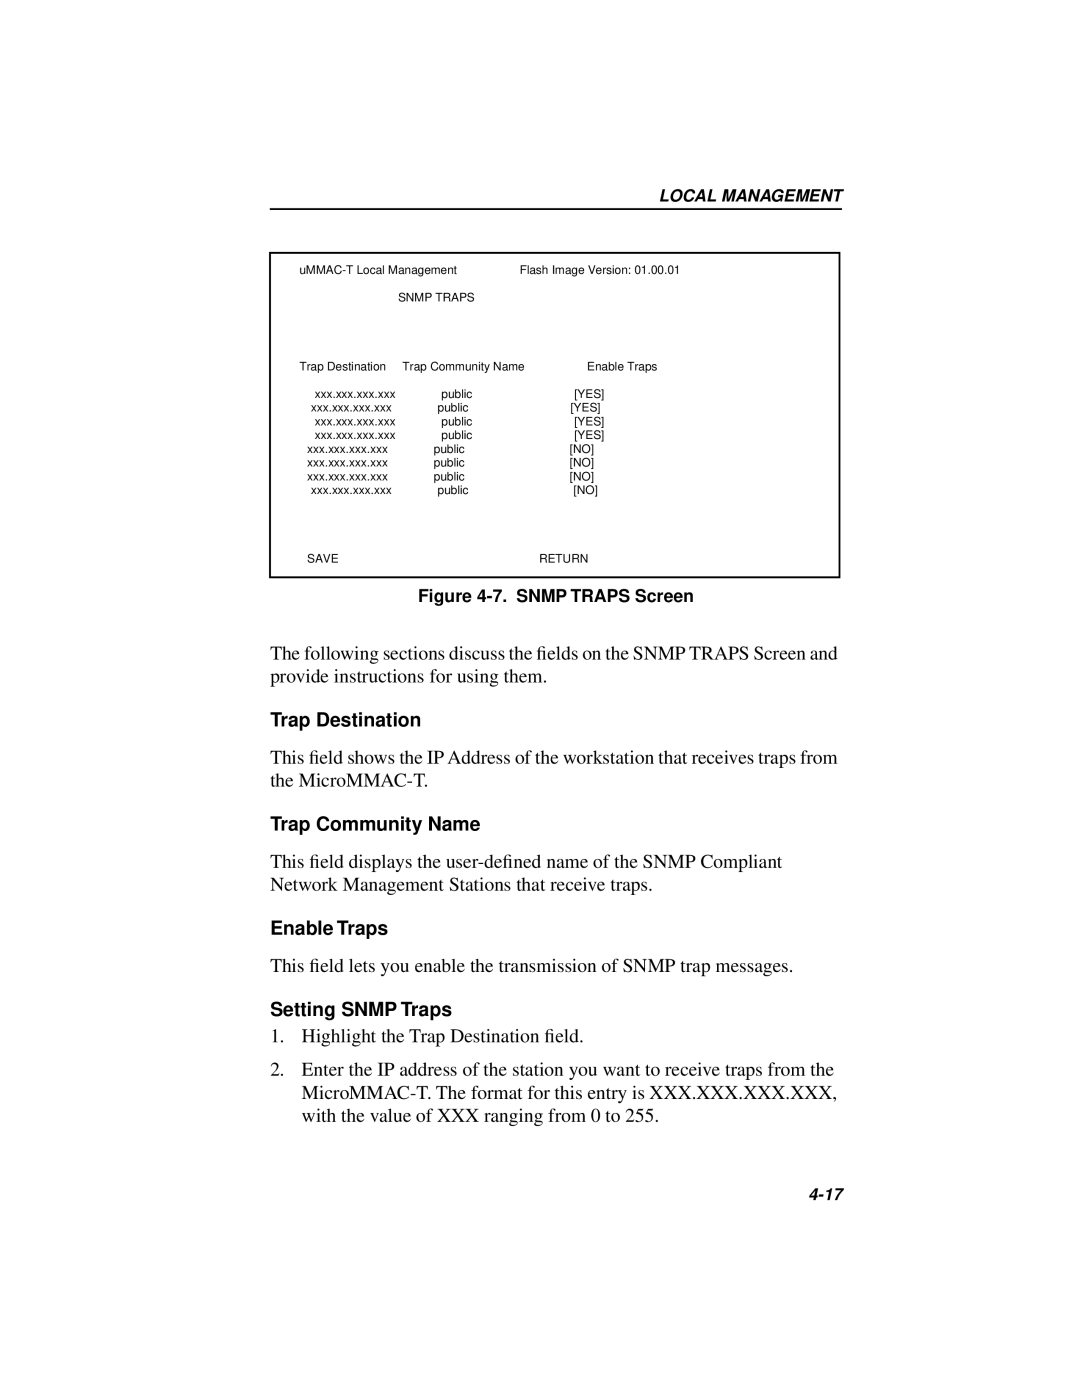
Figure 4-7. SNMP TRAPS Screen
The following sections discuss the fields on the SNMP TRAPS Screen and provide instructions for using them.
Trap Destination
This field shows the IP Address of the workstation that receives traps from the
Trap Community Name
This field displays the
Enable Traps
This field lets you enable the transmission of SNMP trap messages.
Setting SNMP Traps
1.Highlight the Trap Destination field.
2.Enter the IP address of the station you want to receive traps from the