Trimming
You can cut out a portion of a recorded image and save it as a new image file.
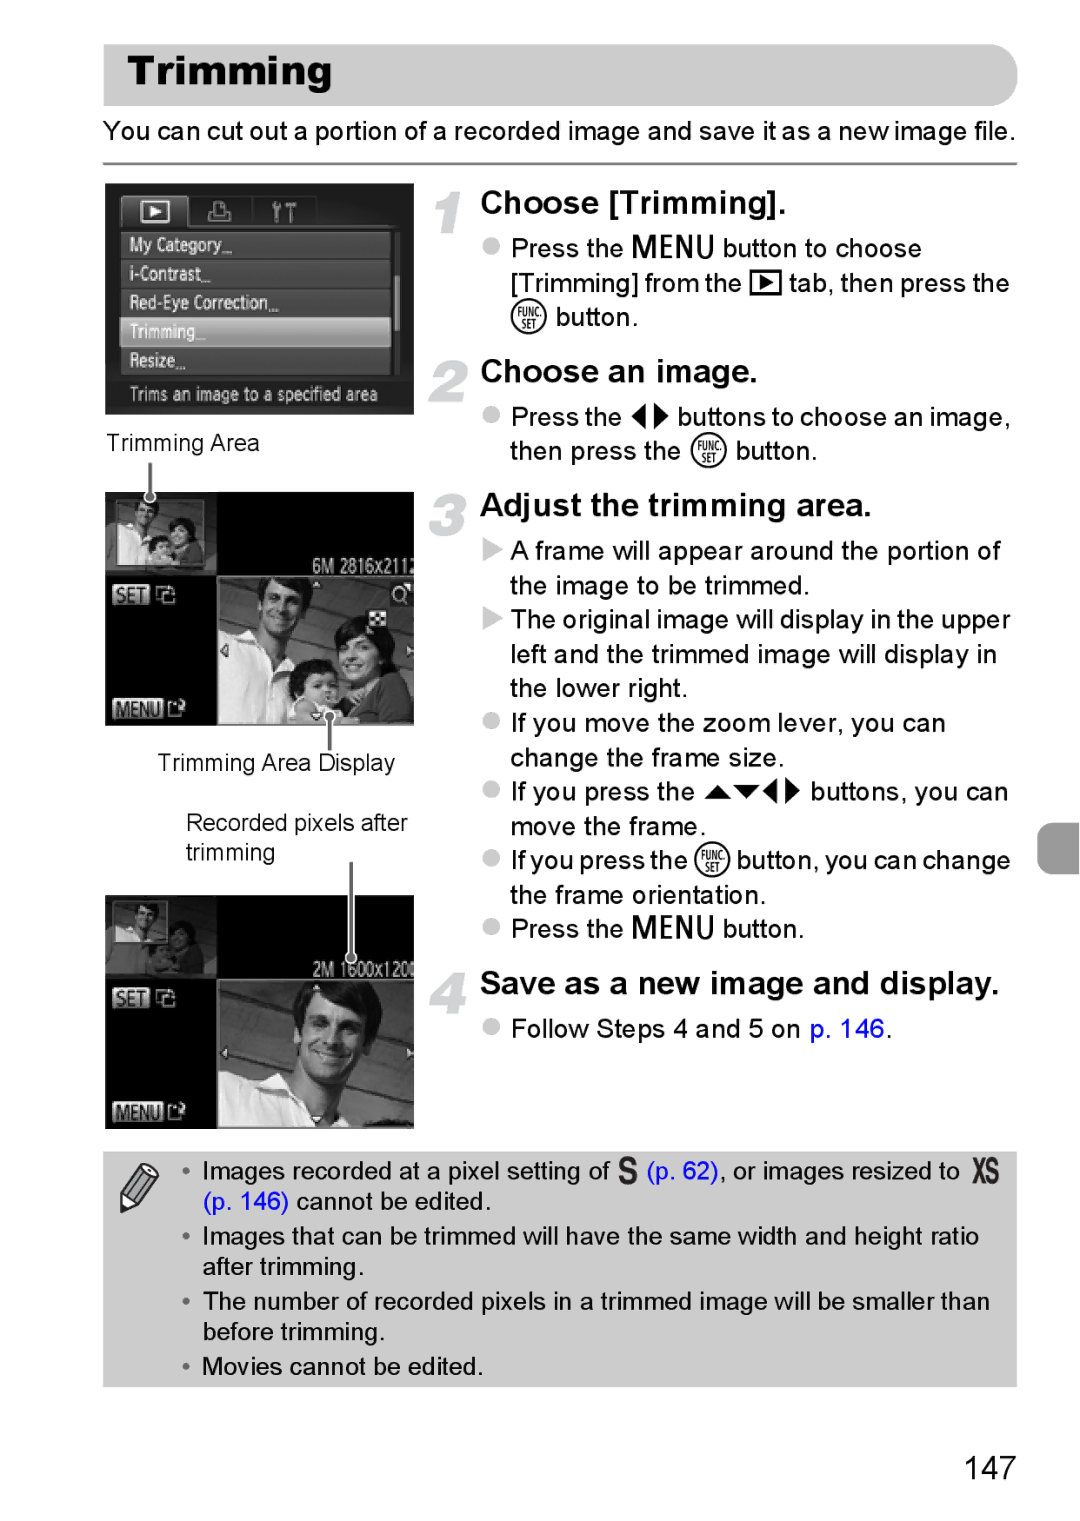
Choose [Trimming].
Press the n button to choose [Trimming] from the 1tab, then press the m button.
| Choose an image. |
Trimming Area | Press the qrbuttons to choose an image, |
then press the m button. |
Trimming Area Display
Recorded pixels after trimming
Adjust the trimming area.
A frame will appear around the portion of the image to be trimmed.
The original image will display in the upper left and the trimmed image will display in
the lower right.
If you move the zoom lever, you can change the frame size.
If you press the opqr buttons, you can move the frame.
If you press the mbutton, you can change the frame orientation.
Press the n button.
Save as a new image and display.
Follow Steps 4 and 5 on p. 146.
•Images recorded at a pixel setting of ![]() (p. 62), or images resized to
(p. 62), or images resized to ![]() (p. 146) cannot be edited.
(p. 146) cannot be edited.
•Images that can be trimmed will have the same width and height ratio after trimming.
•The number of recorded pixels in a trimmed image will be smaller than before trimming.
•Movies cannot be edited.