Using the Self-Timer
To cancel shooting with the
To restore the original setting, choose ![]()
![]() in Step 1, on p. 58.
in Step 1, on p. 58.
You can change the delay and number of shots (p. 59).
Using the Self-Timer to Prevent Camera Shake 
The camera will shoot approximately 2 seconds after the shutter button is pressed, preventing any camera shake that occurs when pressing the shutter button.
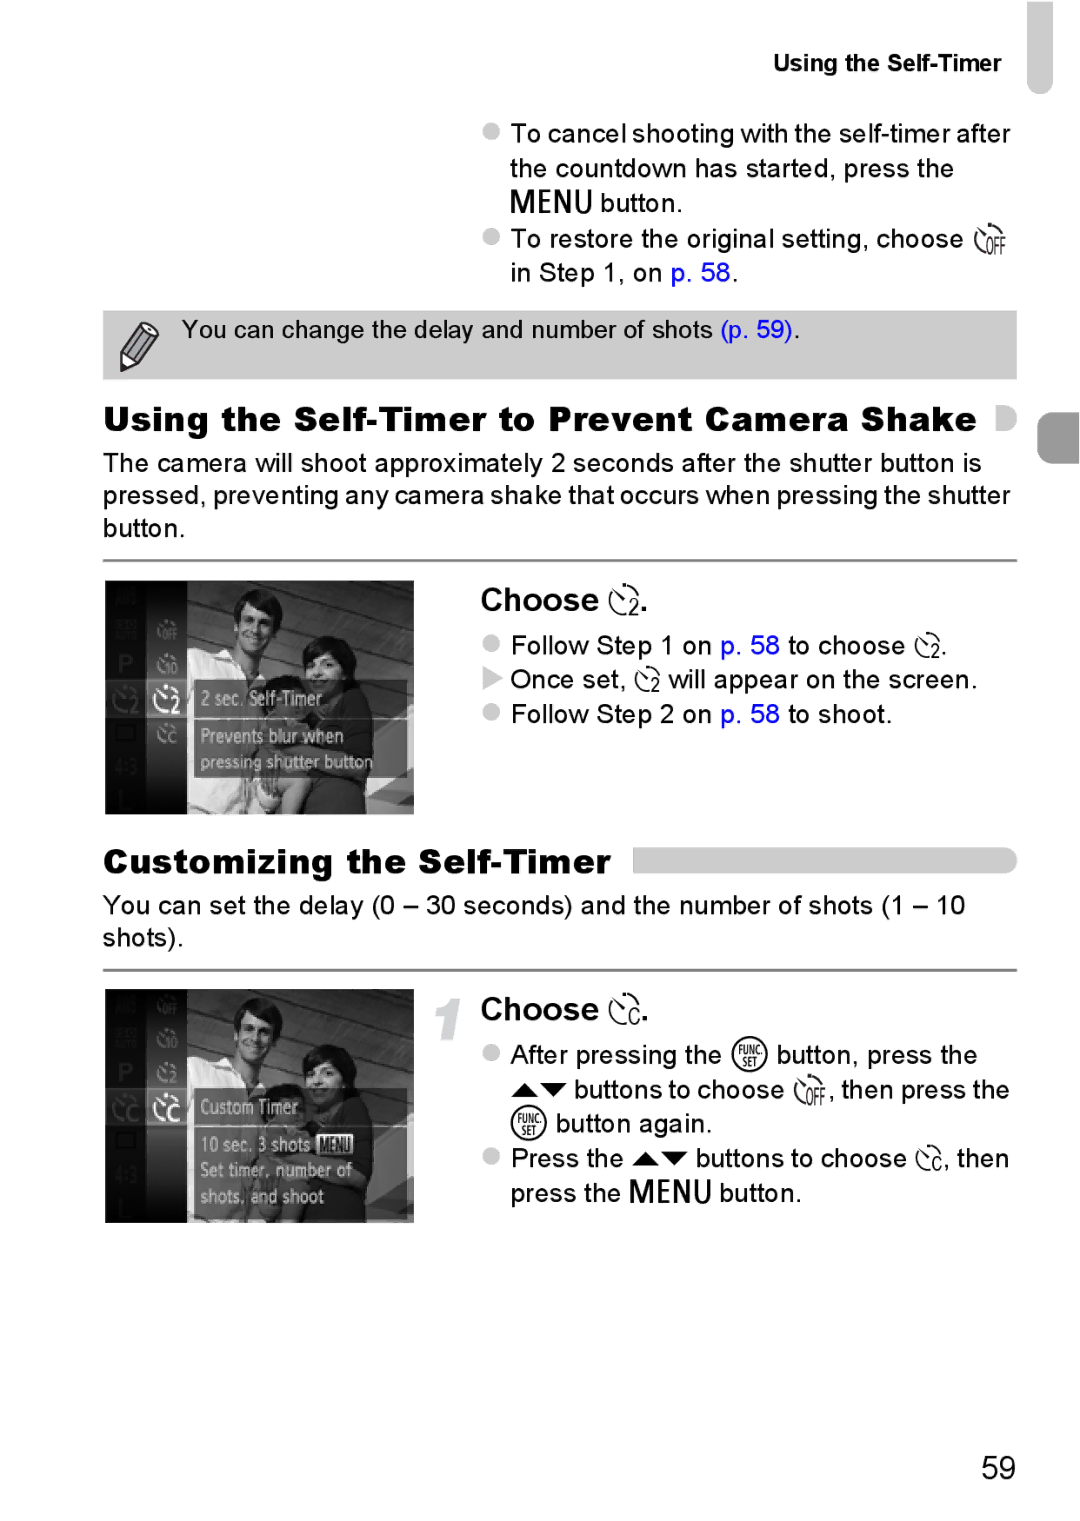
Choose Î.
Follow Step 1 on p. 58 to choose Î.
Once set, Î will appear on the screen.
Follow Step 2 on p. 58 to shoot.
Customizing the Self-Timer 
You can set the delay (0 – 30 seconds) and the number of shots (1 – 10 shots).
Choose $.
After pressing the m button, press the op buttons to choose ![]()
![]() , then press the m button again.
, then press the m button again.
Press the op buttons to choose $, then press the n button.
59