Chapter 7 Create, Add, and Manage Videos
Procedures
Procedures
Adding a video to Cisco Show and Share is accomplished in three easy steps:
1.Record, Upload, or Link a Video, page
2.Add Supplemental or Downloadable Files to a Video, page
3.Save or Publish Your Video, page
Record, Upload, or Link a Video
You can add video to Cisco Show and Share in one of two ways:
•Use a Webcam to Record Video from Your Computer, page
•Upload a Video File, page
•Link to a Video File, page
Use a Webcam to Record Video from Your Computer
We support many
Note When you use this method, Cisco show and Share encodes your video at a resolution of 320 x 240, with a 400 kbps bitrate.
If your system has the Pulse features enabled, videos recorded in Cisco Show and Share will be transcoded by the Cisco MXE. Pulse keyword and speaker identification will be available for them and they will be viewable in the Cisco Show and Share mobile application.
Before You Begin
Exit from all open software except your browser. This makes memory and network bandwidth available for video capture and data transfer.
Procedure
Step 1 Open the Record a Video page:
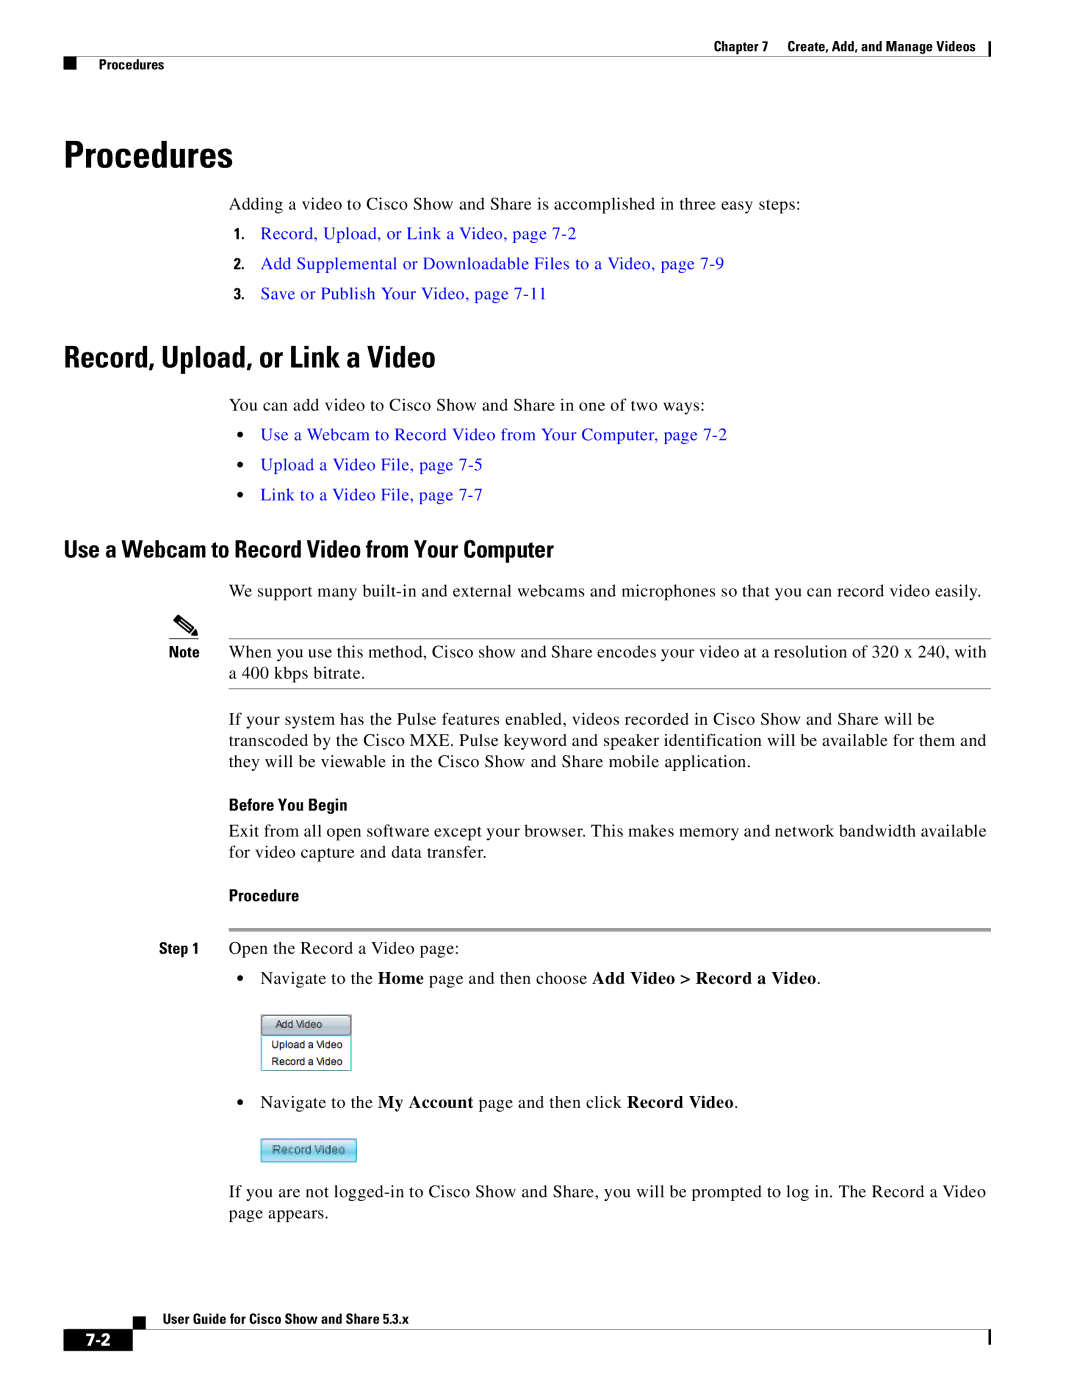
•Navigate to the Home page and then choose Add Video > Record a Video.
•Navigate to the My Account page and then click Record Video.
If you are not
User Guide for Cisco Show and Share 5.3.x