Americas Headquarters
Page
Contents
Making Conference Calls
Understanding Barge Features
Directory Dialing
Cisco Unified Wireless IP Phone 7921G for Cisco Unified
To enter * + / = \
To enter space , . ‘ ~ ’ To enter # ? To enter ! @ $ %
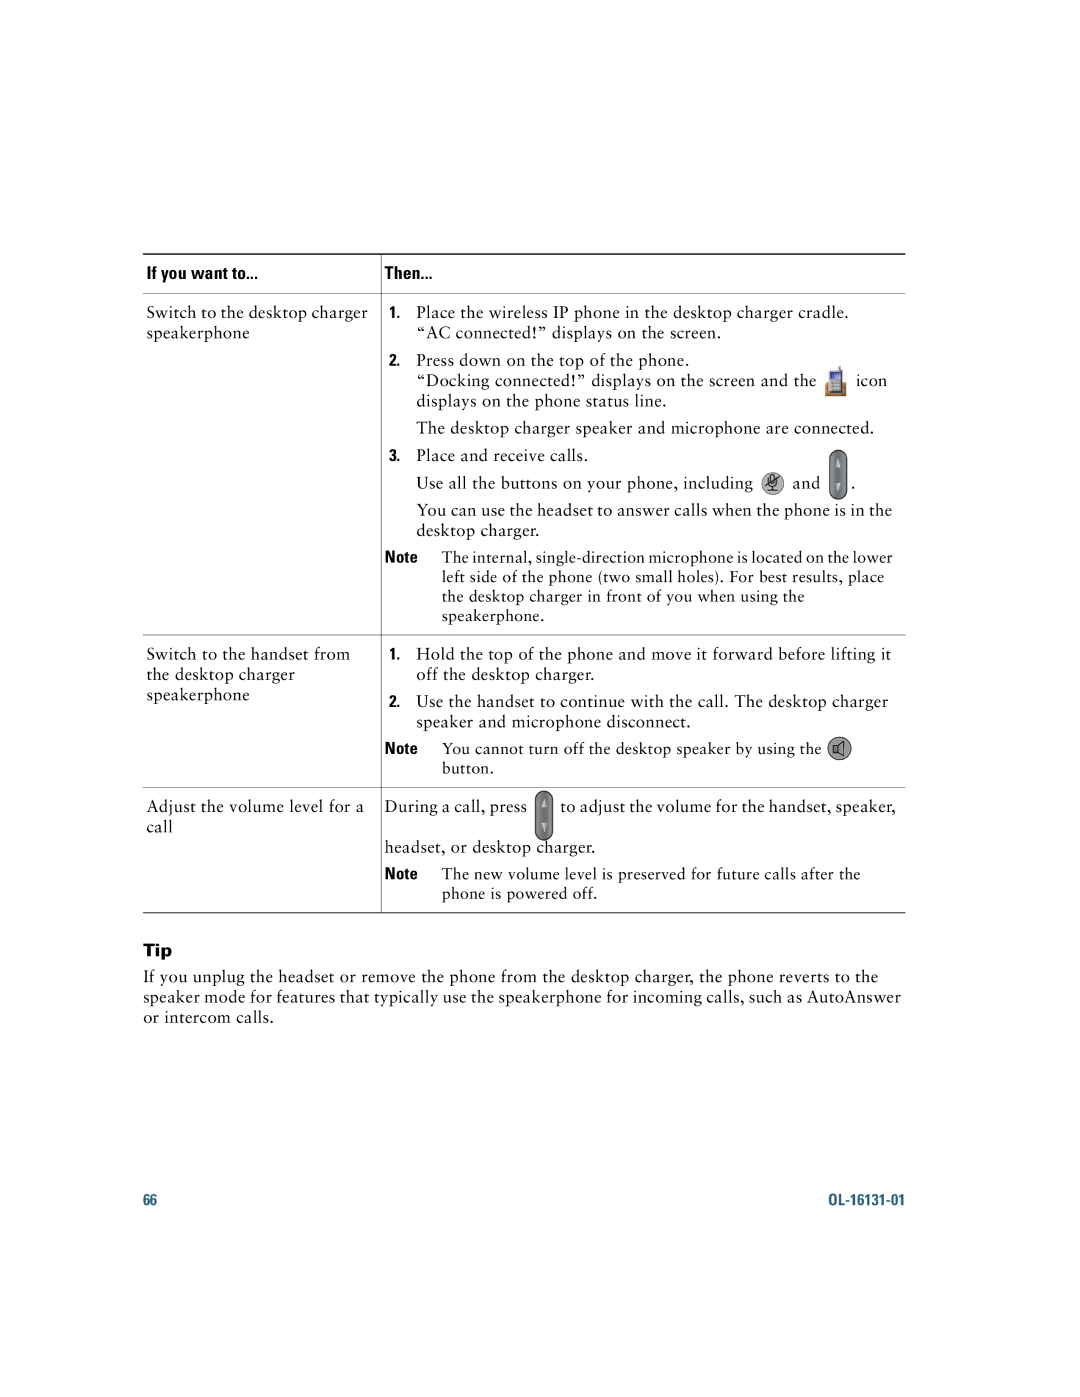
If you want to Then
Using this Guide
Getting Started
Finding Additional Information
Safety and Performance Information
International Cisco websites can be accessed from this URL
Statement
Country. Statement
Regulations. Statement
Standard battery-CP-BATT-7921G-STD
Fire
Central Europe-CP-PWR-7921G-CE=
Power Outage
Using External Devices
Regulatory Domains
Cisco Product Security Overview
Accessibility Features
List of accessibility features is available upon request
To install or remove the battery, follow these steps
Connecting Your Phone
Installing or Removing the Phone Battery
Battery Type Supply Connected to Phone
Charging the Phone Battery
Charging Time if AC Power
Standard Hours Extended
Using the AC Power Supply to Charge the Battery
OL-16131-01
180350
Next
Powering On the Phone
Click Dont prompt me again to install this software
If you want to
Highlight Wlan Configuration and press View
Setting Username and Passwords
Settings Network Profiles
Entering and Editing Text
Registering with Taps
Enter special characters and symbols Cancel editing mode
Headset Information
Audio Quality Subjective to the User
Securing the Phone with a Lock Set and Cable Lock
181319
An Overview of Your Phone
Understanding Buttons and Hardware
# ?
‘ ~ ’
+ / = \
@ $ %
Understanding Phone Screen Features
For your primary phone line
Date and Time line Displays time and date information
Main phone screen Displays four menu icons and Help
Softkey features
Understanding the Home Screen Display
Home Screen with Main Phone Screen Displayed
Understanding Feature Buttons and Menus
Home Screen in Line View
Accessing the Help System on Your Phone
For more Information, see
Using Phone Buttons
Understanding Lines vs. Calls
To Another Number,
Understanding Line and Call Icons
Icon Line or call state Description
See Tracing Suspicious Calls,
Understanding Out-of-Range Alerts
Understanding Feature Availability
Cleaning the Phone
If you want to Then See
Basic Call Handling
Placing a Call-Basic Options
Choose Options NewCall
Choose Missed Calls , or Received Calls , or Placed Calls
Phone Book or Ph Book if available
Press or Options Dial
Tips
Placing a Call-Additional Options
For more information
Press Options Submit
Directory Services
Corporate Directory name can vary
Choose Options CallBack while
Push to Talk Service Using the Push to Talk
Fast Dial Service
Answer or
Answering a Call
If you want to Then For more information, see
Ending a Call
Using AutoAnswer,
Using a Single Phone Number
Managing Business Calls
Using Hold and Resume
Switching an In-Progress Call to Another Phone
Using Mute
Switching Between Multiple Calls
Press Options Mobility and select Send call to mobile
Switch an in-progress
Transferring Calls
Choose Options DirTrfr
Forwarding Calls to Another Number
Choose Options Select
Choose Options iDivert
On the Web,
Using Do Not Disturb
User Options Web Pages,
Making Conference Calls
Choose Options DND
Choose Options ConfList. See Viewing or Removing Conference
Using Conference Features
Using Conference
Participants,
Participants
Using Join
Select
Choose Options cBarge
Using cBarge
Using Meet-Me
Choose Options ConfList
Viewing or Removing Conference Participants
MeetMe
Choose Options Remove
See Using Conference,
Placing or Receiving Intercom Calls
Choose Options RmLstC
Tip
Speed-Dial Hot Key
Advanced Call Handling
Speed Dialing
Line View Speed Dial
Abbreviated Dial
Using Speed Dial and Fast Dial
To make a call, select a speed dial From the Line View
Fast Dial
Answer a call that is ringing
Picking Up a Redirected Call on Your Phone
Choose Options AbbrDial
Choose Options PickUp
Storing and Retrieving Parked Calls
Choose Options OPickUp
Logging Out of Hunt Groups
Choose Options HLog
Understanding Shared Lines
Using a Shared Line
Using Barge to Add Yourself to a Shared-Line Call
View conference
CBarge and Barge
Choose Options Barge or cBarge
See Viewing or Removing Conference Participants,
Choose Options Private
Using BLF to Determine a Line State
Prevent others from viewing or
Making and Receiving Secure Calls
If you want to Then
Notify your system
Tracing Suspicious Calls
Prioritizing Critical Calls
Choose Options Mcid
Using Cisco Extension Mobility
Mobile phone Switch an in-progress call
Access Lists for Mobile Connect,
Answer a call using your
See Switching an In-Progress Call to Another Phone,
See Placing a Call-Additional Options,
Using the Application Button
Make a call from your
Talk service CallManager 4.1 or later
Using the Push to Talk Service
Access Push To
Using a Handset, Headset, and Speakerphone
Desktop charger in front of you when using Speakerphone
Obtaining Headsets
Using AutoAnswer
Changing Phone Settings
Customizing Rings
Phone Settings Sound Settings Volumes
Customizing Volume Settings
Sound Settings Alert Pattern
Change the way the phone Choose
Select Ring Output
Select Docking Speaker
Select Docking Ring
Customizing the Phone Screen
Phone Settings Customize Home
Phone Settings Display Settings
Select Phone Book
Highlight LED Coverage Indicator, then press Or Change
Changing Keypad Settings
Using Any Key to Answer the Phone
Phone Settings Keypad Settings
Automatically lock the keypad Choose
Setting the Keypad to Automatically Lock
After using the phone
Select Keypad Auto Lock
Changing the Keypad Tones
Choose Phone Settings Keypad Settings Select Keypad Tone
Viewing Your Network Profile List
Network Profiles
Choose Missed Calls, or Received Calls, or Placed Calls
Using Call Logs and Directories
Using Call Logs
Choose Options Delete , or choose Options Exit
Directory Dialing
Directory Services Corporate Directory name can
Using Corporate Directory on Your Phone
Using Personal Directory on Your Phone
Or Options Submit
Then press Options Submit
Directory Services Personal Address
Access Personal Address Book
Choose Options Delete
Personal Address Book
Choose Options New
Choose Options Fast Dial
Select Personal Fast Dials
Using the Phone Book on Your Phone
Assign any number as the primary number
Missed Calls, or Received Calls, or Placed Calls
Or Options
Dial
Speed Dials
Copy a phone Choose
Contact
Accessing Voice Messages
Use these sections for more information about
Accessing Your User Options Web Pages
Logging In to the User Options Web Pages
If you want to Then do this
Tips for Navigating the User Options Web Pages
Subscribing to Phone Services
Services Service Name
Continue
User Options Device
Accessing Your User Options Web Pages
Certificate
Configuring Features and Services on the Web
Setting Up Speed Dials on the Web
See Configuring Fast Dials on the Web,
Click Speed Dials
Click Delete Selected
If you want to Then, do this after you log
Choose User Options Personal Address Book
Choose User Options Fast Dials
Entry
Without using a PAB
To a phone number
Search for a Fast Dial
Click Phone Services
If you want to Then do this after you log
Choose User Options User Settings
Click Service URL
Service Name
Options Device
Phone Settings,
Click Line Settings
Forwarding Calls to Another Number,
Message Waiting Lamp area, choose from various settings
Change the voice Select your device Message indicator
Setting per line
On your phone screen
Web Pages,
Settings
Network Profile Network Configuration Host Name
Create an access
Choose User Options Mobility Settings Access Lists
Choose User Options Mobility Settings Remote Destinations
Add a new remote
See Using a Shared Line
Understanding Additional Configuration Options
See Accessing Your User
If you Then For more information
See Using AutoAnswer
Using a Shared Line
Using Cisco
See Using BLF to
Symptom Explanation
Troubleshooting Your Phone
General Troubleshooting
Join fails
If you are asked to Then
Viewing Phone Administration Data
CallBack fails
Device Information Network or Wlan
Using the Quality Reporting Tool
Cisco One-Year Limited Hardware Warranty Terms
106 OL-16131-01
Index
OL-16131-01
Page
OL-16131-01
PAB
OL-16131-01
Page
OL-16131-01