Appendix C Firmware Upgrade and Downgrade Procedures

Standard Upgrade and Downgrade Procedures

d.Enter the version command. This command displays the version of the boot code currently stored in Flash memory. This step downloads new firmware into the ASC.

Step 6 For all SMs, set the start and end addresses in Flash memory where the firmware file will be written.

a.Enter the flashStartAddr and flashEndAddr commands to start the Flash memory file at Oxbfc00000 and end it at 0xbfd00000

shelf.1.<slot>.<type><as>flashStartAddr = 0xbfc40000 shelf.1.<slot>.<type>.<as>flashEndAddr = 0xbfd40000

b.Enter the tftp put <SM_FW_file> AXIS_SM_1_$slot.FW command.

c.Enter the chkflash command. This command calculates and compares the Flash checksum to verify whether the boot code is correct.

d.Enter the resetsys command. This command resets all cards on the shelf.

e.Enter the dspadrxlat command to ensure that the number of connections has not changed during the procedure.

Step 7 For all primary and stand-alone SMs, enter the dsptotals command.

Use this step to examine the number of lines, ports, and channels after the upgrade or downgrade. The values can be compared to those before the download and, therefore it can be established that the configuration has remained the same.

Procedure 2—Standard Downgrade, 1-Core Card Set

Procedure 2 is used for 1.2.y to 2.x, 2.3.y to 2.x, and 3.3.y to 3.x.

Step 1 Check compatibility.

With any downgrade technique, there is always the issue of compatibility. Any release can be downgraded to any other release, but in many instances configuration information will be lost. Hardware incompatibilities can prevent some downgrades. For example, Releases 2 and 3 service modules require two Flash chips. Release 4 SMs will be shipped with a single Flash chip. A Release 4 shelf containing BNM-E1 cards or service resource module 3T3 cards cannot be downgraded to Release 2 or Release 3. Check the compatibility matrix to determine if a particular downgrade is supported, and how it could affect configuration loss.

Step 2 Enter the dspadrxlat command. Note the value of the ConnNumOfValidEntries parameter.

This value indicates the number of connections. This command is run again at the end of the procedure to ensure that the number of connections has not changed.

Step 3 For all primary and stand-alone SMs, enter the dsptotals command.

The configuration of the shelf should not be changed during the downgrade process. Use this step to examine the number of lines, ports, and channels before the upgrade or downgrade. A similar step can be made to examine the same configuration parameters after the upgrade or downgrade and, therefore, it can be established that the configuration has remained the same.

Step 4 Enter the tftp put <ASC_BT_file> AXIS_ASC_BACKUP.FW command. This step downloads the new boot code into the ASC.

Step 5 Enter the chkflash command. This command calculates and compares the Flash checksum to verify whether the boot code is correct.


Cisco MGX 8220 Installation and Configuration


Release 5.0, Part Number 78-6430-03 Rev. D0, November 2003


C-5


Page 263
Image 263
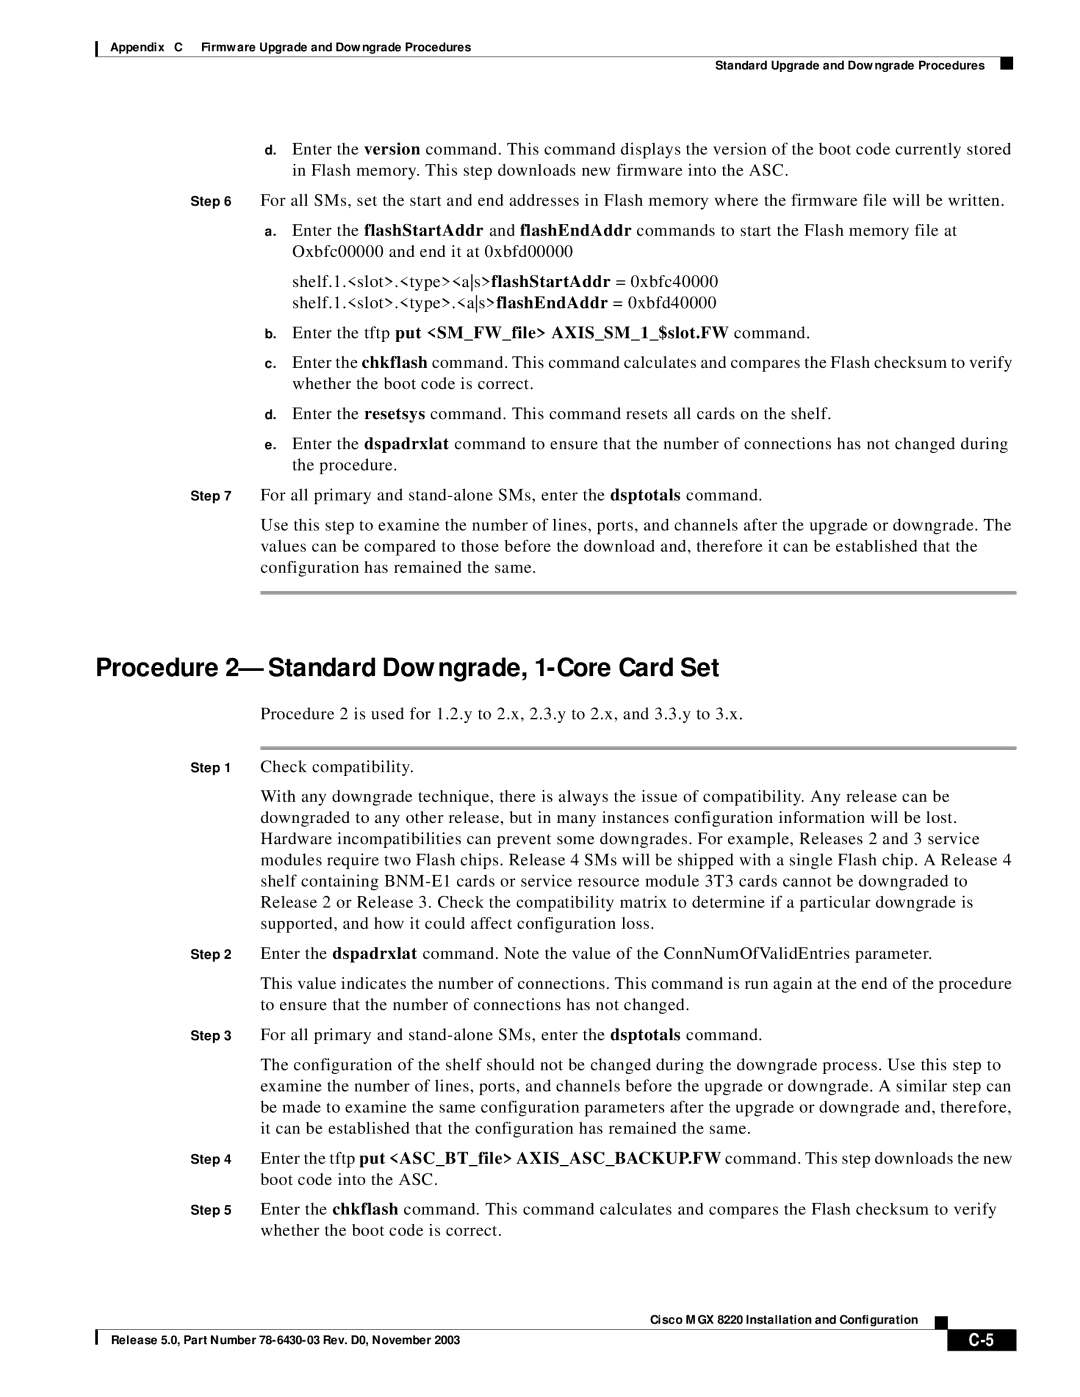
Cisco Systems MGX 8220 manual Procedure 2-Standard Downgrade, 1-Core Card Set

MGX 8220 specifications

The Cisco Systems MGX 8220 is a versatile, high-performance media gateway that has become an integral component in the telecommunications infrastructure. Designed to facilitate the transition from traditional circuit-switched networks to advanced packet-switched environments, the MGX 8220 supports a wide array of voice, video, and data services, making it an essential tool for service providers and enterprises seeking to enhance their network capabilities.

One of the key features of the MGX 8220 is its robust signaling and media processing capabilities. Equipped with support for both Voice over IP (VoIP) and traditional telephony protocols, this gateway enables seamless integration of different communication formats. It boasts a modular architecture, which allows for the addition or removal of various line cards to meet changing demands and technology advancements. This modularity provides operators with the flexibility to scale their services without significant overhauls to their existing infrastructure.

The MGX 8220 is capable of delivering high-density media handling for a multitude of services. With its support for ATM and IP networks, the gateway can handle TDM (Time-Division Multiplexing) to packet voice conversions efficiently. It is designed to optimize network resources by dynamically allocating bandwidth based on traffic requirements, thus ensuring efficient use of network resources and improved performance.

Another significant characteristic of the MGX 8220 is its enhanced quality of service (QoS) features. This capability ensures that voice and video traffic is prioritized appropriately, minimizing latency and jitter while maximizing overall call quality. By employing sophisticated traffic management techniques, the MGX 8220 can deliver a superior user experience, which is critical for any service provider aiming to offer competitive communication solutions.

Furthermore, the gateway includes built-in security features to protect against unauthorized access and ensure the integrity of sensitive data. This includes encryption for voice and video transmission, as well as support for secure signaling protocols.

Overall, the Cisco Systems MGX 8220 stands out as a comprehensive media gateway solution, providing essential functionalities for modern communication needs. Its combination of modularity, high-density processing, effective QoS management, and security features makes it a compelling choice for organizations looking to modernize their telecommunications infrastructure while ensuring reliability and performance. As businesses continue to evolve and demand more from their networks, the MGX 8220 offers a pathway to future-ready communications.