5.2 Disassembly Reference Chart
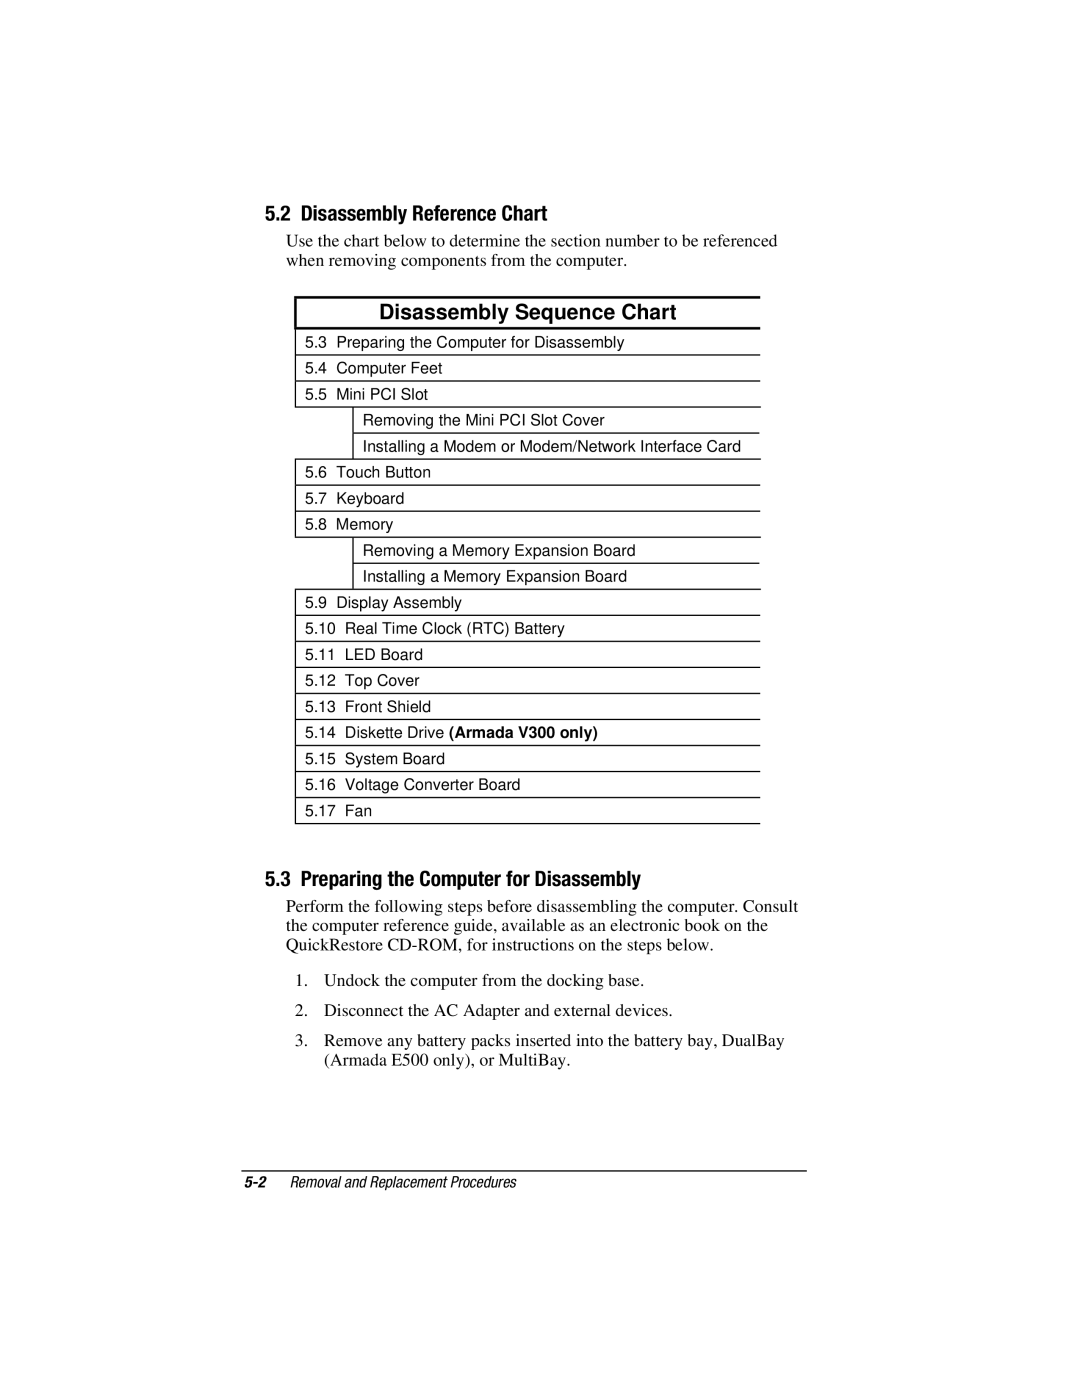
Use the chart below to determine the section number to be referenced when removing components from the computer.
Disassembly Sequence Chart
5.3Preparing the Computer for Disassembly
5.4Computer Feet
5.5Mini PCI Slot
Removing the Mini PCI Slot Cover
Installing a Modem or Modem/Network Interface Card
5.6Touch Button
5.7Keyboard
5.8Memory
Removing a Memory Expansion Board
Installing a Memory Expansion Board
5.9Display Assembly
5.10Real Time Clock (RTC) Battery
5.11LED Board
5.12Top Cover
5.13Front Shield
5.14Diskette Drive (Armada V300 only)
5.15System Board
5.16Voltage Converter Board
5.17Fan
5.3 Preparing the Computer for Disassembly
Perform the following steps before disassembling the computer. Consult the computer reference guide, available as an electronic book on the QuickRestore
1.Undock the computer from the docking base.
2.Disconnect the AC Adapter and external devices.
3.Remove any battery packs inserted into the battery bay, DualBay (Armada E500 only), or MultiBay.
