5.14 Diskette Drive (Armada V300 only)
Diskette Drive
Spare Part Number Information
Diskette drive |
Removing the Diskette Drive
1.Prepare the computer for disassembly (Section 5.3) and, in the order below, remove the following components:
■Touch button (Section 5.6)
■Keyboard (Section 5.7)
■Display assembly (Section 5.9)
■LED board (Section 5.11)
■Top cover (Section 5.12)
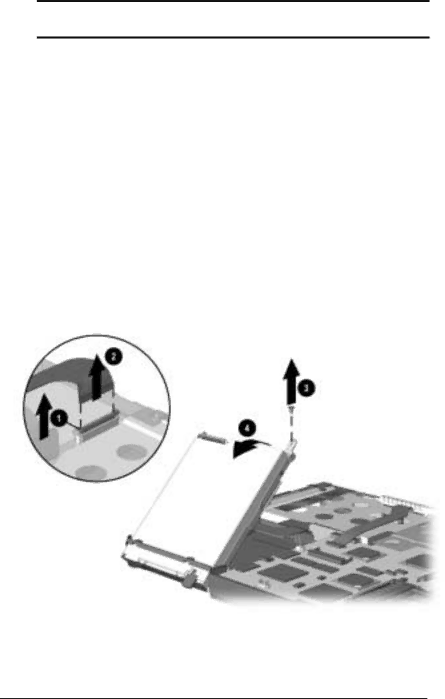
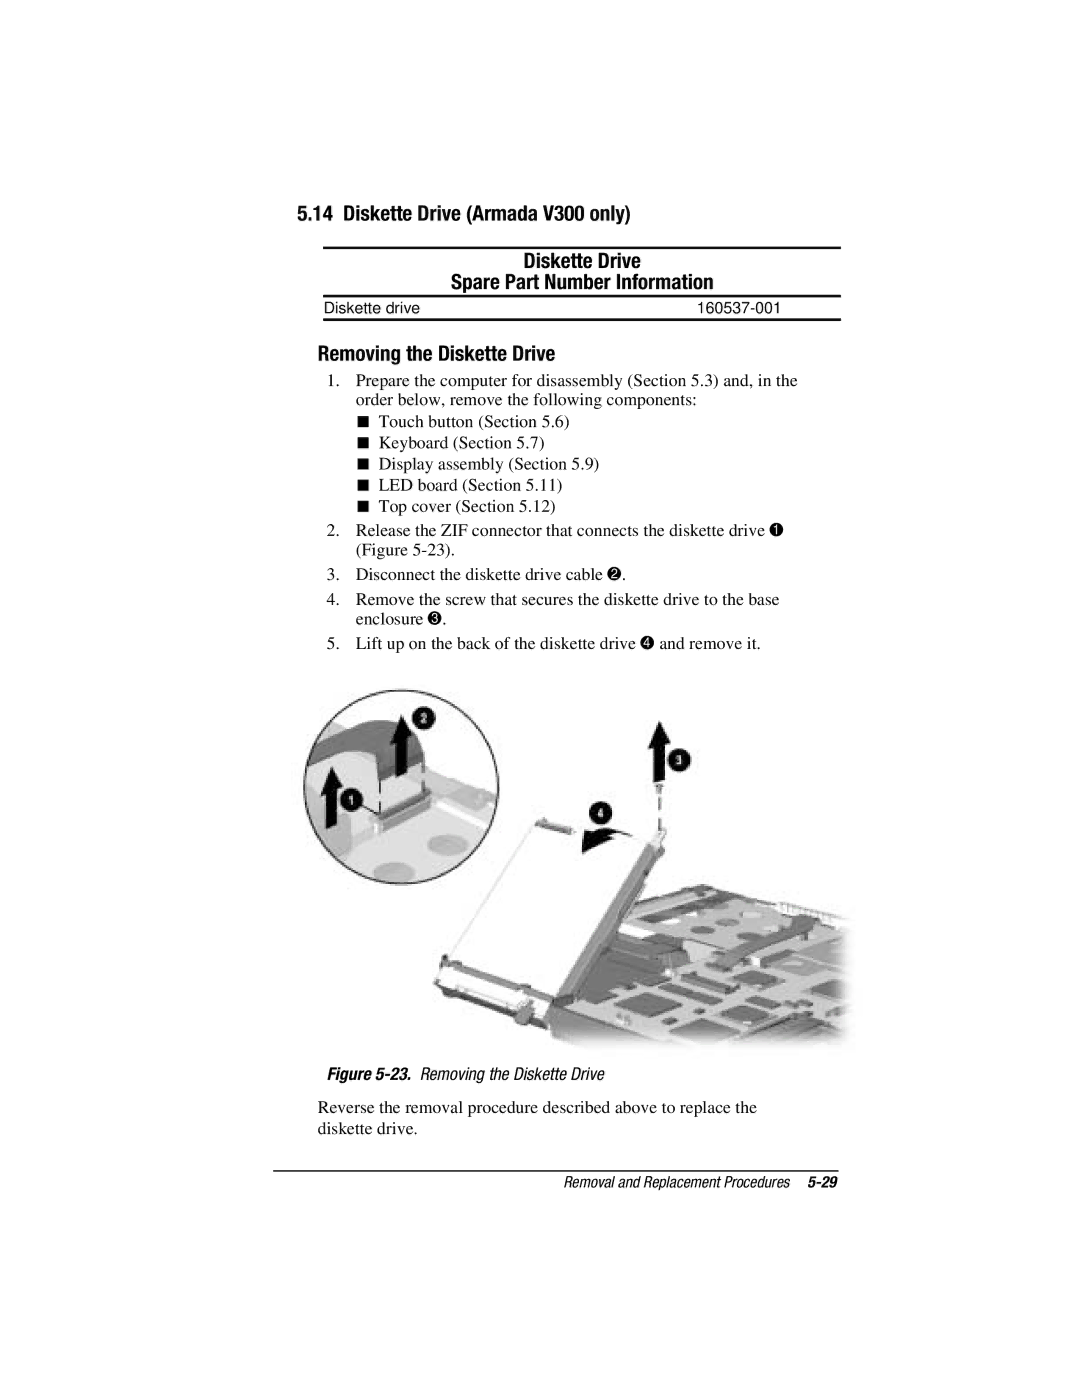
2.Release the ZIF connector that connects the diskette drive 1 (Figure
3.Disconnect the diskette drive cable 2.
4.Remove the screw that secures the diskette drive to the base enclosure 3.
5.Lift up on the back of the diskette drive 4 and remove it.
Figure 5-23. Removing the Diskette Drive
Reverse the removal procedure described above to replace the diskette drive.
