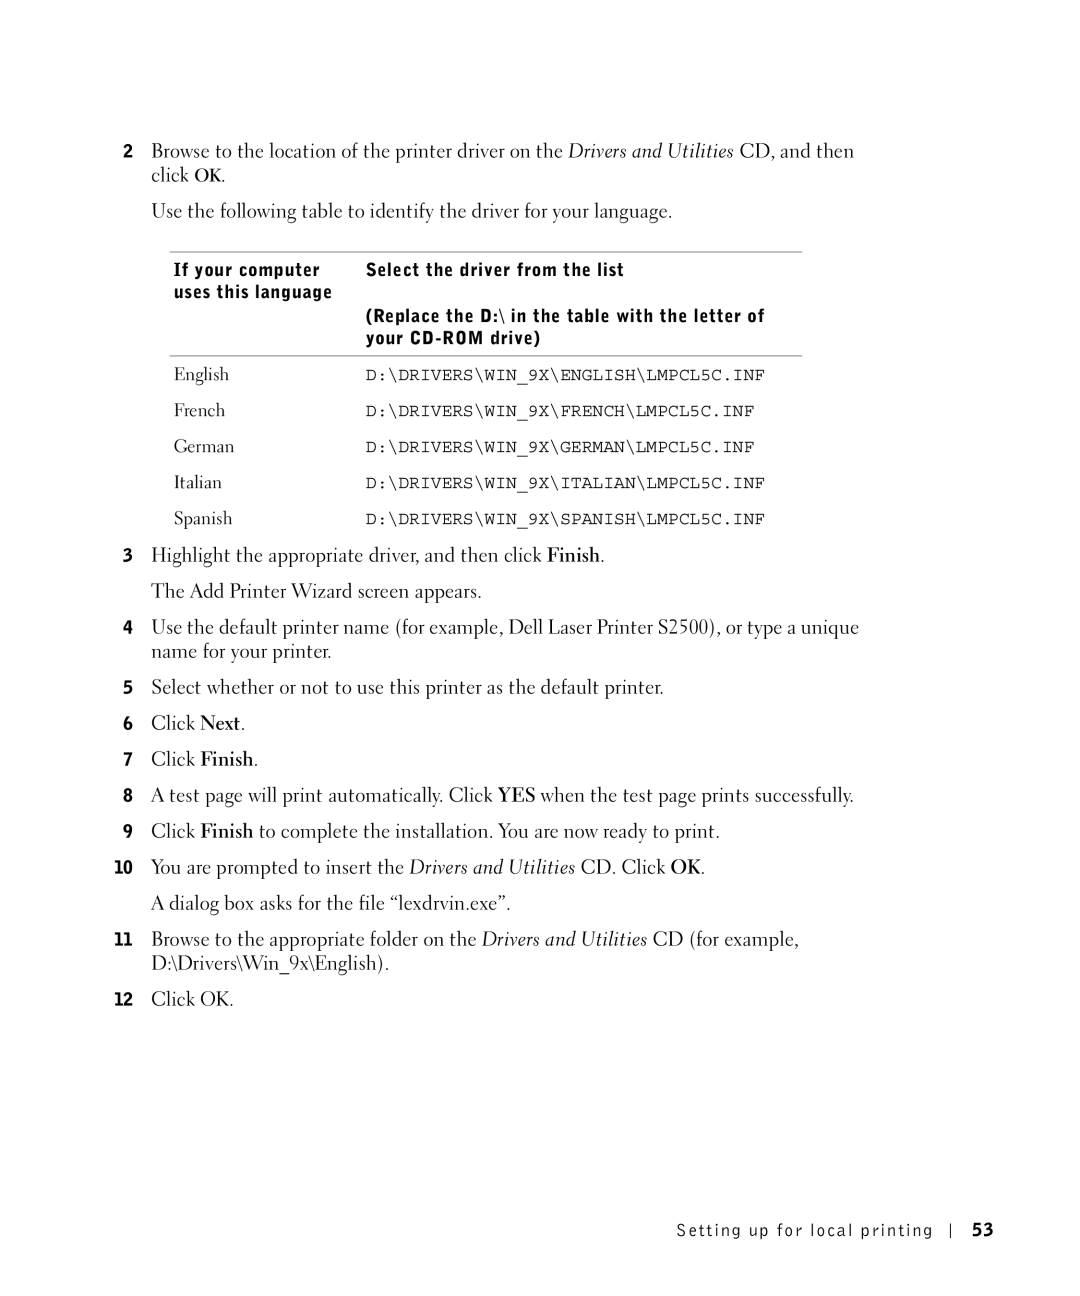
2Browse to the location of the printer driver on the Drivers and Utilities CD, and then click OK.
Use the following table to identify the driver for your language.
If your computer | Select the driver from the list |
uses this language |
|
| (Replace the D:\ in the table with the letter of |
| your |
|
|
English | D:\DRIVERS\WIN_9X\ENGLISH\LMPCL5C.INF |
French | D:\DRIVERS\WIN_9X\FRENCH\LMPCL5C.INF |
German | D:\DRIVERS\WIN_9X\GERMAN\LMPCL5C.INF |
Italian | D:\DRIVERS\WIN_9X\ITALIAN\LMPCL5C.INF |
Spanish | D:\DRIVERS\WIN_9X\SPANISH\LMPCL5C.INF |
3Highlight the appropriate driver, and then click Finish. The Add Printer Wizard screen appears.
4Use the default printer name (for example, Dell Laser Printer S2500), or type a unique name for your printer.
5Select whether or not to use this printer as the default printer.
6Click Next.
7Click Finish.
8A test page will print automatically. Click YES when the test page prints successfully.
9Click Finish to complete the installation. You are now ready to print.
10You are prompted to insert the Drivers and Utilities CD. Click OK. A dialog box asks for the file “lexdrvin.exe”.
11Browse to the appropriate folder on the Drivers and Utilities CD (for example, D:\Drivers\Win_9x\English).
12Click OK.
Setting up for local printing
53
