Installation Instructions | IM584000300 |
Spec. No. 584000300 (Model | Issue AB, April 3, 2013 |
|
|
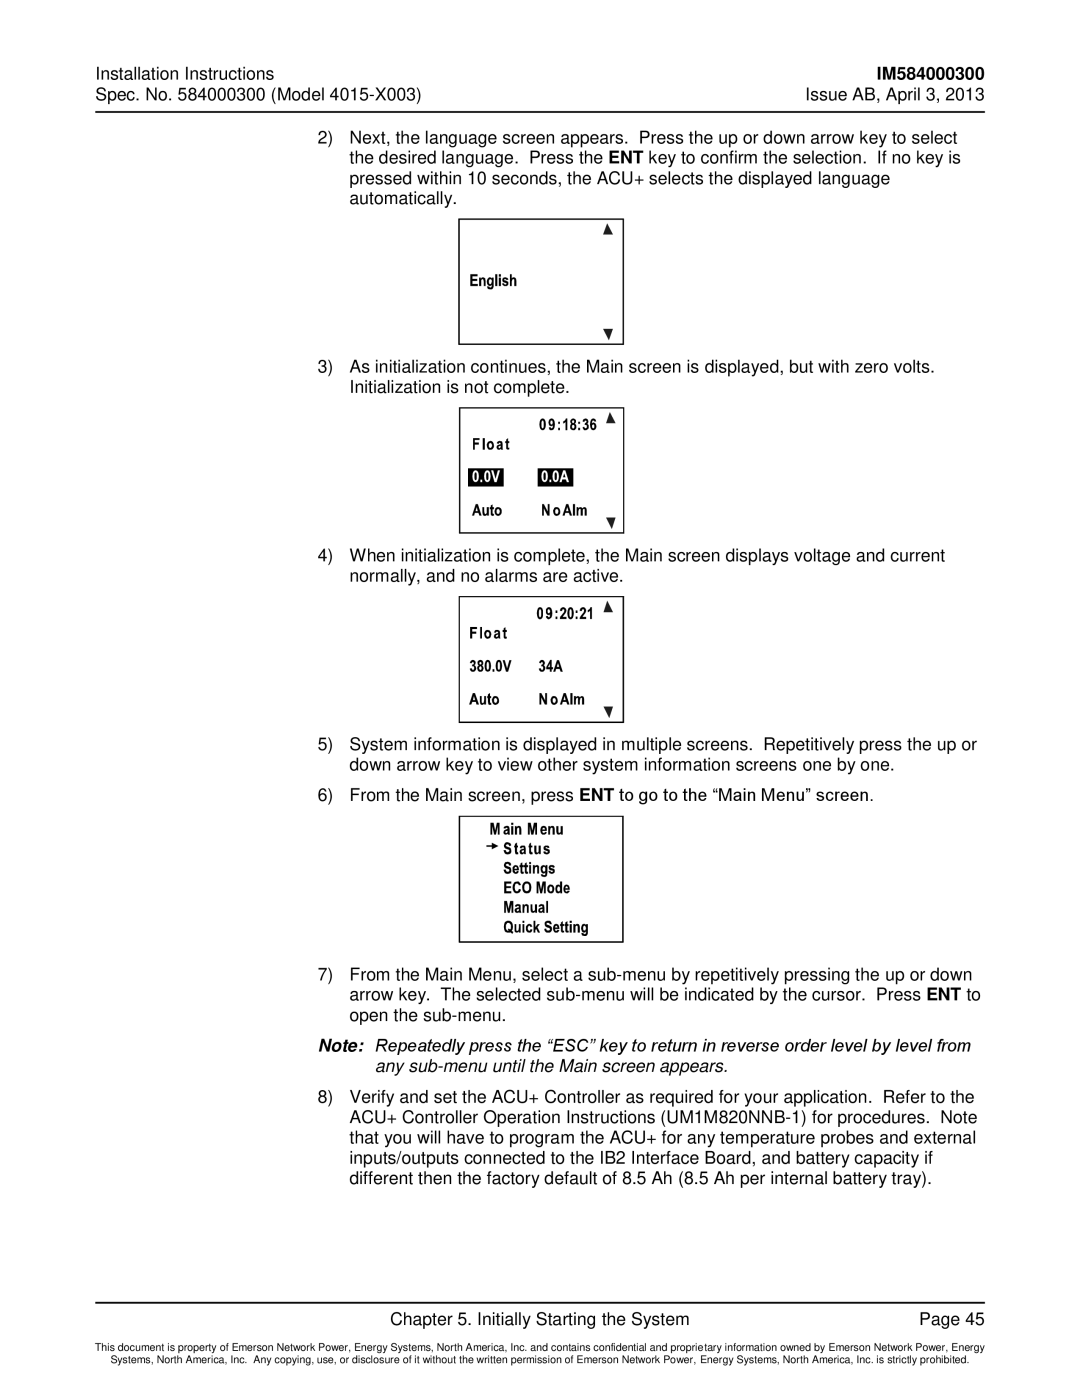
2)Next, the language screen appears. Press the up or down arrow key to select the desired language. Press the ENT key to confirm the selection. If no key is pressed within 10 seconds, the ACU+ selects the displayed language automatically.
3)As initialization continues, the Main screen is displayed, but with zero volts. Initialization is not complete.
4)When initialization is complete, the Main screen displays voltage and current normally, and no alarms are active.
5)System information is displayed in multiple screens. Repetitively press the up or down arrow key to view other system information screens one by one.
6)From the Main screen, press ENT to go to the “Main Menu” screen.
7)From the Main Menu, select a
Note: Repeatedly press the “ESC” key to return in reverse order level by level from any
8)Verify and set the ACU+ Controller as required for your application. Refer to the ACU+ Controller Operation Instructions
Chapter 5. Initially Starting the System | Page 45 |
This document is property of Emerson Network Power, Energy Systems, North America, Inc. and contains confidential and proprietary information owned by Emerson Network Power, Energy
Systems, North America, Inc. Any copying, use, or disclosure of it without the written permission of Emerson Network Power, Energy Systems, North America, Inc. is strictly prohibited.