Making Network Interface Cable Connections
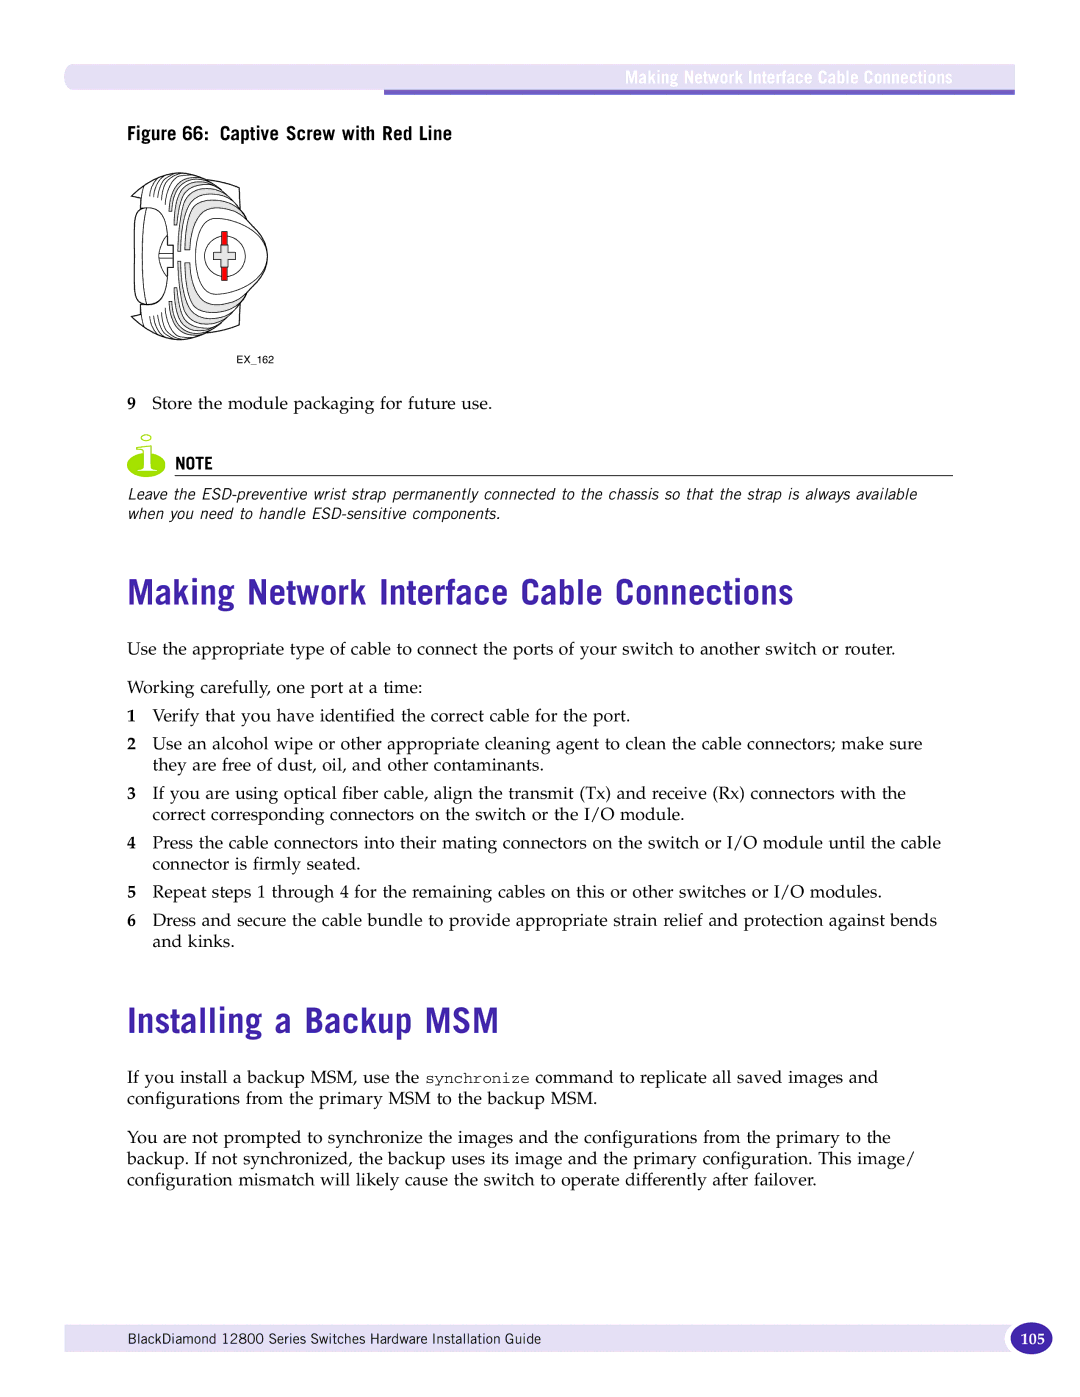
Figure 66: Captive Screw with Red Line
EX_162
9Store the module packaging for future use.
NOTE
Leave the
Making Network Interface Cable Connections
Use the appropriate type of cable to connect the ports of your switch to another switch or router.
Working carefully, one port at a time:
1Verify that you have identified the correct cable for the port.
2Use an alcohol wipe or other appropriate cleaning agent to clean the cable connectors; make sure they are free of dust, oil, and other contaminants.
3If you are using optical fiber cable, align the transmit (Tx) and receive (Rx) connectors with the correct corresponding connectors on the switch or the I/O module.
4Press the cable connectors into their mating connectors on the switch or I/O module until the cable connector is firmly seated.
5Repeat steps 1 through 4 for the remaining cables on this or other switches or I/O modules.
6Dress and secure the cable bundle to provide appropriate strain relief and protection against bends and kinks.
Installing a Backup MSM
If you install a backup MSM, use the synchronize command to replicate all saved images and configurations from the primary MSM to the backup MSM.
You are not prompted to synchronize the images and the configurations from the primary to the backup. If not synchronized, the backup uses its image and the primary configuration. This image/ configuration mismatch will likely cause the switch to operate differently after failover.
BlackDiamond 12800 Series Switches Hardware Installation Guide | 105 |
|
|
