Extreme Networks 325 W DC Power Supply
To install an Extreme Networks 325 W DC PSU:
1Attach an
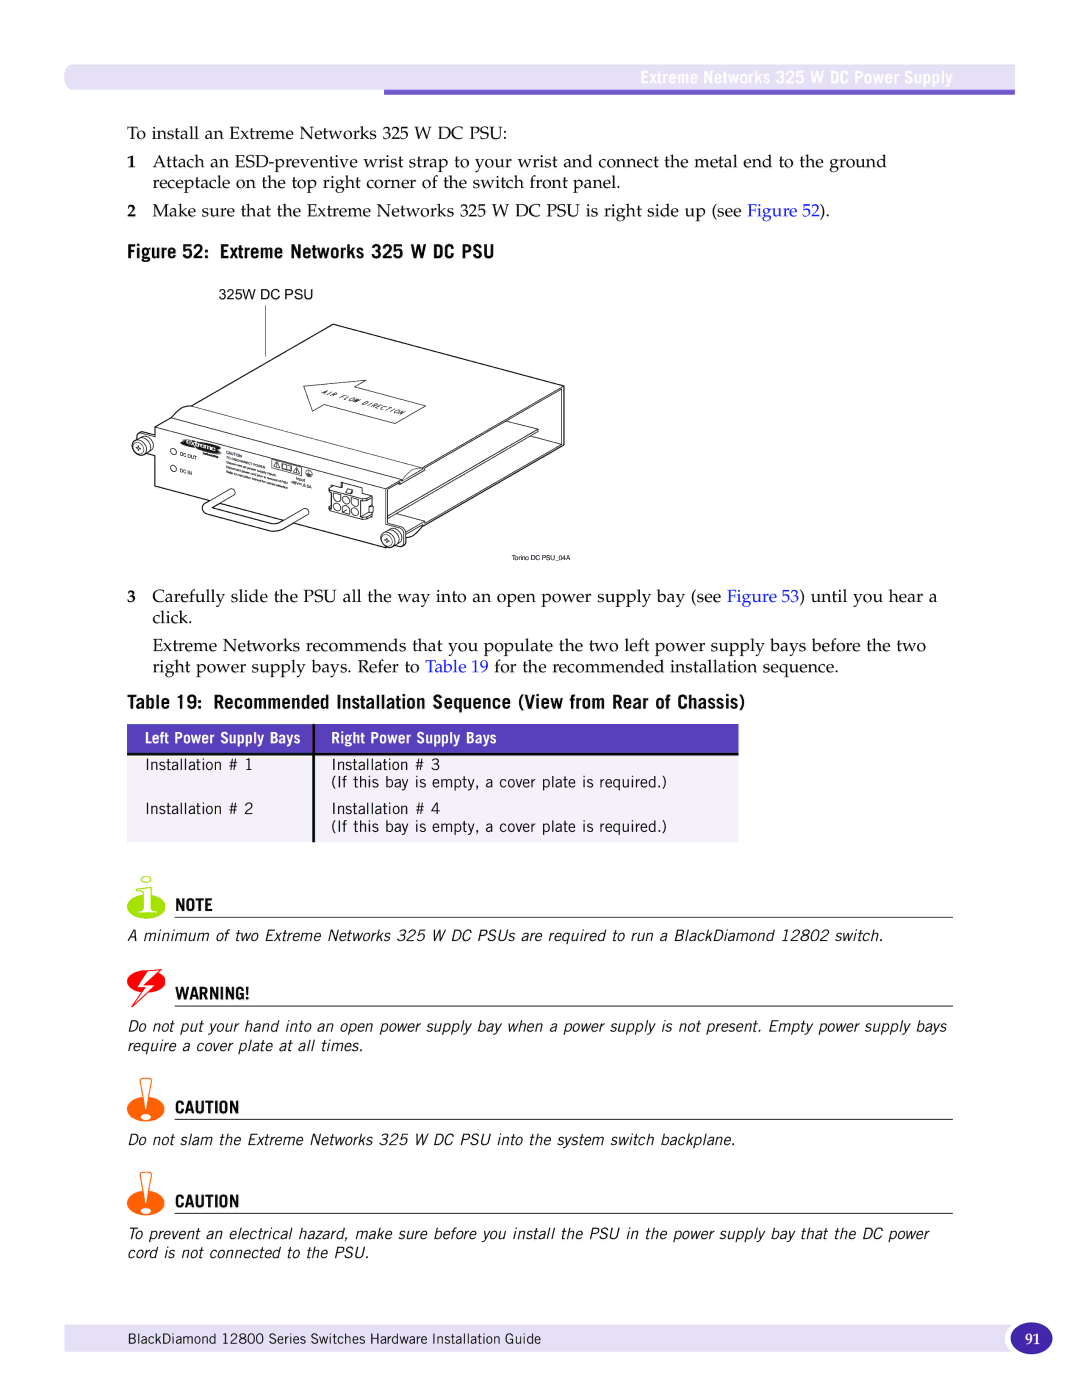
2Make sure that the Extreme Networks 325 W DC PSU is right side up (see Figure 52).
Figure 52: Extreme Networks 325 W DC PSU
325W DC PSU
Torino DC PSU_04A
3Carefully slide the PSU all the way into an open power supply bay (see Figure 53) until you hear a click.
Extreme Networks recommends that you populate the two left power supply bays before the two right power supply bays. Refer to Table 19 for the recommended installation sequence.
Table 19: Recommended Installation Sequence (View from Rear of Chassis)
Left Power Supply Bays | Right Power Supply Bays | |
|
|
|
Installation # | 1 | Installation # 3 |
|
| (If this bay is empty, a cover plate is required.) |
Installation # | 2 | Installation # 4 |
|
| (If this bay is empty, a cover plate is required.) |
|
|
|
NOTE
A minimum of two Extreme Networks 325 W DC PSUs are required to run a BlackDiamond 12802 switch.
WARNING!
Do not put your hand into an open power supply bay when a power supply is not present. Empty power supply bays require a cover plate at all times.
CAUTION
Do not slam the Extreme Networks 325 W DC PSU into the system switch backplane.
CAUTION
To prevent an electrical hazard, make sure before you install the PSU in the power supply bay that the DC power cord is not connected to the PSU.
BlackDiamond 12800 Series Switches Hardware Installation Guide | 91 |
|
|