Presets page
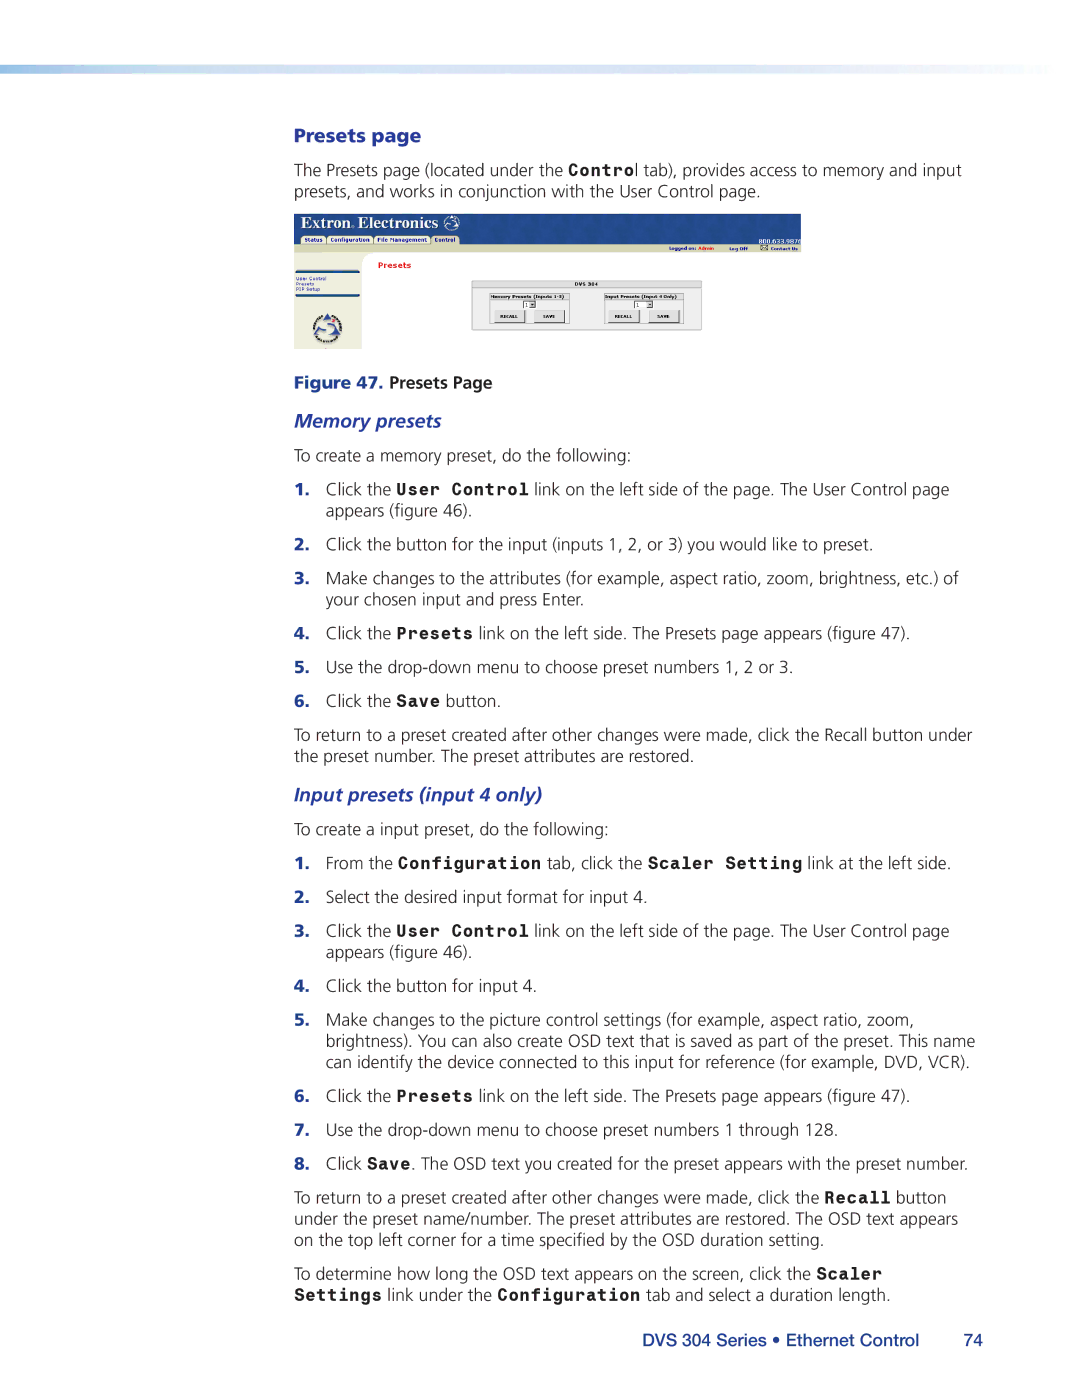
The Presets page (located under the Control tab), provides access to memory and input presets, and works in conjunction with the User Control page.
Figure 47. Presets Page
Memory presets
To create a memory preset, do the following:
1.Click the User Control link on the left side of the page. The User Control page appears (figure 46).
2.Click the button for the input (inputs 1, 2, or 3) you would like to preset.
3.Make changes to the attributes (for example, aspect ratio, zoom, brightness, etc.) of your chosen input and press Enter.
4.Click the Presets link on the left side. The Presets page appears (figure 47).
5.Use the
6.Click the Save button.
To return to a preset created after other changes were made, click the Recall button under the preset number. The preset attributes are restored.
Input presets (input 4 only)
To create a input preset, do the following:
1.From the Configuration tab, click the Scaler Setting link at the left side.
2.Select the desired input format for input 4.
3.Click the User Control link on the left side of the page. The User Control page appears (figure 46).
4.Click the button for input 4.
5.Make changes to the picture control settings (for example, aspect ratio, zoom, brightness). You can also create OSD text that is saved as part of the preset. This name can identify the device connected to this input for reference (for example, DVD, VCR).
6.Click the Presets link on the left side. The Presets page appears (figure 47).
7.Use the
8.Click Save. The OSD text you created for the preset appears with the preset number.
To return to a preset created after other changes were made, click the Recall button under the preset name/number. The preset attributes are restored. The OSD text appears on the top left corner for a time specified by the OSD duration setting.
To determine how long the OSD text appears on the screen, click the Scaler Settings link under the Configuration tab and select a duration length.
DVS 304 Series • Ethernet Control | 74 |
