4 |
Counters
The Micro PLC instruction set includes two Counters:
Up Counter Sets an output to 1 when the counter is equal to a specified value. See page
Down Counter Sets an output to 1 when the counter reaches 0. See page
Programming Software Instructions for Counters
Counters require input logic in the same rung. This can be entered either before selecting the Counter function, or after as described below. Note that the count line for a counter CANNOT contain parallel branches or instructions. If this type is logic is desired, place it in another rung, using it to drive an internal coil which then drives the timer.
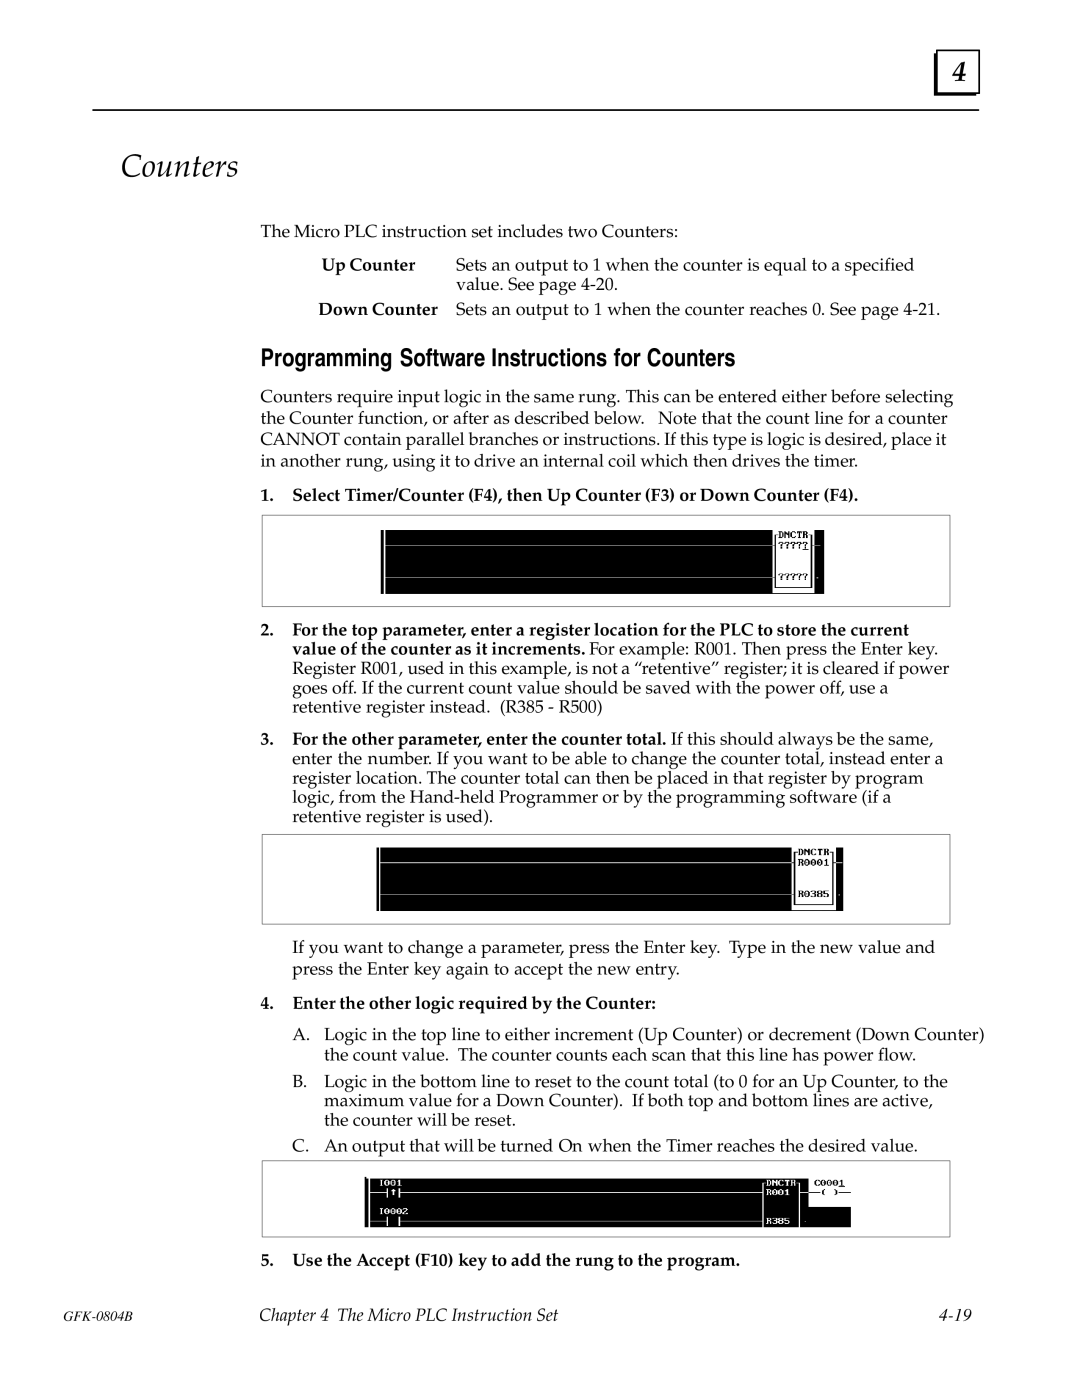
1.Select Timer/Counter (F4), then Up Counter (F3) or Down Counter (F4).
2.For the top parameter, enter a register location for the PLC to store the current value of the counter as it increments. For example: R001. Then press the Enter key. Register R001, used in this example, is not a ªretentiveº register; it is cleared if power goes off. If the current count value should be saved with the power off, use a retentive register instead. (R385 - R500)
3.For the other parameter, enter the counter total. If this should always be the same, enter the number. If you want to be able to change the counter total, instead enter a register location. The counter total can then be placed in that register by program logic, from the
If you want to change a parameter, press the Enter key. Type in the new value and press the Enter key again to accept the new entry.
4.Enter the other logic required by the Counter:
A.Logic in the top line to either increment (Up Counter) or decrement (Down Counter) the count value. The counter counts each scan that this line has power flow.
B.Logic in the bottom line to reset to the count total (to 0 for an Up Counter, to the maximum value for a Down Counter). If both top and bottom lines are active, the counter will be reset.
C.An output that will be turned On when the Timer reaches the desired value.
5.Use the Accept (F10) key to add the rung to the program.
Chapter 4 The Micro PLC Instruction Set |