ZWCD1 Trim Kit
Custom Dispenser Collar
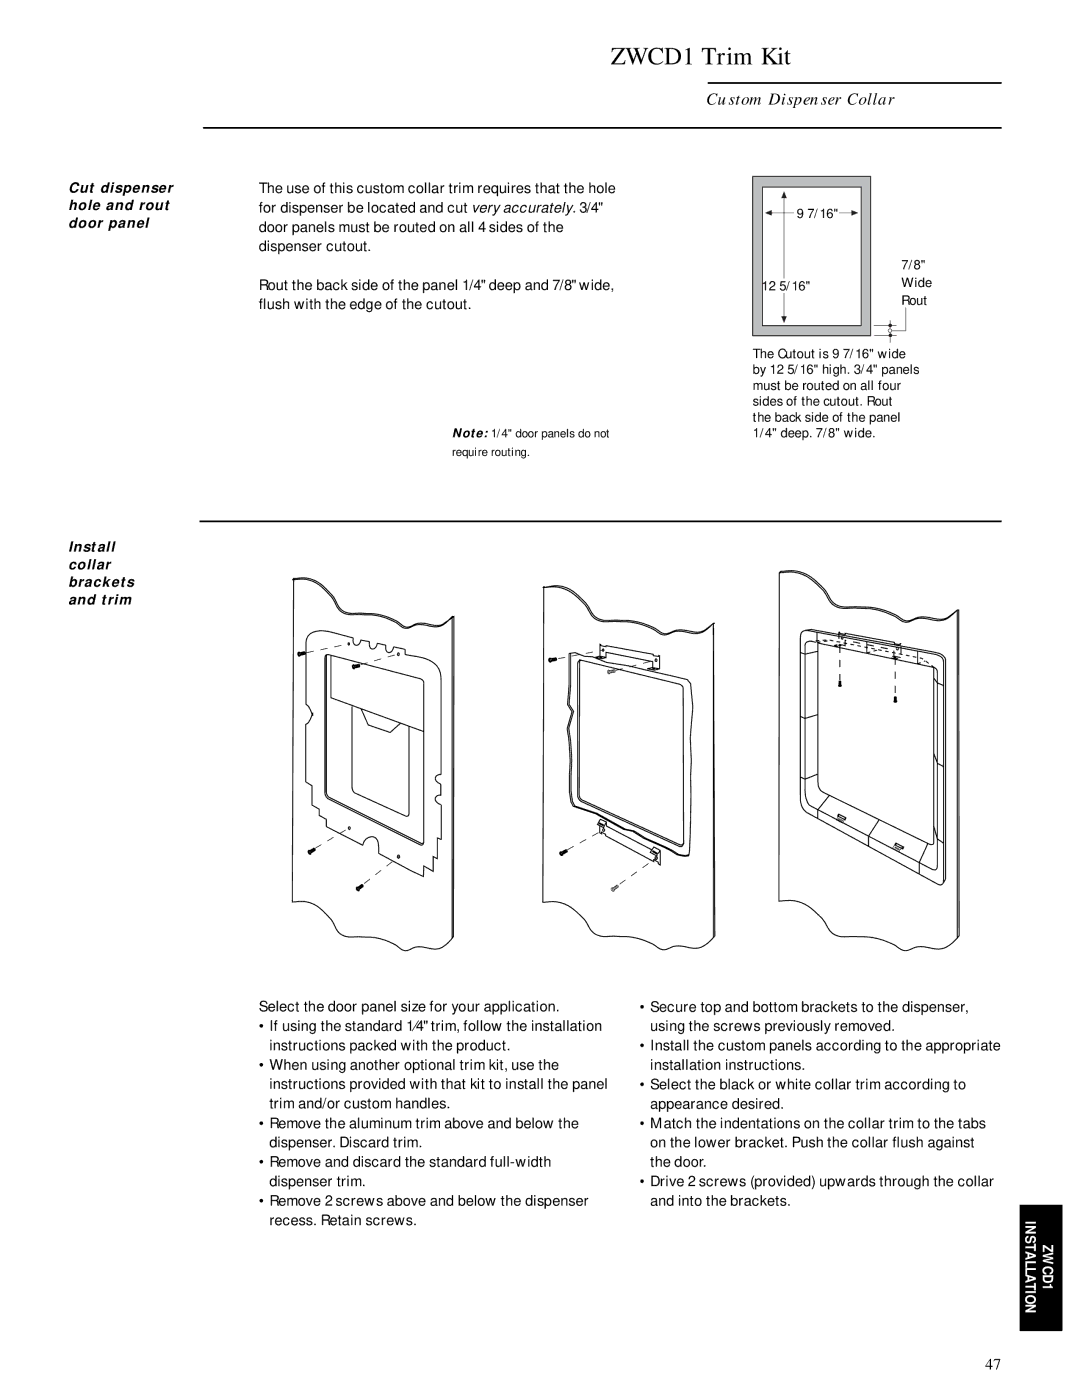
Cut dispenser hole and rout door panel
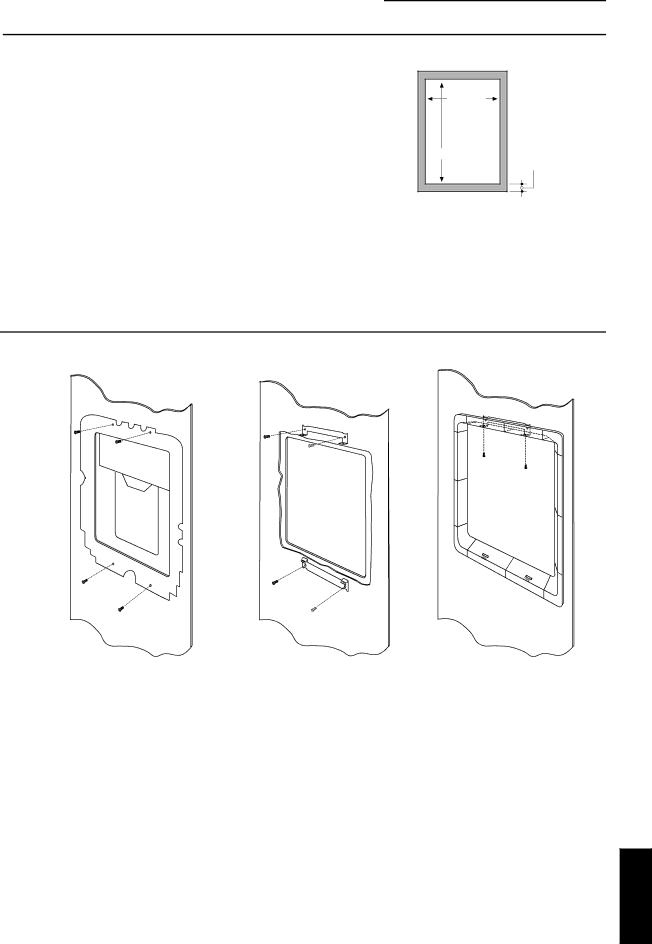
Install collar brackets and trim
The use of this custom collar trim requires that the hole for dispenser be located and cut very accurately. 3/4" door panels must be routed on all 4 sides of the dispenser cutout.
Rout the back side of the panel 1/4" deep and 7/8" wide, flush with the edge of the cutout.
Note: 1/4" door panels do not require routing.
9 7/16" |
|
| 7/8" |
12 5/16" | Wide |
| Rout |
The Cutout is 9 7/16" wide by 12 5/16" high. 3/4" panels must be routed on all four sides of the cutout. Rout the back side of the panel 1/4" deep. 7/8" wide.
Select the door panel size for your application.
•If using the standard 1⁄4" trim, follow the installation instructions packed with the product.
•When using another optional trim kit, use the instructions provided with that kit to install the panel trim and/or custom handles.
•Remove the aluminum trim above and below the dispenser. Discard trim.
•Remove and discard the standard
•Remove 2 screws above and below the dispenser recess. Retain screws.
•Secure top and bottom brackets to the dispenser, using the screws previously removed.
•Install the custom panels according to the appropriate installation instructions.
•Select the black or white collar trim according to appearance desired.
•Match the indentations on the collar trim to the tabs on the lower bracket. Push the collar flush against the door.
•Drive 2 screws (provided) upwards through the collar and into the brackets.
ZWCD1
INSTALLATION
47