Editing
Select the special effects for “IN” or
“OUT”, ![]() “Enter”, then press the confirmation button.
“Enter”, then press the confirmation button.
•Use (/'to move the cursor to “IN”, “OUT”, “Enter”, or “Cancel”.
•Use &/ %to select the effect
to be added, then press the
4confirmation button to set the effect.
•After the confirmation, a message appears and the disc navigation screen will be restored.
•To cancel setting, select “Cancel”.
•Repeat steps
Select “Yes”, then press the confirmation button.
The “![]() ” or “
” or “![]() ” icon will appear in the scenes for which fade in or fade out has been set.
” icon will appear in the scenes for which fade in or fade out has been set.
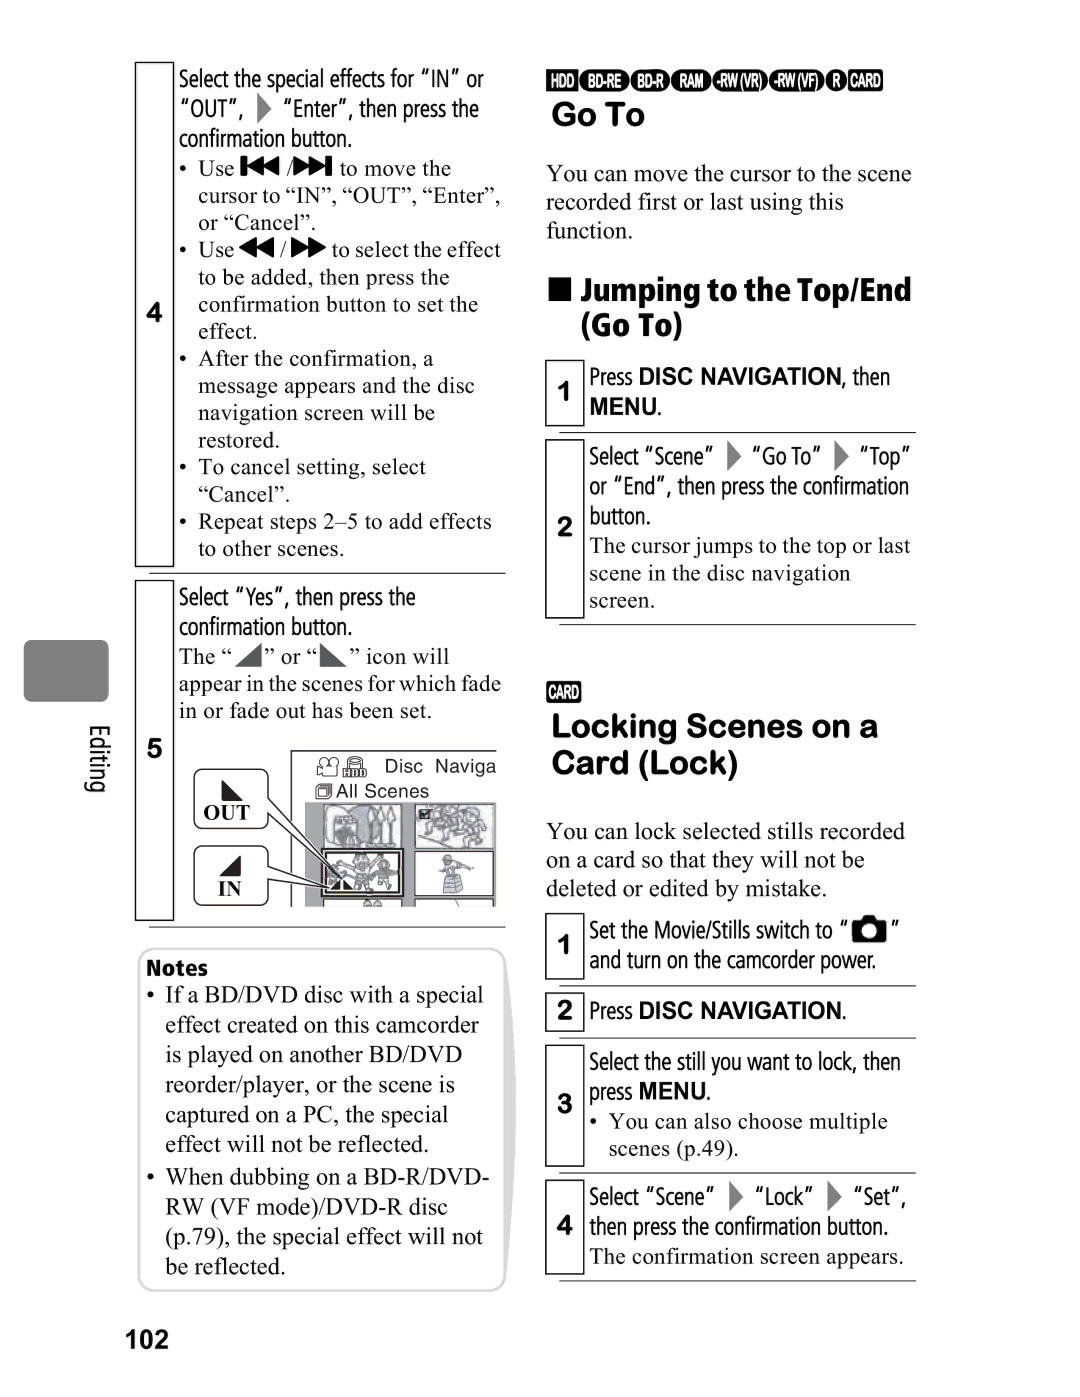
5
Disc Naviga
![]() All Scenes
All Scenes
OUT
IN
Notes
•If a BD/DVD disc with a special effect created on this camcorder is played on another BD/DVD reorder/player, or the scene is captured on a PC, the special effect will not be reflected.
•When dubbing on a
HDD
Go To
You can move the cursor to the scene recorded first or last using this function.
Jumping to the Top/End (Go To)
1Press DISC NAVIGATION, then MENU.
Select “Scene” ![]() “Go To”
“Go To” ![]() “Top” or “End”, then press the confirmation
“Top” or “End”, then press the confirmation
2button.
The cursor jumps to the top or last scene in the disc navigation screen.
CARD
Locking Scenes on a Card (Lock)
You can lock selected stills recorded on a card so that they will not be deleted or edited by mistake.
1Set the Movie/Stills switch to “![]() ” and turn on the camcorder power.
” and turn on the camcorder power.
2Press DISC NAVIGATION.
Select the still you want to lock, then
3press MENU.
•You can also choose multiple scenes (p.49).
Select “Scene” ![]() “Lock”
“Lock” ![]() “Set”,
“Set”,
4then press the confirmation button.
The confirmation screen appears.