1.Wait for the printer to stop printing.
2.From the ready screen, press the Online/Offline button.
The Front Page screen appears.
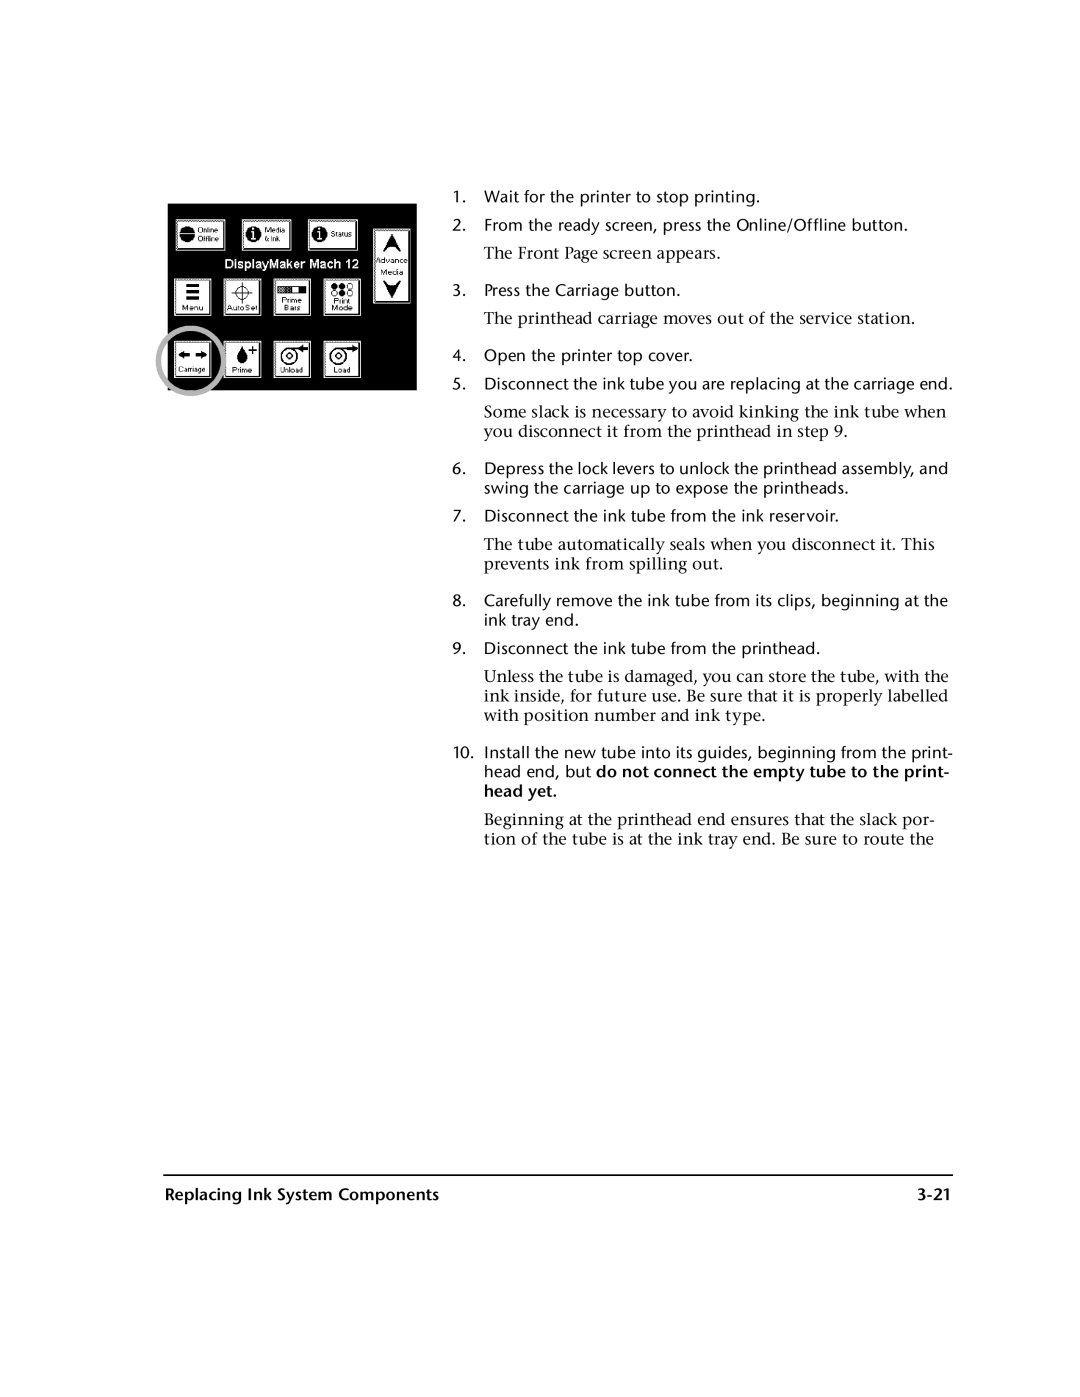
3.Press the Carriage button.
The printhead carriage moves out of the service station.
4.Open the printer top cover.
5.Disconnect the ink tube you are replacing at the carriage end.
Some slack is necessary to avoid kinking the ink tube when you disconnect it from the printhead in step 9.
6.Depress the lock levers to unlock the printhead assembly, and swing the carriage up to expose the printheads.
7.Disconnect the ink tube from the ink reservoir.
The tube automatically seals when you disconnect it. This prevents ink from spilling out.
8.Carefully remove the ink tube from its clips, beginning at the ink tray end.
9.Disconnect the ink tube from the printhead.
Unless the tube is damaged, you can store the tube, with the ink inside, for future use. Be sure that it is properly labelled with position number and ink type.
10.Install the new tube into its guides, beginning from the print- head end, but do not connect the empty tube to the print- head yet.
Beginning at the printhead end ensures that the slack por- tion of the tube is at the ink tray end. Be sure to route the
Replacing Ink System Components |