CAUTION
Important
Getting Started with Your Notebook
Setting Up Your Notebook
Step 2: Connect AC power
Use only the AC adapter included with your notebook (or other approved adapter that meets the power requirements of the notebook).
Using the wrong AC adapter could damage the notebook or adapter, cause data loss, and may void your warranty. (See the printed document Worldwide Limited Warranty and Technical Support that came with the notebook.)
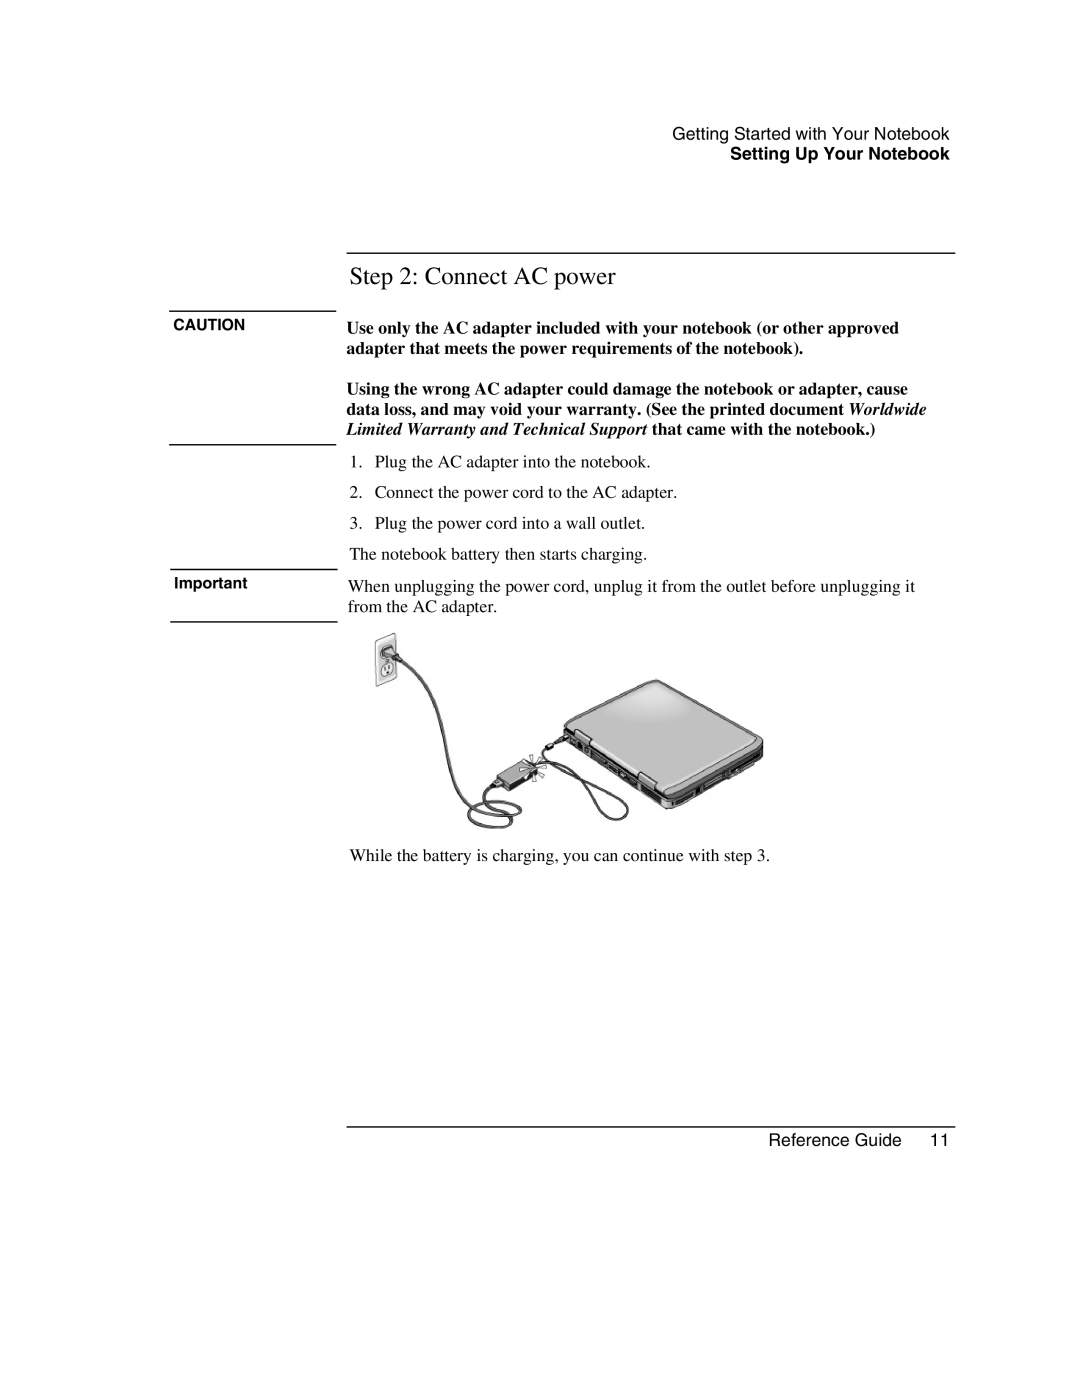
1.Plug the AC adapter into the notebook.
2.Connect the power cord to the AC adapter.
3.Plug the power cord into a wall outlet. The notebook battery then starts charging.
When unplugging the power cord, unplug it from the outlet before unplugging it from the AC adapter.
While the battery is charging, you can continue with step 3.