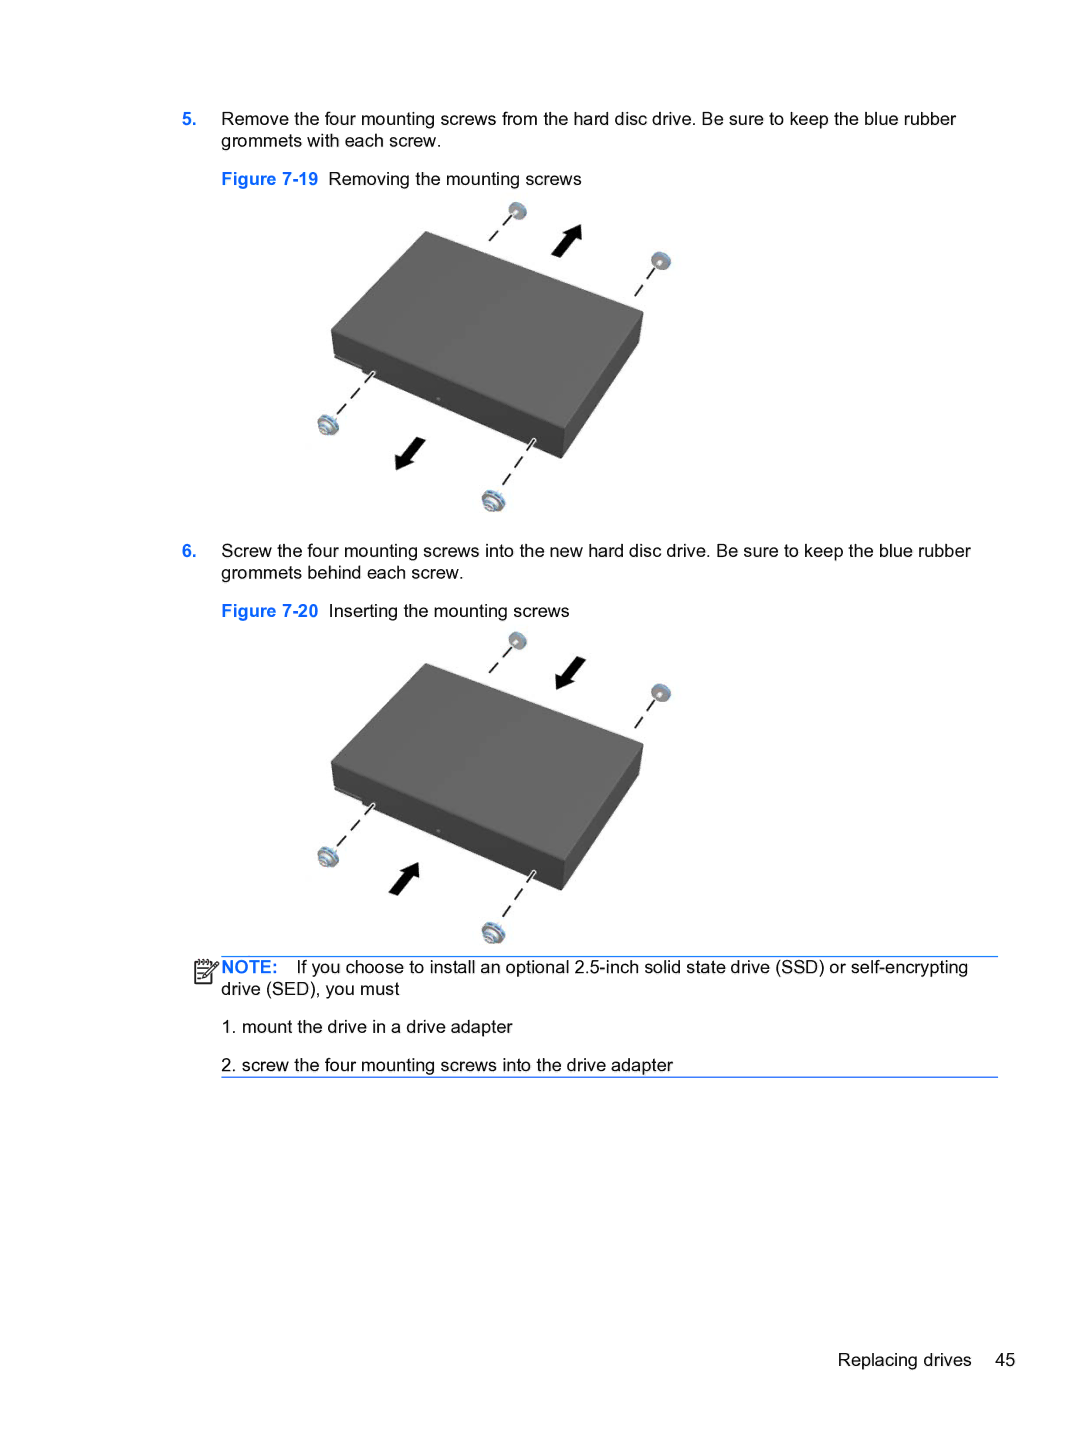
5.Remove the four mounting screws from the hard disc drive. Be sure to keep the blue rubber grommets with each screw.
Figure 7-19 Removing the mounting screws
6.Screw the four mounting screws into the new hard disc drive. Be sure to keep the blue rubber grommets behind each screw.
Figure 7-20 Inserting the mounting screws
![]()
![]()
![]()
![]() NOTE: If you choose to install an optional
NOTE: If you choose to install an optional
