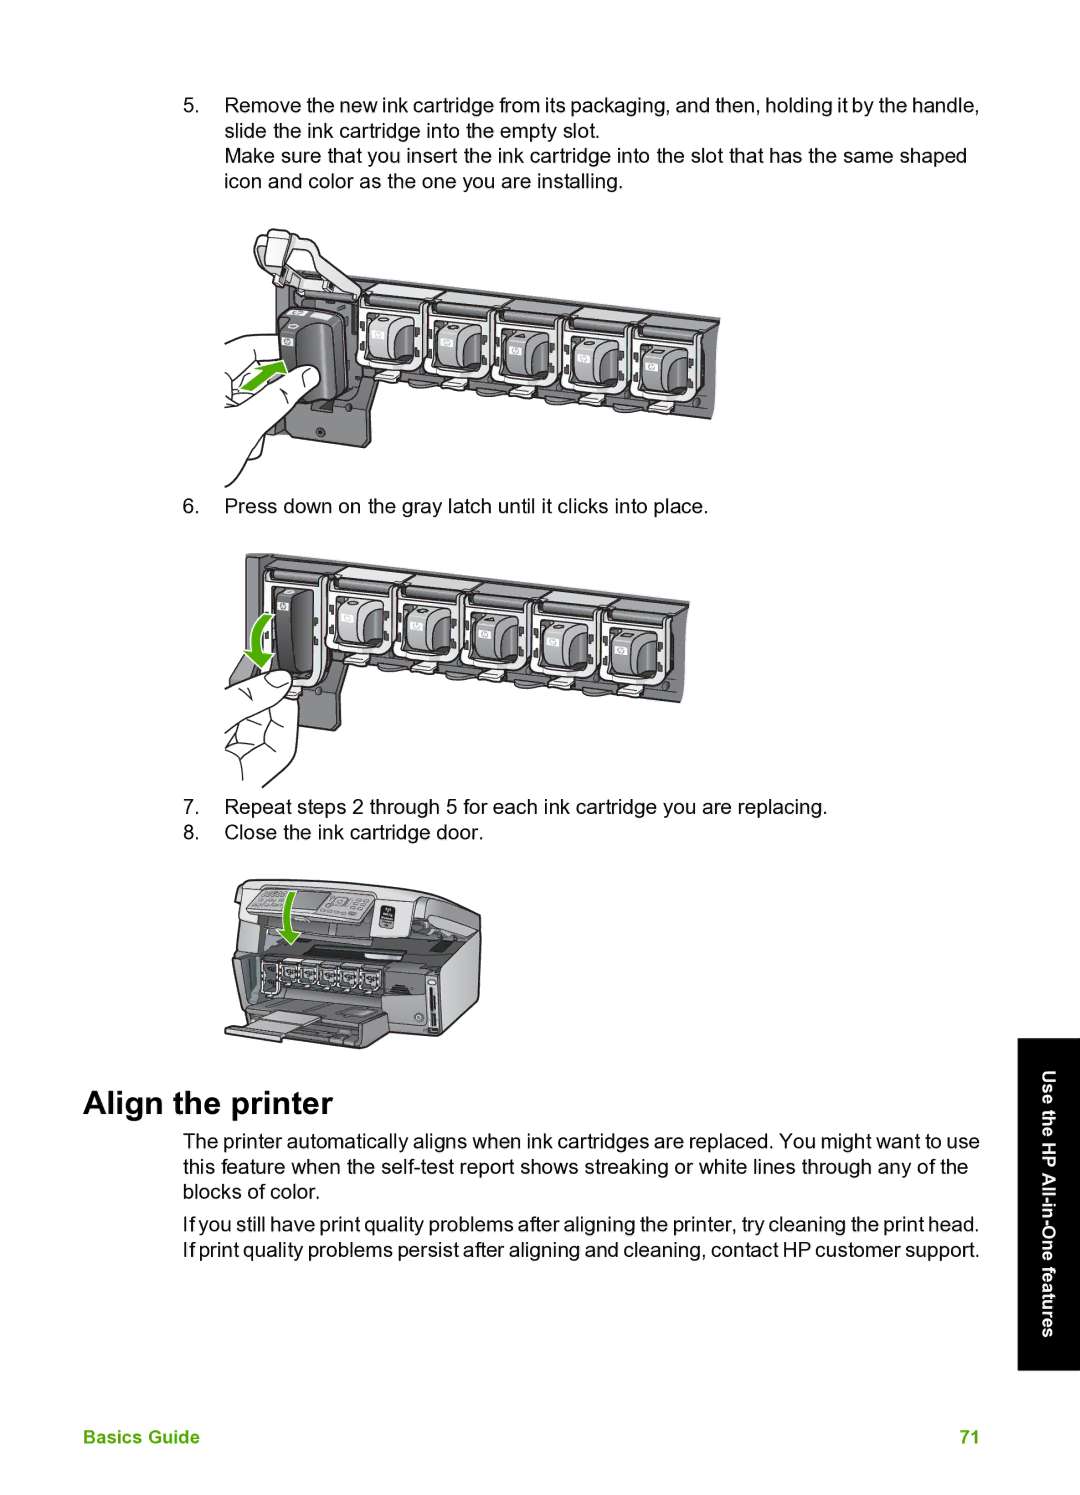
5.Remove the new ink cartridge from its packaging, and then, holding it by the handle, slide the ink cartridge into the empty slot.
Make sure that you insert the ink cartridge into the slot that has the same shaped icon and color as the one you are installing.
6.Press down on the gray latch until it clicks into place.
7.Repeat steps 2 through 5 for each ink cartridge you are replacing.
8.Close the ink cartridge door.
Align the printer
The printer automatically aligns when ink cartridges are replaced. You might want to use this feature when the
If you still have print quality problems after aligning the printer, try cleaning the print head. If print quality problems persist after aligning and cleaning, contact HP customer support.
Use the HP
Basics Guide | 71 |
