handle ink cartridges
hp officejet d series
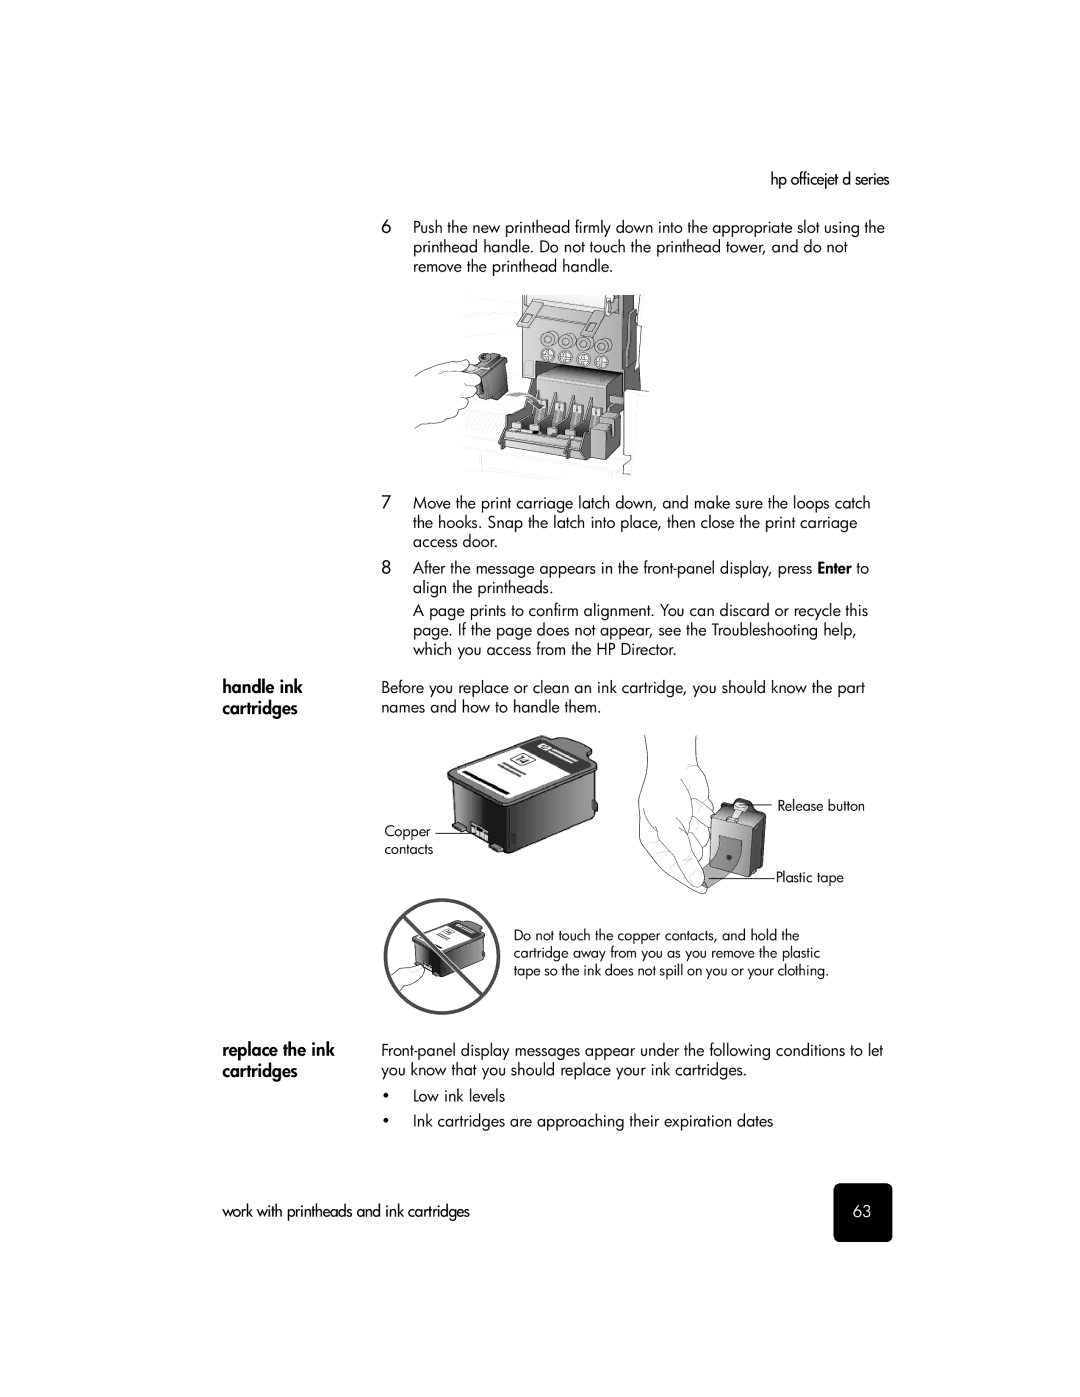
6Push the new printhead firmly down into the appropriate slot using the printhead handle. Do not touch the printhead tower, and do not remove the printhead handle.
7Move the print carriage latch down, and make sure the loops catch the hooks. Snap the latch into place, then close the print carriage access door.
8After the message appears in the
A page prints to confirm alignment. You can discard or recycle this page. If the page does not appear, see the Troubleshooting help, which you access from the HP Director.
Before you replace or clean an ink cartridge, you should know the part names and how to handle them.
Release button
Copper contacts
Plastic tape
Do not touch the copper contacts, and hold the cartridge away from you as you remove the plastic tape so the ink does not spill on you or your clothing.
replace the ink cartridges
•Low ink levels
•Ink cartridges are approaching their expiration dates
work with printheads and ink cartridges | 63 |