Chapter 11
removed from each print cartridge. When plastic tape covers the print cartridge contacts, the printer cannot detect that the print cartridge is installed.
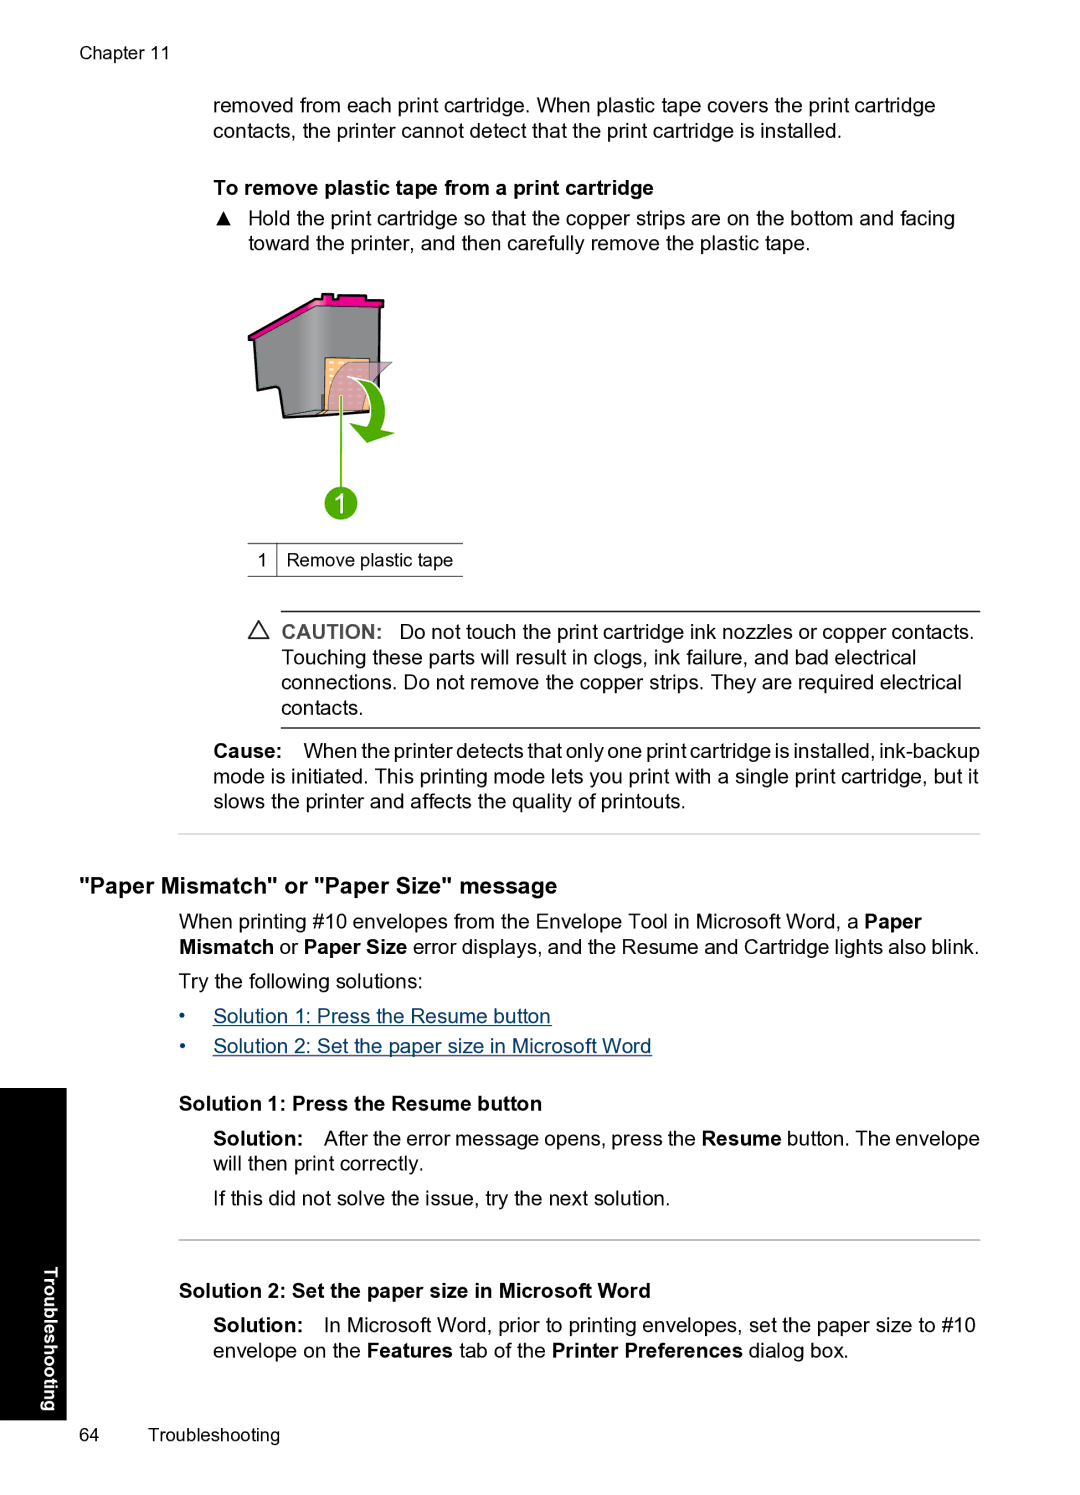
To remove plastic tape from a print cartridge
▲Hold the print cartridge so that the copper strips are on the bottom and facing toward the printer, and then carefully remove the plastic tape.
1
Remove plastic tape
CAUTION: Do not touch the print cartridge ink nozzles or copper contacts. Touching these parts will result in clogs, ink failure, and bad electrical connections. Do not remove the copper strips. They are required electrical contacts.
Cause: When the printer detects that only one print cartridge is installed,
"Paper Mismatch" or "Paper Size" message
When printing #10 envelopes from the Envelope Tool in Microsoft Word, a Paper Mismatch or Paper Size error displays, and the Resume and Cartridge lights also blink.
Try the following solutions:
•Solution 1: Press the Resume button
•Solution 2: Set the paper size in Microsoft Word
Troubleshooting
Solution 1: Press the Resume button
Solution: After the error message opens, press the Resume button. The envelope will then print correctly.
If this did not solve the issue, try the next solution.
Solution 2: Set the paper size in Microsoft Word
Solution: In Microsoft Word, prior to printing envelopes, set the paper size to #10 envelope on the Features tab of the Printer Preferences dialog box.
64 Troubleshooting
