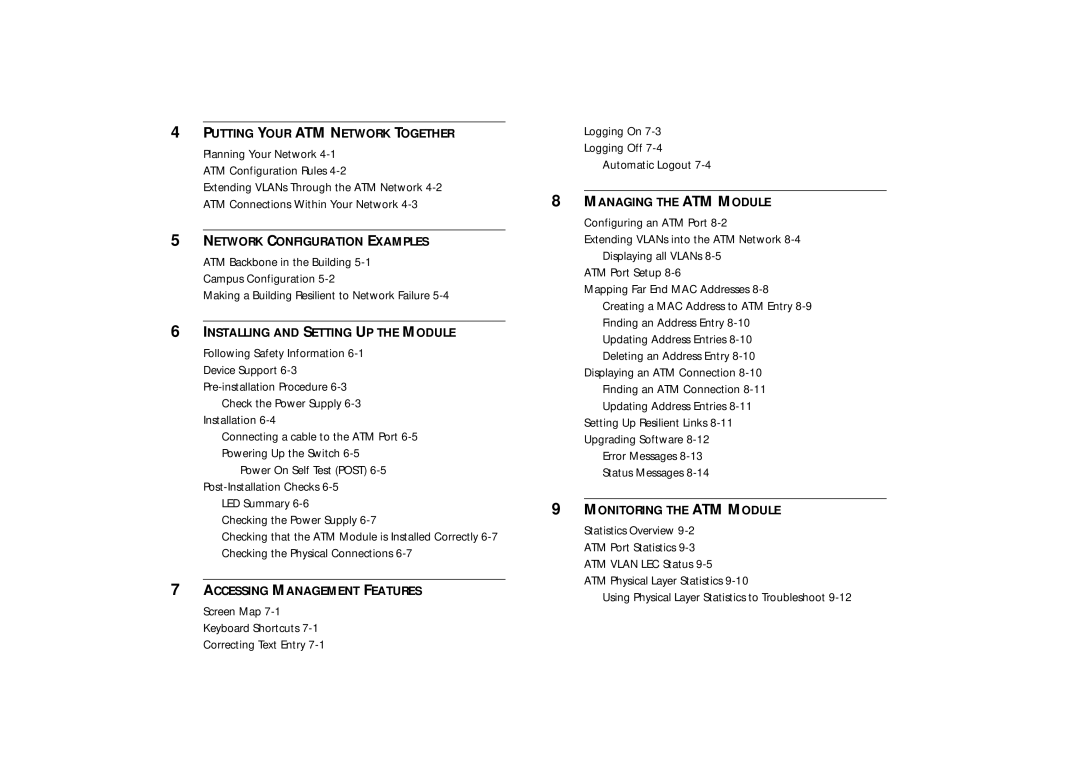
4PUTTING YOUR ATM NETWORK TOGETHER Planning Your Network 4-1
ATM Configuration Rules
Extending VLANs Through the ATM Network
5NETWORK CONFIGURATION EXAMPLES ATM Backbone in the Building
Making a Building Resilient to Network Failure
6INSTALLING AND SETTING UP THE MODULE Following Safety Information
Device Support
Check the Power Supply
Connecting a cable to the ATM Port
Power On Self Test (POST)
LED Summary
Checking the Power Supply
Checking that the ATM Module is Installed Correctly
7ACCESSING MANAGEMENT FEATURES Screen Map 7-1
Keyboard Shortcuts
Logging On
Logging Off
Automatic Logout
8MANAGING THE ATM MODULE Configuring an ATM Port 8-2
Extending VLANs into the ATM Network
ATM Port Setup
Mapping Far End MAC Addresses
Deleting an Address Entry
Finding an ATM Connection
Setting Up Resilient Links
Error Messages
9MONITORING THE ATM MODULE Statistics Overview 9-2
ATM Port Statistics
ATM Physical Layer Statistics
Using Physical Layer Statistics to Troubleshoot
