2If the VLAN is to be connected to an ELAN, select Yes. If you do not wish the VLAN to be connected to an ELAN, select No.
3If there is a LECS controlling ELANs on your network, it should automatically supply the LES address for the ELAN, and you should select the LECS option.
Only select the Manual option if:
■A LECS is not in use on the network, or
■The LECS is unaware of the existence of the ELAN to be joined, or
■You do not wish the LEC to join a LES controlled by a specific LECS.
If Manual is selected, the LES address field is displayed on the screen, and you should enter the ATM address of the LES associated with the selected VLAN/ELAN.
4Enter the name of the ELAN that the VLAN is to join. The ELAN must have already been set up in the ATM network and be operational.
5Select the APPLY button.
If the LEC associated with the VLAN is active when APPLY is selected, it will temporarily become inactive while the changes are applied, and you may experience a brief loss of communication on that connection.
Extending VLANs into the ATM Network |
Displaying all VLANs
If you wish to display the VLAN membership for all ports on the Switch, complete the following steps. If you wish to configure VLANs for the ATM Module you should use the ATM VLAN Setup screen, as described in “Extending VLANs into the ATM Network” on page
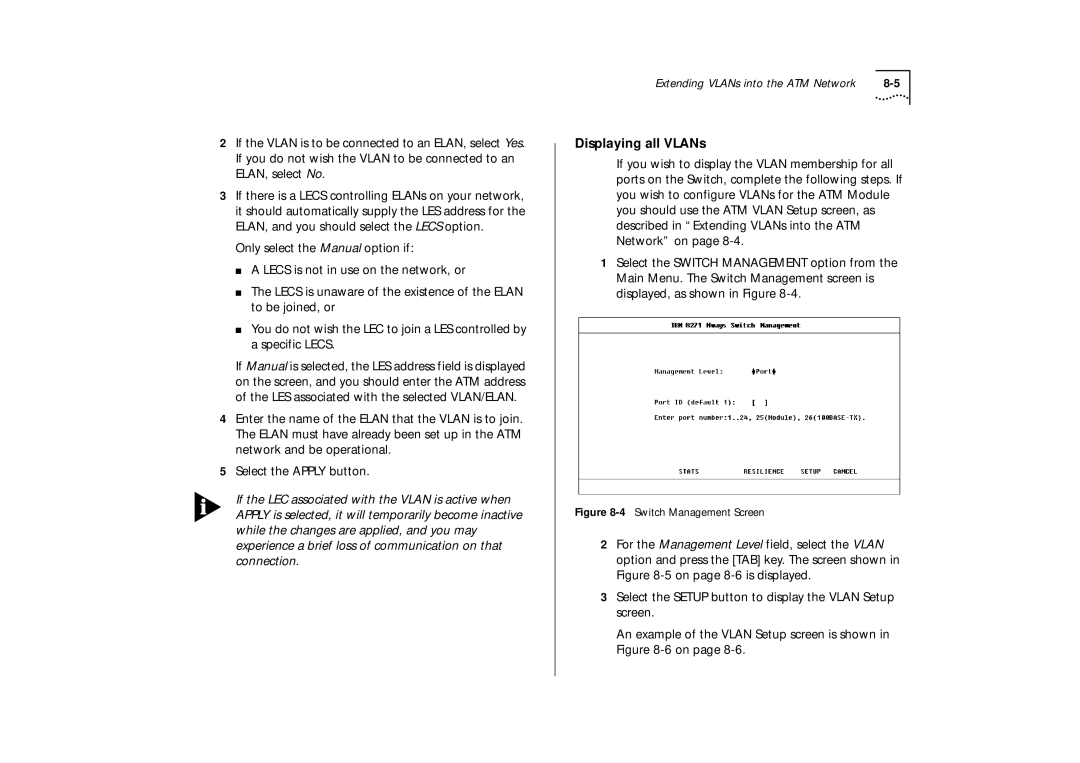
1Select the SWITCH MANAGEMENT option from the Main Menu. The Switch Management screen is displayed, as shown in Figure
Figure 8-4 Switch Management Screen
2For the Management Level field, select the VLAN option and press the [TAB] key. The screen shown in Figure
3Select the SETUP button to display the VLAN Setup screen.
An example of the VLAN Setup screen is shown in Figure
