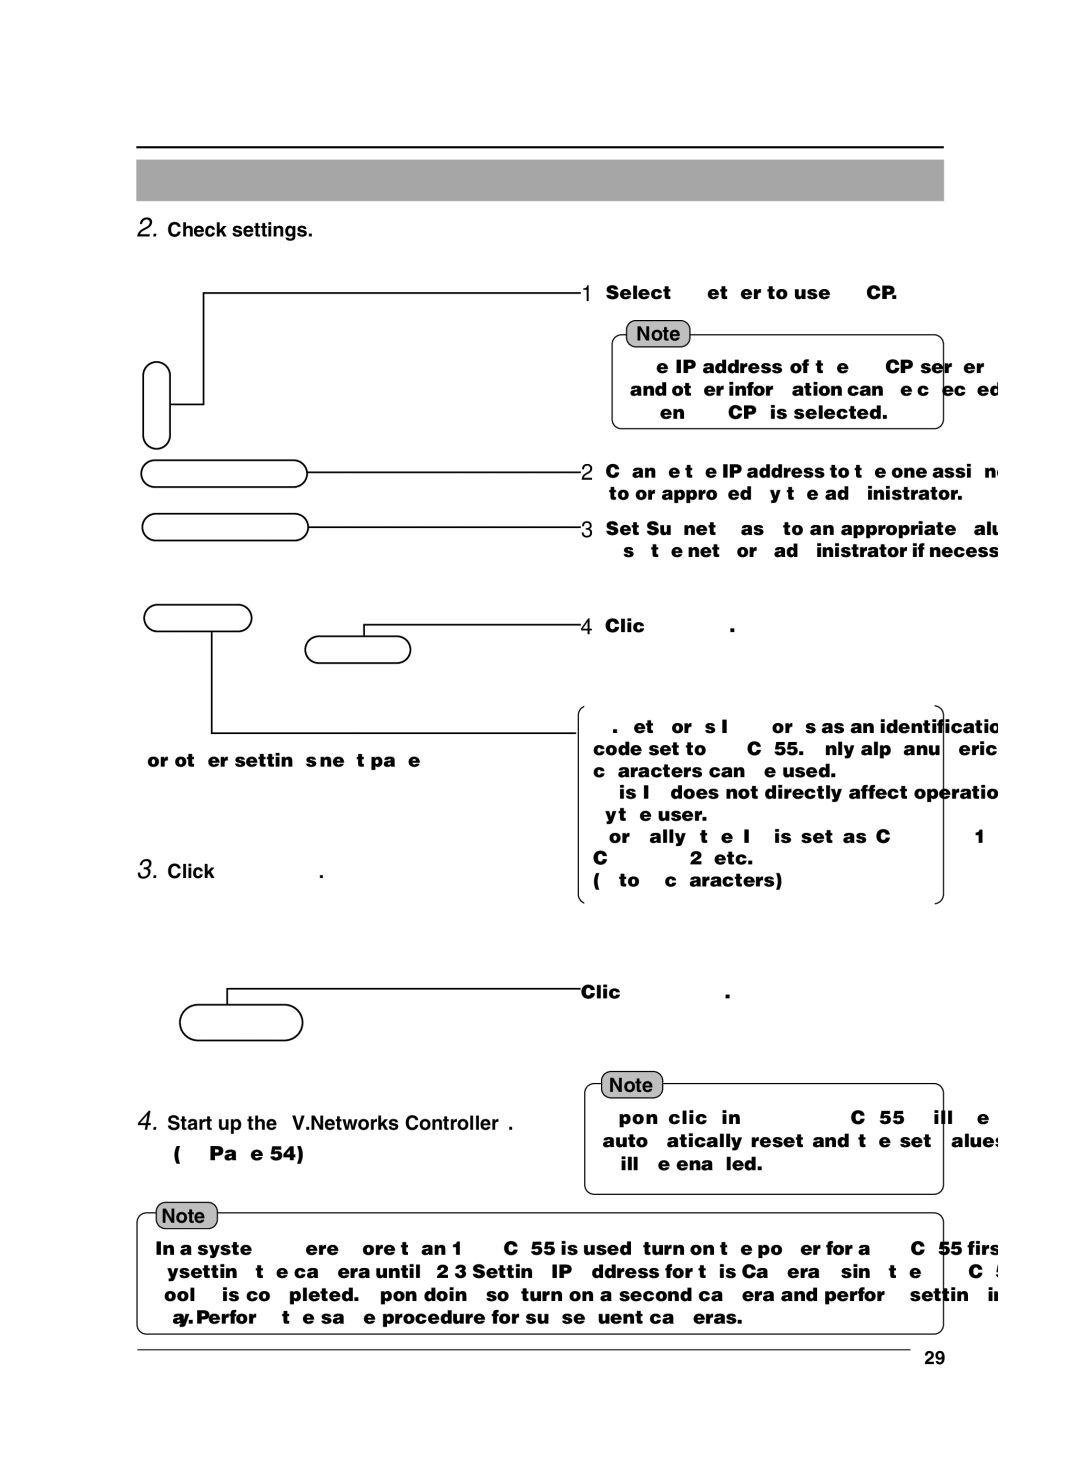
2.Check settings.
1 Select whether to use DHCP.
Note
The IP address of the DHCP server and other information can be checked when [DHCP] is selected.
2 Change the IP address to the one assigned to or approved by the administrator.
![]()
![]() 3 Set Subnet mask to an appropriate value. Ask the network administrator if necessary.
3 Set Subnet mask to an appropriate value. Ask the network administrator if necessary.
4 Click ![]() .
.
For other settings, ☞ next page
3.Click  .
.
[V.Networks ID] works as an identification code set to
This ID does not directly affect operation by the user.
Normally, the ID is set as CAM00001, CAM00002, etc.
(0 to 8 characters)
Click ![]() .
.
4.Start up the "V.Networks Controller". (☞ Page 54)
Note
Note
Upon clicking OK,
In a system where more than 1
29