Connecting the USB | IMPORTANT: If you have not installed the Kodak Driver Software, |
cable | do that now before proceeding. |
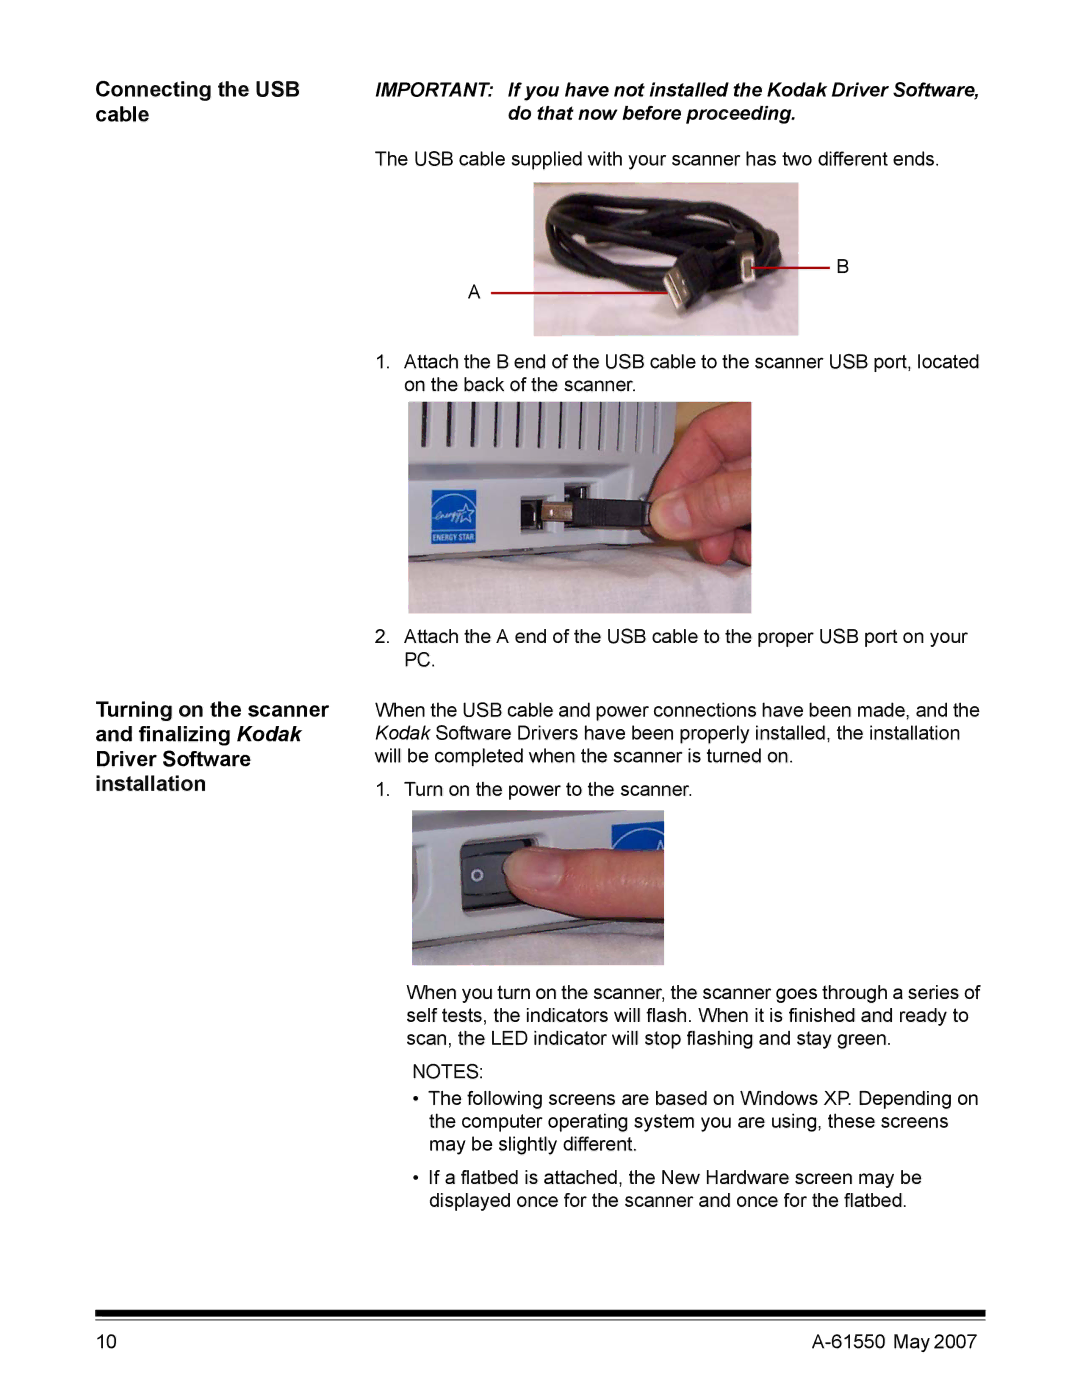
| The USB cable supplied with your scanner has two different ends. |
B
A
Turning on the scanner and finalizing Kodak Driver Software installation
1.Attach the B end of the USB cable to the scanner USB port, located on the back of the scanner.
2.Attach the A end of the USB cable to the proper USB port on your PC.
When the USB cable and power connections have been made, and the Kodak Software Drivers have been properly installed, the installation will be completed when the scanner is turned on.
1. Turn on the power to the scanner.
When you turn on the scanner, the scanner goes through a series of self tests, the indicators will flash. When it is finished and ready to scan, the LED indicator will stop flashing and stay green.
NOTES:
•The following screens are based on Windows XP. Depending on the computer operating system you are using, these screens may be slightly different.
•If a flatbed is attached, the New Hardware screen may be displayed once for the scanner and once for the flatbed.
10 |