Toolbar buttons
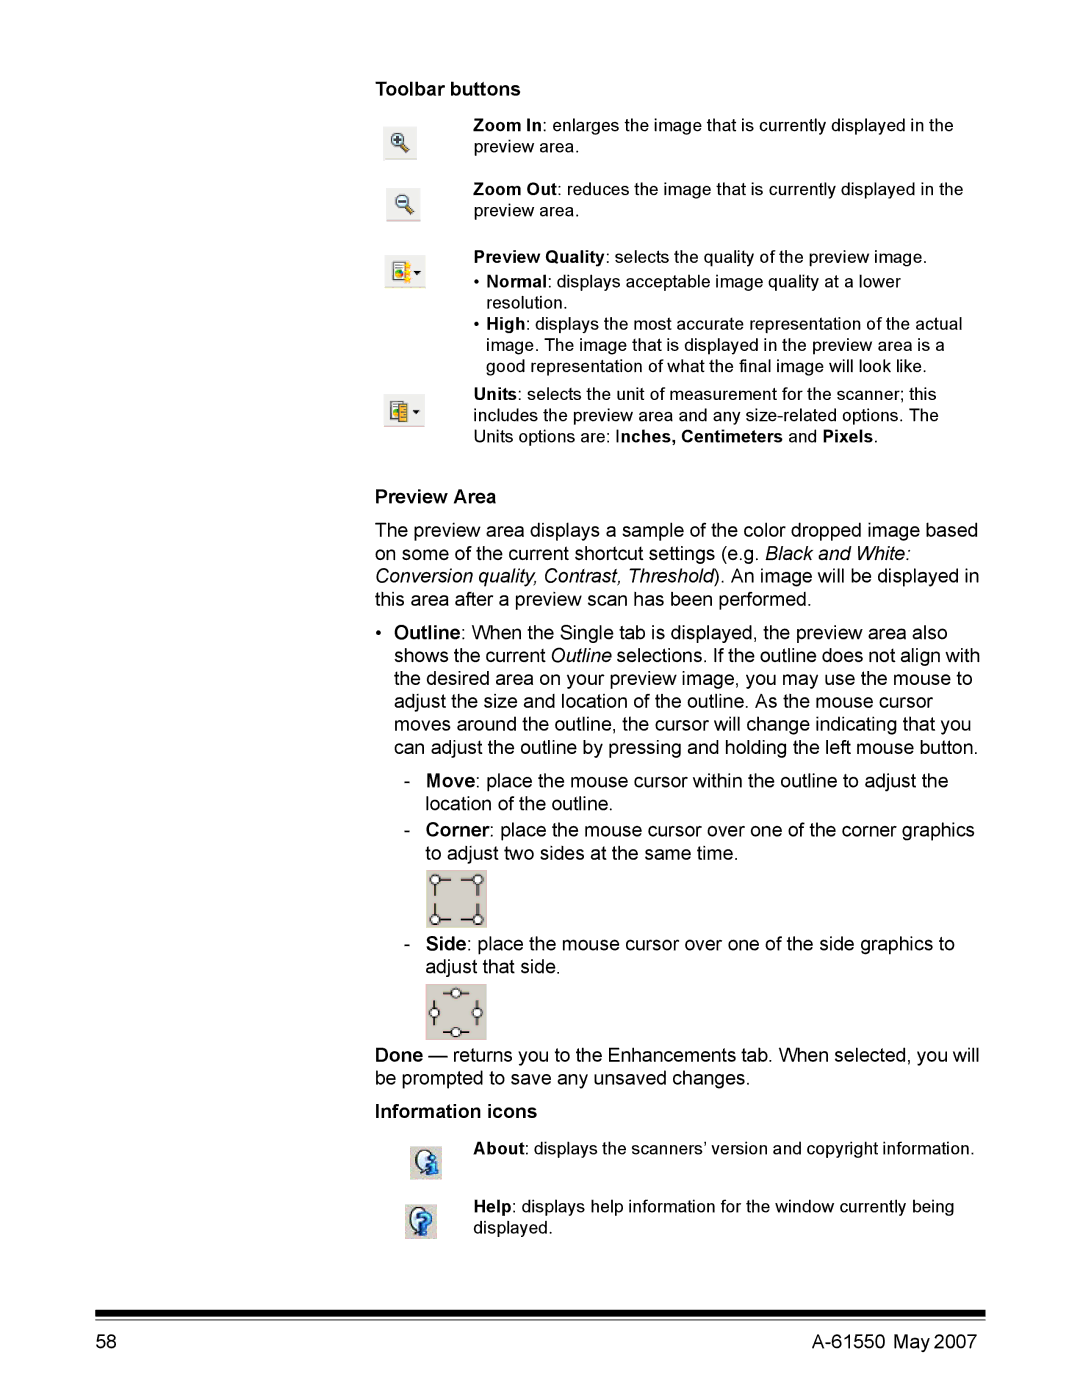
Zoom In: enlarges the image that is currently displayed in the preview area.
Zoom Out: reduces the image that is currently displayed in the preview area.
Preview Quality: selects the quality of the preview image.
•Normal: displays acceptable image quality at a lower resolution.
•High: displays the most accurate representation of the actual image. The image that is displayed in the preview area is a good representation of what the final image will look like.
Units: selects the unit of measurement for the scanner; this includes the preview area and any
Preview Area
The preview area displays a sample of the color dropped image based on some of the current shortcut settings (e.g. Black and White: Conversion quality, Contrast, Threshold). An image will be displayed in this area after a preview scan has been performed.
•Outline: When the Single tab is displayed, the preview area also shows the current Outline selections. If the outline does not align with the desired area on your preview image, you may use the mouse to adjust the size and location of the outline. As the mouse cursor moves around the outline, the cursor will change indicating that you can adjust the outline by pressing and holding the left mouse button.
-Move: place the mouse cursor within the outline to adjust the location of the outline.
-Corner: place the mouse cursor over one of the corner graphics to adjust two sides at the same time.
-Side: place the mouse cursor over one of the side graphics to adjust that side.
Done — returns you to the Enhancements tab. When selected, you will be prompted to save any unsaved changes.
Information icons
About: displays the scanners’ version and copyright information.
Help: displays help information for the window currently being displayed.
58 |
