Chapter 2 Using Your Motion Tablet Client
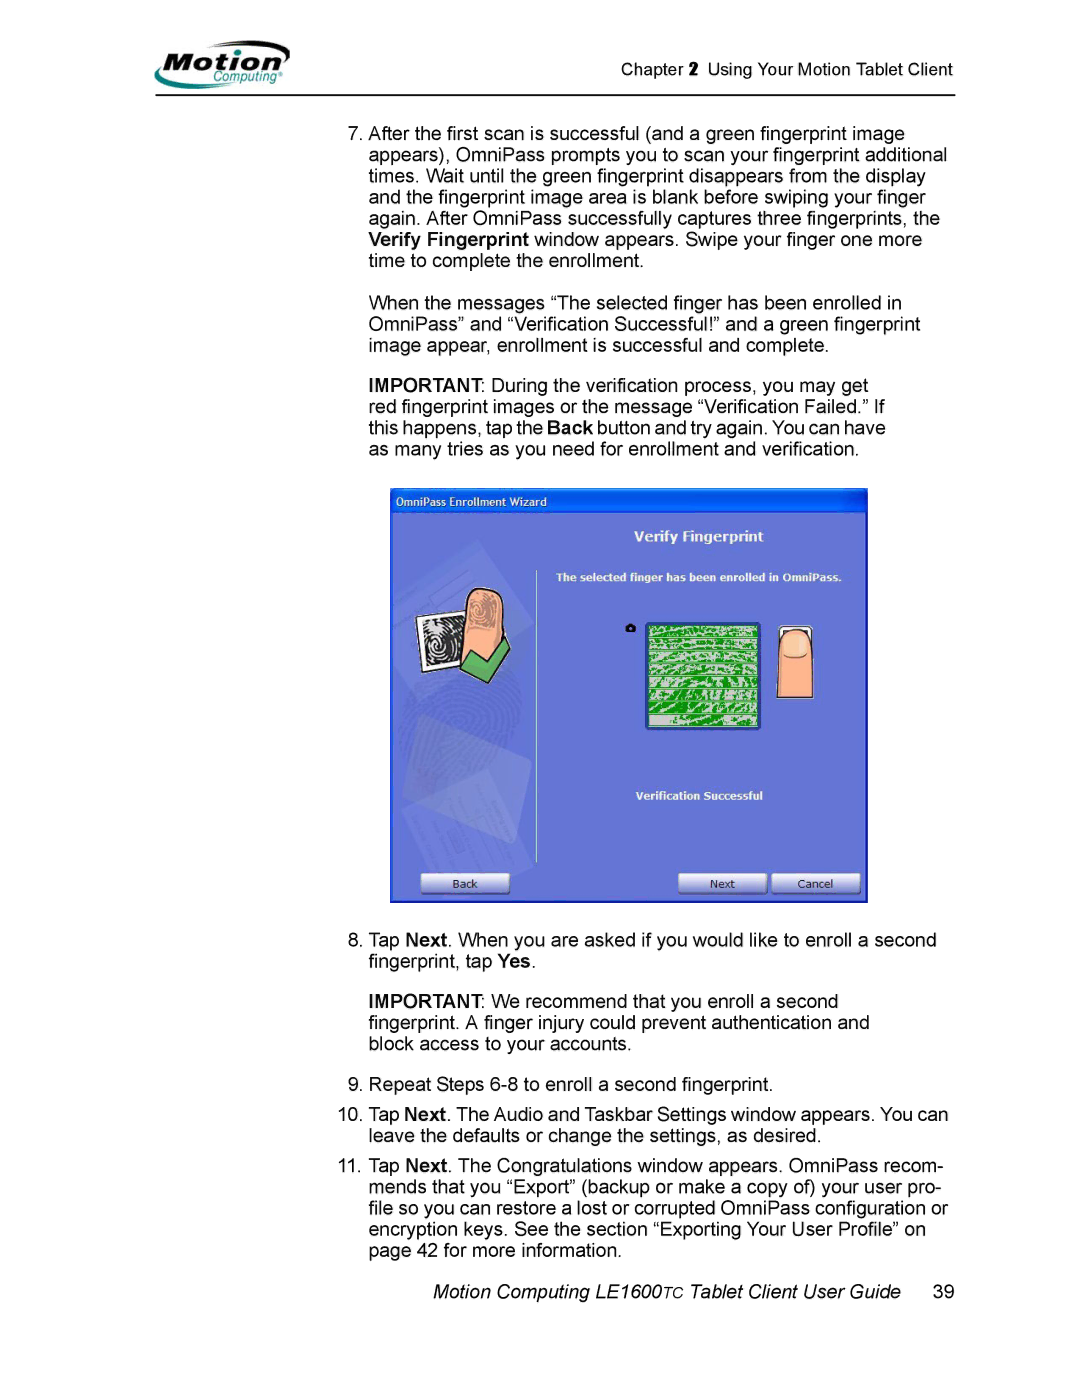
7.After the first scan is successful (and a green fingerprint image appears), OmniPass prompts you to scan your fingerprint additional times. Wait until the green fingerprint disappears from the display and the fingerprint image area is blank before swiping your finger again. After OmniPass successfully captures three fingerprints, the Verify Fingerprint window appears. Swipe your finger one more time to complete the enrollment.
When the messages “The selected finger has been enrolled in OmniPass” and “Verification Successful!” and a green fingerprint image appear, enrollment is successful and complete.
IMPORTANT: During the verification process, you may get red fingerprint images or the message “Verification Failed.” If this happens, tap the Back button and try again. You can have as many tries as you need for enrollment and verification.
8.Tap Next. When you are asked if you would like to enroll a second fingerprint, tap Yes.
IMPORTANT: We recommend that you enroll a second fingerprint. A finger injury could prevent authentication and block access to your accounts.
9.Repeat Steps
10.Tap Next. The Audio and Taskbar Settings window appears. You can leave the defaults or change the settings, as desired.
11.Tap Next. The Congratulations window appears. OmniPass recom- mends that you “Export” (backup or make a copy of) your user pro- file so you can restore a lost or corrupted OmniPass configuration or encryption keys. See the section “Exporting Your User Profile” on page 42 for more information.
