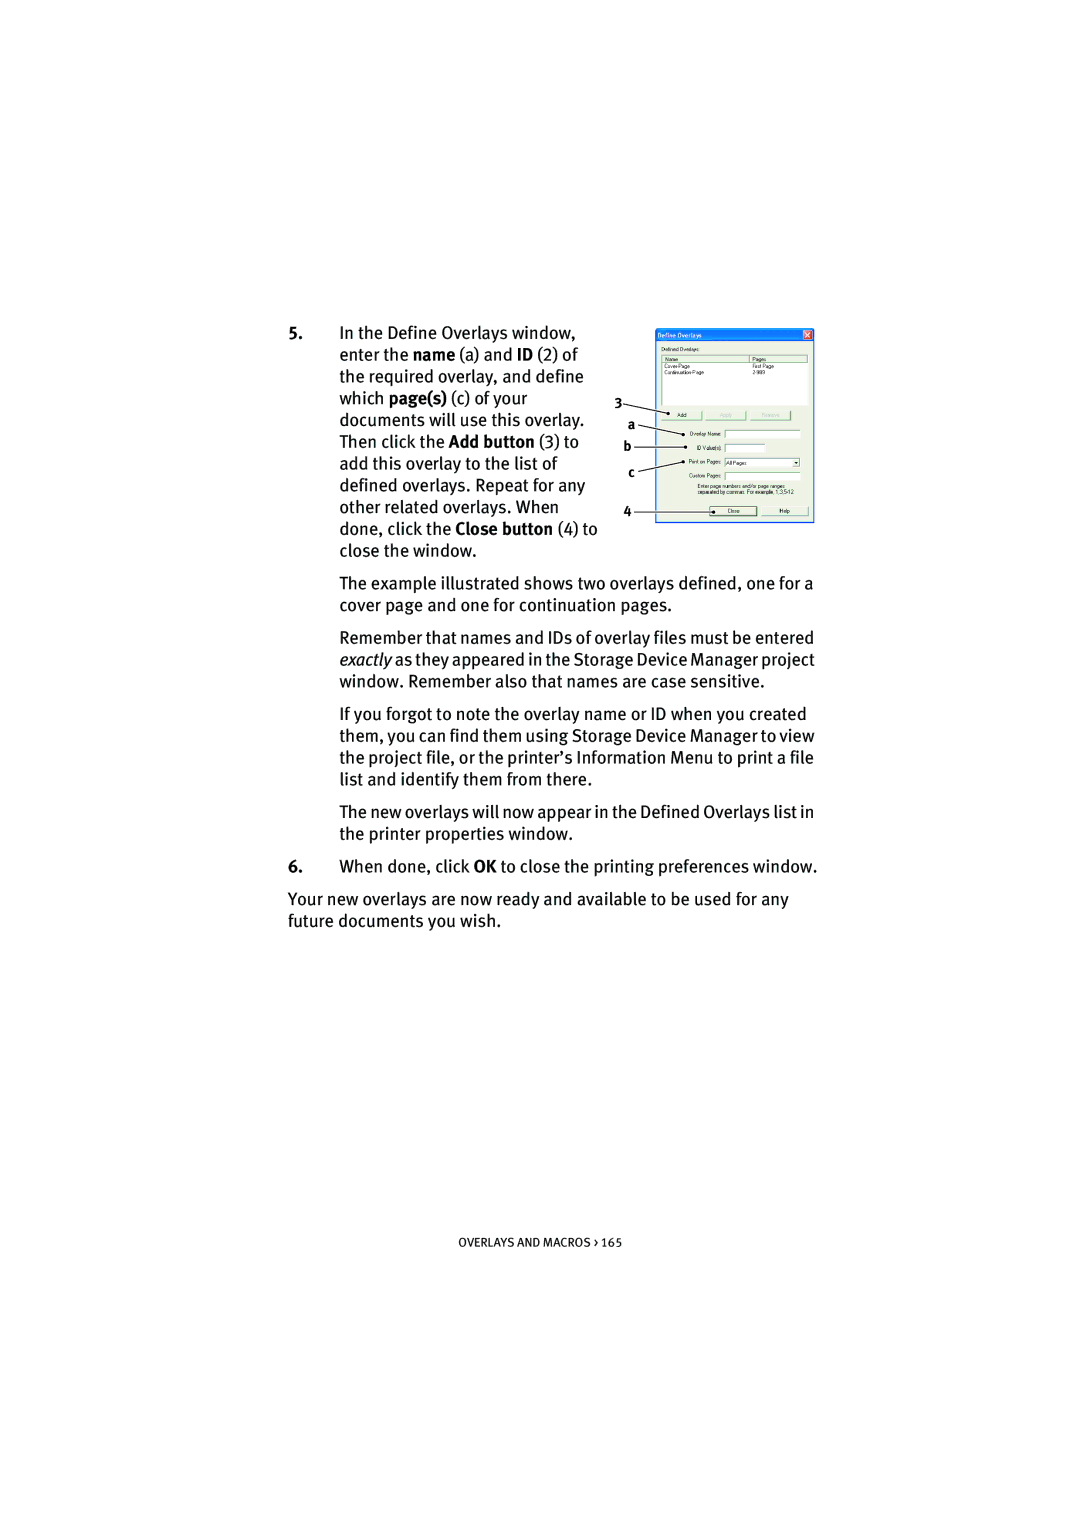
5.In the Define Overlays window,
enter the name (a) and ID (2) of the required overlay, and define
which page(s) (c) of your3 documents will use this overlay. Then click the Add button (3) to add this overlay to the list of defined overlays. Repeat for any other related overlays. When done, click the Close button (4) to close the window.
a ![]()
b ![]() c
c ![]()
4
The example illustrated shows two overlays defined, one for a cover page and one for continuation pages.
Remember that names and IDs of overlay files must be entered exactly as they appeared in the Storage Device Manager project window. Remember also that names are case sensitive.
If you forgot to note the overlay name or ID when you created them, you can find them using Storage Device Manager to view the project file, or the printer’s Information Menu to print a file list and identify them from there.
The new overlays will now appear in the Defined Overlays list in the printer properties window.
6.When done, click OK to close the printing preferences window.
Your new overlays are now ready and available to be used for any future documents you wish.
OVERLAYS AND MACROS > 165
