8. Programmable Features
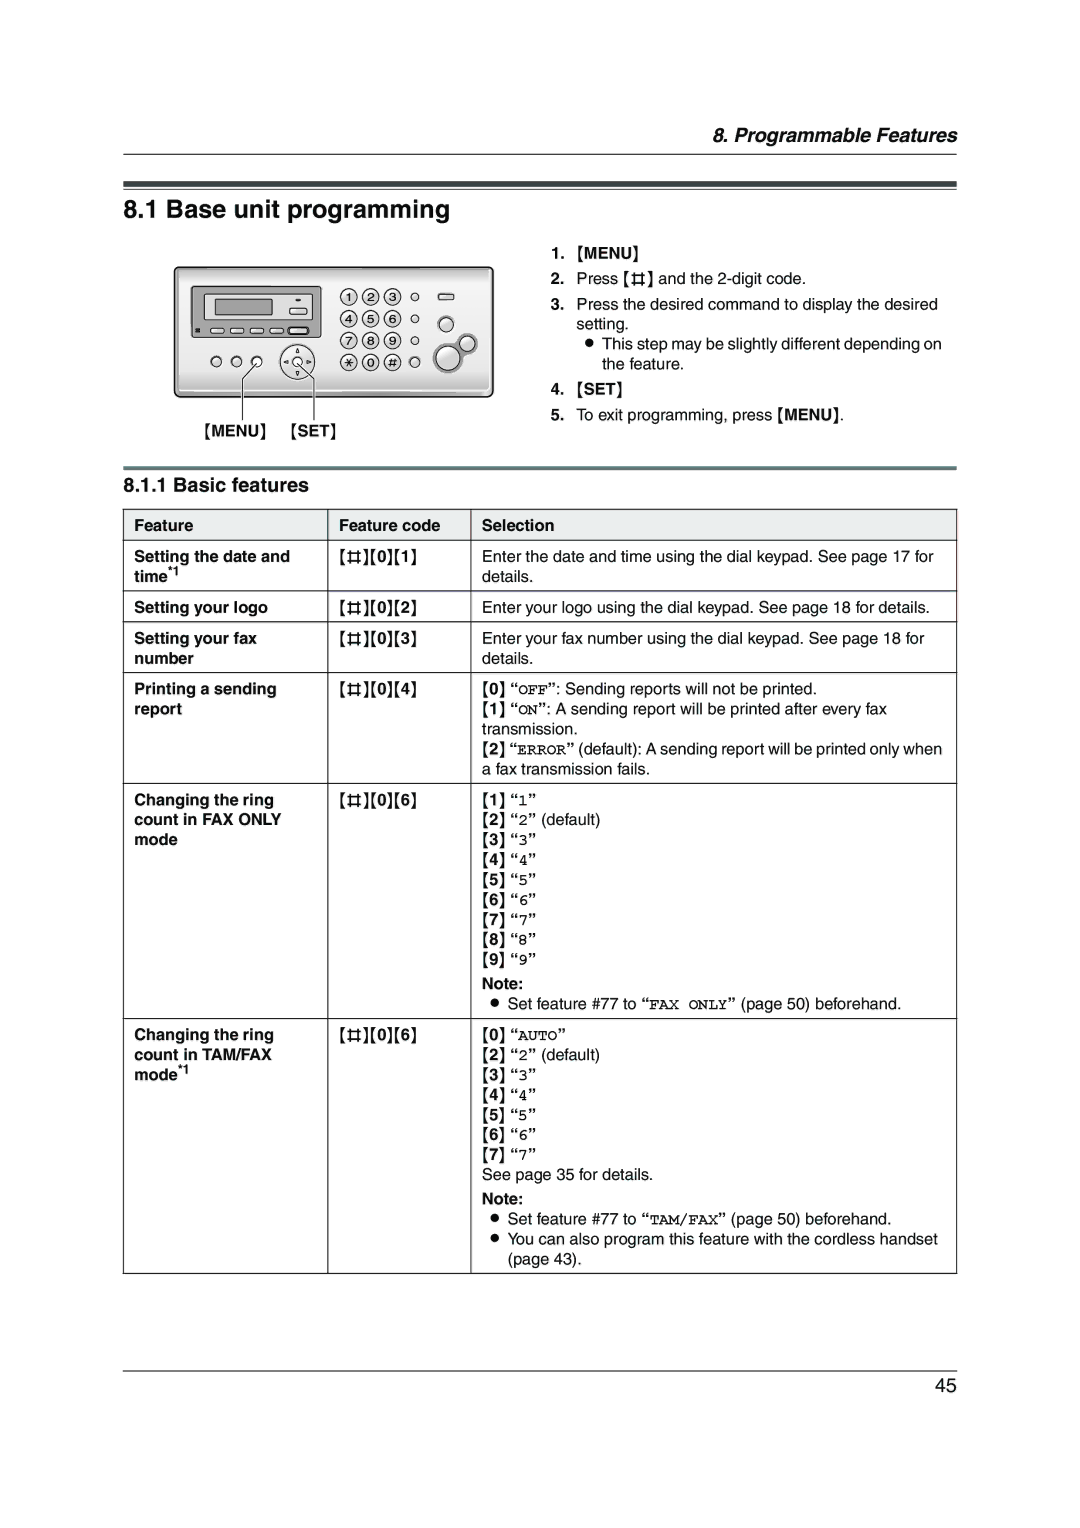
8.1 Base unit programming
1. | {MENU} |
2. | Press {#} and the |
3. | Press the desired command to display the desired |
| setting. |
| L This step may be slightly different depending on |
| the feature. |
4. | {SET} |
5. | To exit programming, press {MENU}. |
{MENU} {SET} |
|
8.1.1 Basic features
Feature | Feature code | Selection |
Setting the date and | {#}{0}{1} | Enter the date and time using the dial keypad. See page 17 for |
time*1 |
| details. |
Setting your logo | {#}{0}{2} | Enter your logo using the dial keypad. See page 18 for details. |
|
|
|
Setting your fax | {#}{0}{3} | Enter your fax number using the dial keypad. See page 18 for |
number |
| details. |
|
|
|
Printing a sending | {#}{0}{4} | {0} “OFF”: Sending reports will not be printed. |
report |
| {1} “ON”: A sending report will be printed after every fax |
|
| transmission. |
|
| {2} “ERROR” (default): A sending report will be printed only when |
|
| a fax transmission fails. |
Changing the ring | {#}{0}{6} | {1} “1” |
count in FAX ONLY |
| {2} “2” (default) |
mode |
| {3} “3” |
|
| {4} “4” |
|
| {5} “5” |
|
| {6} “6” |
|
| {7} “7” |
|
| {8} “8” |
|
| {9} “9” |
|
| Note: |
|
| L Set feature #77 to “FAX ONLY” (page 50) beforehand. |
Changing the ring | {#}{0}{6} | {0} “AUTO” |
count in TAM/FAX |
| {2} “2” (default) |
mode*1 |
| {3} “3” |
|
| {4} “4” |
|
| {5} “5” |
|
| {6} “6” |
|
| {7} “7” |
|
| See page 35 for details. |
|
| Note: |
|
| L Set feature #77 to “TAM/FAX” (page 50) beforehand. |
|
| L You can also program this feature with the cordless handset |
|
| (page 43). |
|
|
|
45
