3. Preparation
3.7 Dialling mode
If you cannot dial (page 27, 39), change this setting depending on your telephone service.
LChange this setting both on the handset and on the base unit.
3.7.1 With the handset
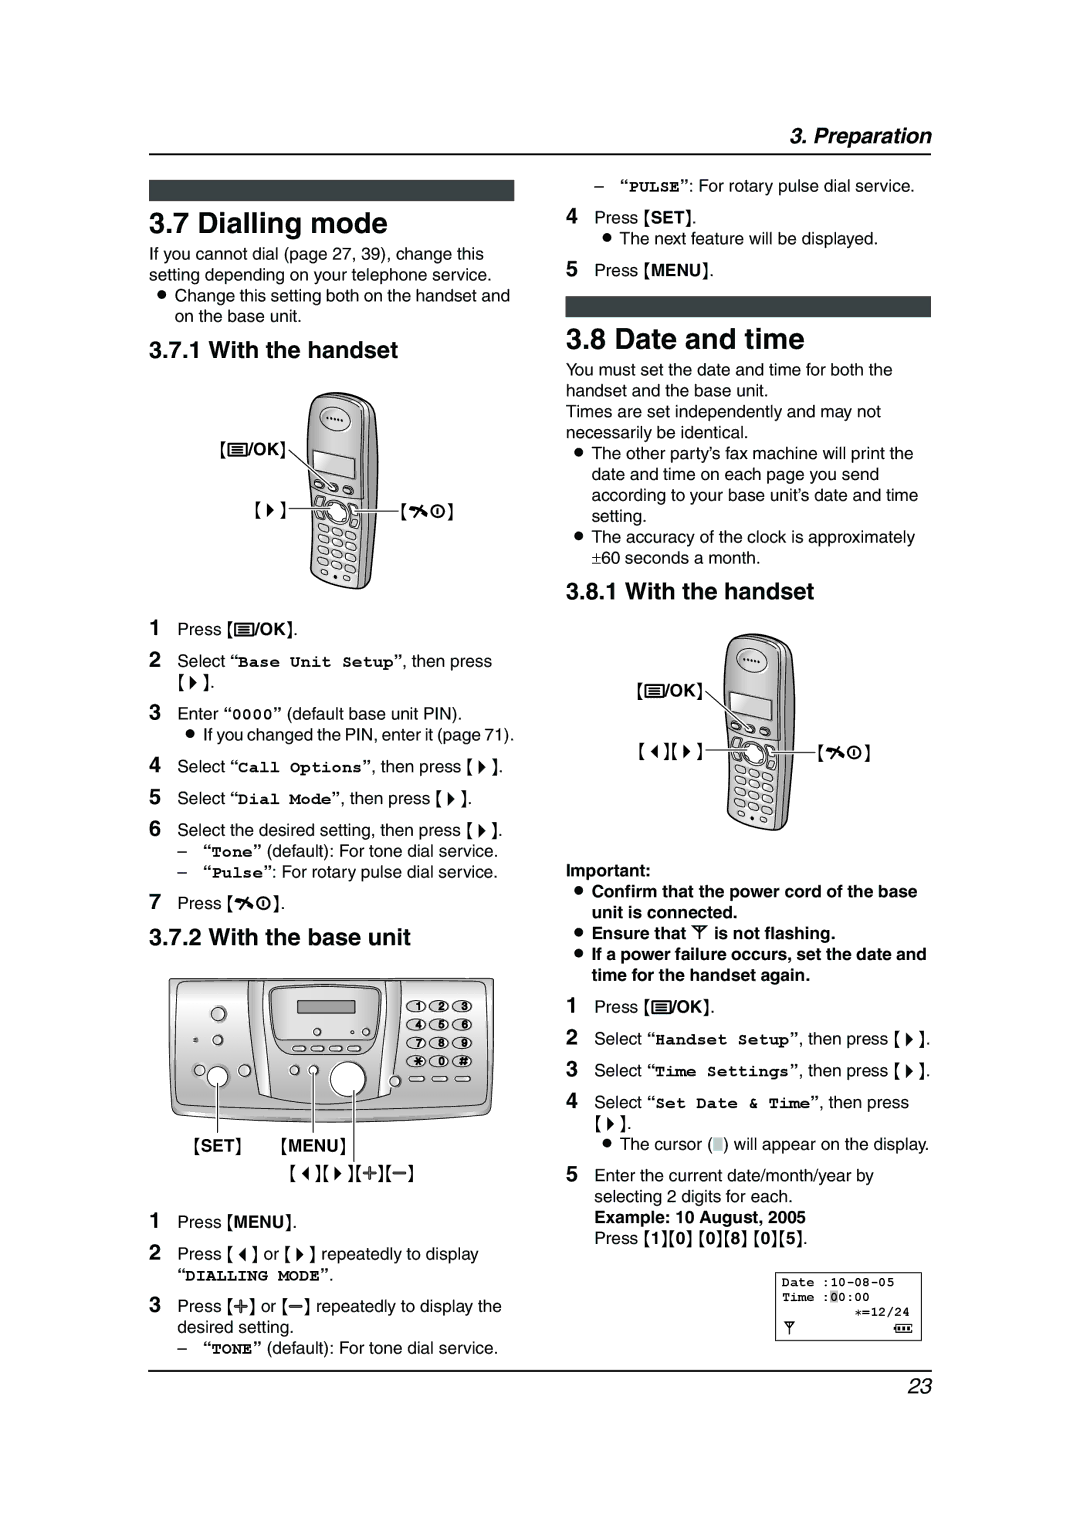
{j/OK}![]()
{>}![]()
![]()
![]() {ih}
{ih}
1Press {j/OK}.
2Select “Base Unit Setup”, then press
{>}.
3Enter “0000” (default base unit PIN).
LIf you changed the PIN, enter it (page 71).
4Select “Call Options”, then press {>}.
5Select “Dial Mode”, then press {>}.
6Select the desired setting, then press {>}.
–“Tone” (default): For tone dial service.
–“Pulse”: For rotary pulse dial service.
7Press {ih}.
3.7.2 With the base unit
{SET} {MENU}
{<}{>}{A}{B}
1Press {MENU}.
2Press {<} or {>} repeatedly to display “DIALLING MODE”.
3Press {A} or {B} repeatedly to display the desired setting.
– “TONE” (default): For tone dial service.
– “PULSE”: For rotary pulse dial service.
4Press {SET}.
LThe next feature will be displayed.
5Press {MENU}.
3.8 Date and time
You must set the date and time for both the handset and the base unit.
Times are set independently and may not necessarily be identical.
LThe other party’s fax machine will print the date and time on each page you send
according to your base unit’s date and time setting.
LThe accuracy of the clock is approximately
±60 seconds a month.
3.8.1 With the handset
{j/OK}![]()
{<}{>}![]()
![]()
![]() {ih}
{ih}
Important:
LConfirm that the power cord of the base unit is connected.
LEnsure that w is not flashing.
LIf a power failure occurs, set the date and time for the handset again.
1Press {j/OK}.
2Select “Handset Setup”, then press {>}.
3Select “Time Settings”, then press {>}.
4Select “Set Date & Time”, then press
{>}.
L The cursor () will appear on the display.
5Enter the current date/month/year by selecting 2 digits for each.
Example: 10 August, 2005 Press {1}{0} {0}{8} {0}{5}.
Time :00:00
@=12/24
23